Monday, June 29, 2020

Ambassador Fearure

Hello everyone!

Eny here to share with you again, another Ambassador project.

This month we had several projects from Ambassador /now DT member Rebecca, but this one in particular, really caught my eye. Her coloring is amazing and the scene is just spectacular!

highly recommend you going to check out t her Instagram, and also, check out all her other projects using OddBall Stamps!


Hope you all have an amazing day and make sure to show Rebecca some love!

Happy crafting,
Eny Dunn

Sunday, June 28, 2020

Creepy Girls are the Cutest!


For this inspirational make I have used  Creepier the Cuter #526

You will see more details on my blog, Calling All Crafters!,  

with more details of today's creation, along with other posts you might like...

 I have been revisiting the technique of putting Distress Ink within an embossing folder.
Early last year I made a whole bunch of these backgrounds to make a series of 'Owl' cards using  Cute Big Eye Owl on a tree branch #58. Today I added to the collection...Find out more on my blog.


To make these backgrounds I used four distress inks and smeared them across a Stampin' Up tree embossing folder.


I found it best to just smear in one direction - horizontally across the folder. I then placed a square of white card in the folder and rolled it through the Big Shot.


Recently I came across the woodgrain folder from Creative Embossing.
I used this with three Distress Inks - scattered straw, weathered wood, gathered twigs.


 I decided to try the ink on both sides of the folder to get two different effects.


I added distress ink (scattered twigs) around the edges.


I then used these on a journal page... having first layered the page with a paper from Kaisercraft's Mix and Match 12 by 12 Paper pad.


 I then added the Oddball images, coloured with Copics and cut out.


Happy Crafting!

If you would like to buy any of Lizzy's Oddball images use my DT code: DTSUSAN10
This coupon code is for 10% OFF the entire Oddball Art Website


Friday, June 26, 2020

Dead-Finition CCC#111


D061AC7C-5D14-48F0-ABB8-9B2894981A06
Hello there Lovelies!
I am here today to share a Quick and simple pictorial on a fun card I created for tonight’s  Creepy Cute Chronicles issue # 111, lucky number?? ๐Ÿ˜Š I love how all these Oddball Stamps images can be used together to create fun scenes.
A70CB08F-5C38-4D04-9C41-8571C8308770
I am also using a little spider from a previous issue and the kitty from last week’s issue. Did you miss it? No problem, you can become a Premium Member and have access to them, the premium version And also the monthly exclusive images. A great deal you can’t pass up.
On to the pictorial, shall we?
I love interactive cards and images like this automatically make me want to make them come “alive”. Shop the entire collection at the Creepy Cute Chronicles Store.
8644FFB5-5545-4342-B487-235D1A152F9C
1. After I colored the image I used an exacto  knife to Prop open the coffin. I glued a black panel to bring in the darkened of the coffin.
A6D40B04-1AF5-41AE-BADB-0419196C56D5B10B88C0-7792-4C20-9748-0B280911D608
2. I used foam tape to prop up the card panel and mounted the little spider on a wobbler that I cut to fit my image.
754B3F2F-EE34-49F1-8373-3CCD0F74426E  
3. Once I placed the panel on to the card base, I placed my little friend inside the coffin.
8028EA7A-58BE-42EC-A313-234632A9023EA37E9C4E-A687-4985-92EA-5DD1FFC9C2C4
4. To finish off my card I added a couple of images inside. A spider web and another spider that was a little larger. As you can see, our little guy is not “dead” ๐Ÿ˜Š
This was a fun card to make. Hope you all enjoyed it and hope to see you back soon. You can keep in touch with me here: OwlMakeItCrafts. Have a wonder weekend!
๐Ÿ’™Monica

Wednesday, June 24, 2020

Alice in Wonderland - (Mini Album - pg 1)


Hello!

Today is the inspirational tutorial for the DT of OddballStamps and I bring you what I hope, if all goes well, it is the first page of a mini album inspired by the story of Alice in Wonderland, in a creepy version with the stamps from Oddball Stamps.


To create the structure, I was inspired by the work of Natalia Rusko and her pop-up albums and in a tutorial by a Spanish scraper, Samselua Scrap, to make a simpler version of those base structures.

I wanted my mini to have space for photos, but not that they were in the scene on the page, but I did not want to get involved with a structure as complicated as the so-called "Russian bindings". So I made a mix with the work of the two mentioned scrapers, and I took some measurements of my own and made this structure.


The bases are 18 cm (about 7 inches) high by the length of the A4 they are printed on (29.7 cm about 11” ¾ inches). They are folded in half.


[Don't ask me about the designs because I have no idea where they came from. I searched all over the internet for some funds that I liked and when I couldn't find anything, I asked some friends for help and they gave me these. Not having noted where they had come from, I was left with the doubt, so if someone recognizes them you can send me a private and I will be delighted to give the corresponding credits to whom it may concern]


The frames are 2.5 cm or 1” thick. They measure 18 cm high and vary in length according to the page (things to be tested as the structure was made), but if I have to say a final measurement, I am left with 23 cm (about 9 inches)


To join all the pages together, I cut a bunch of strips of the remains along the cardboard that were left and glued them together two by two folded in half (leaving 4-layer blocks of cardboard stuck together). This step may well be skipped if you have cardboard, glued cardboard or beer cardboard of about 2mm in white (this was not my case). At the time of pasting the pages between them, I pasted these blocks at the top and bottom of one of them creating a space where some dropdowns with the photos will go. (I hope I explained myself!!!)


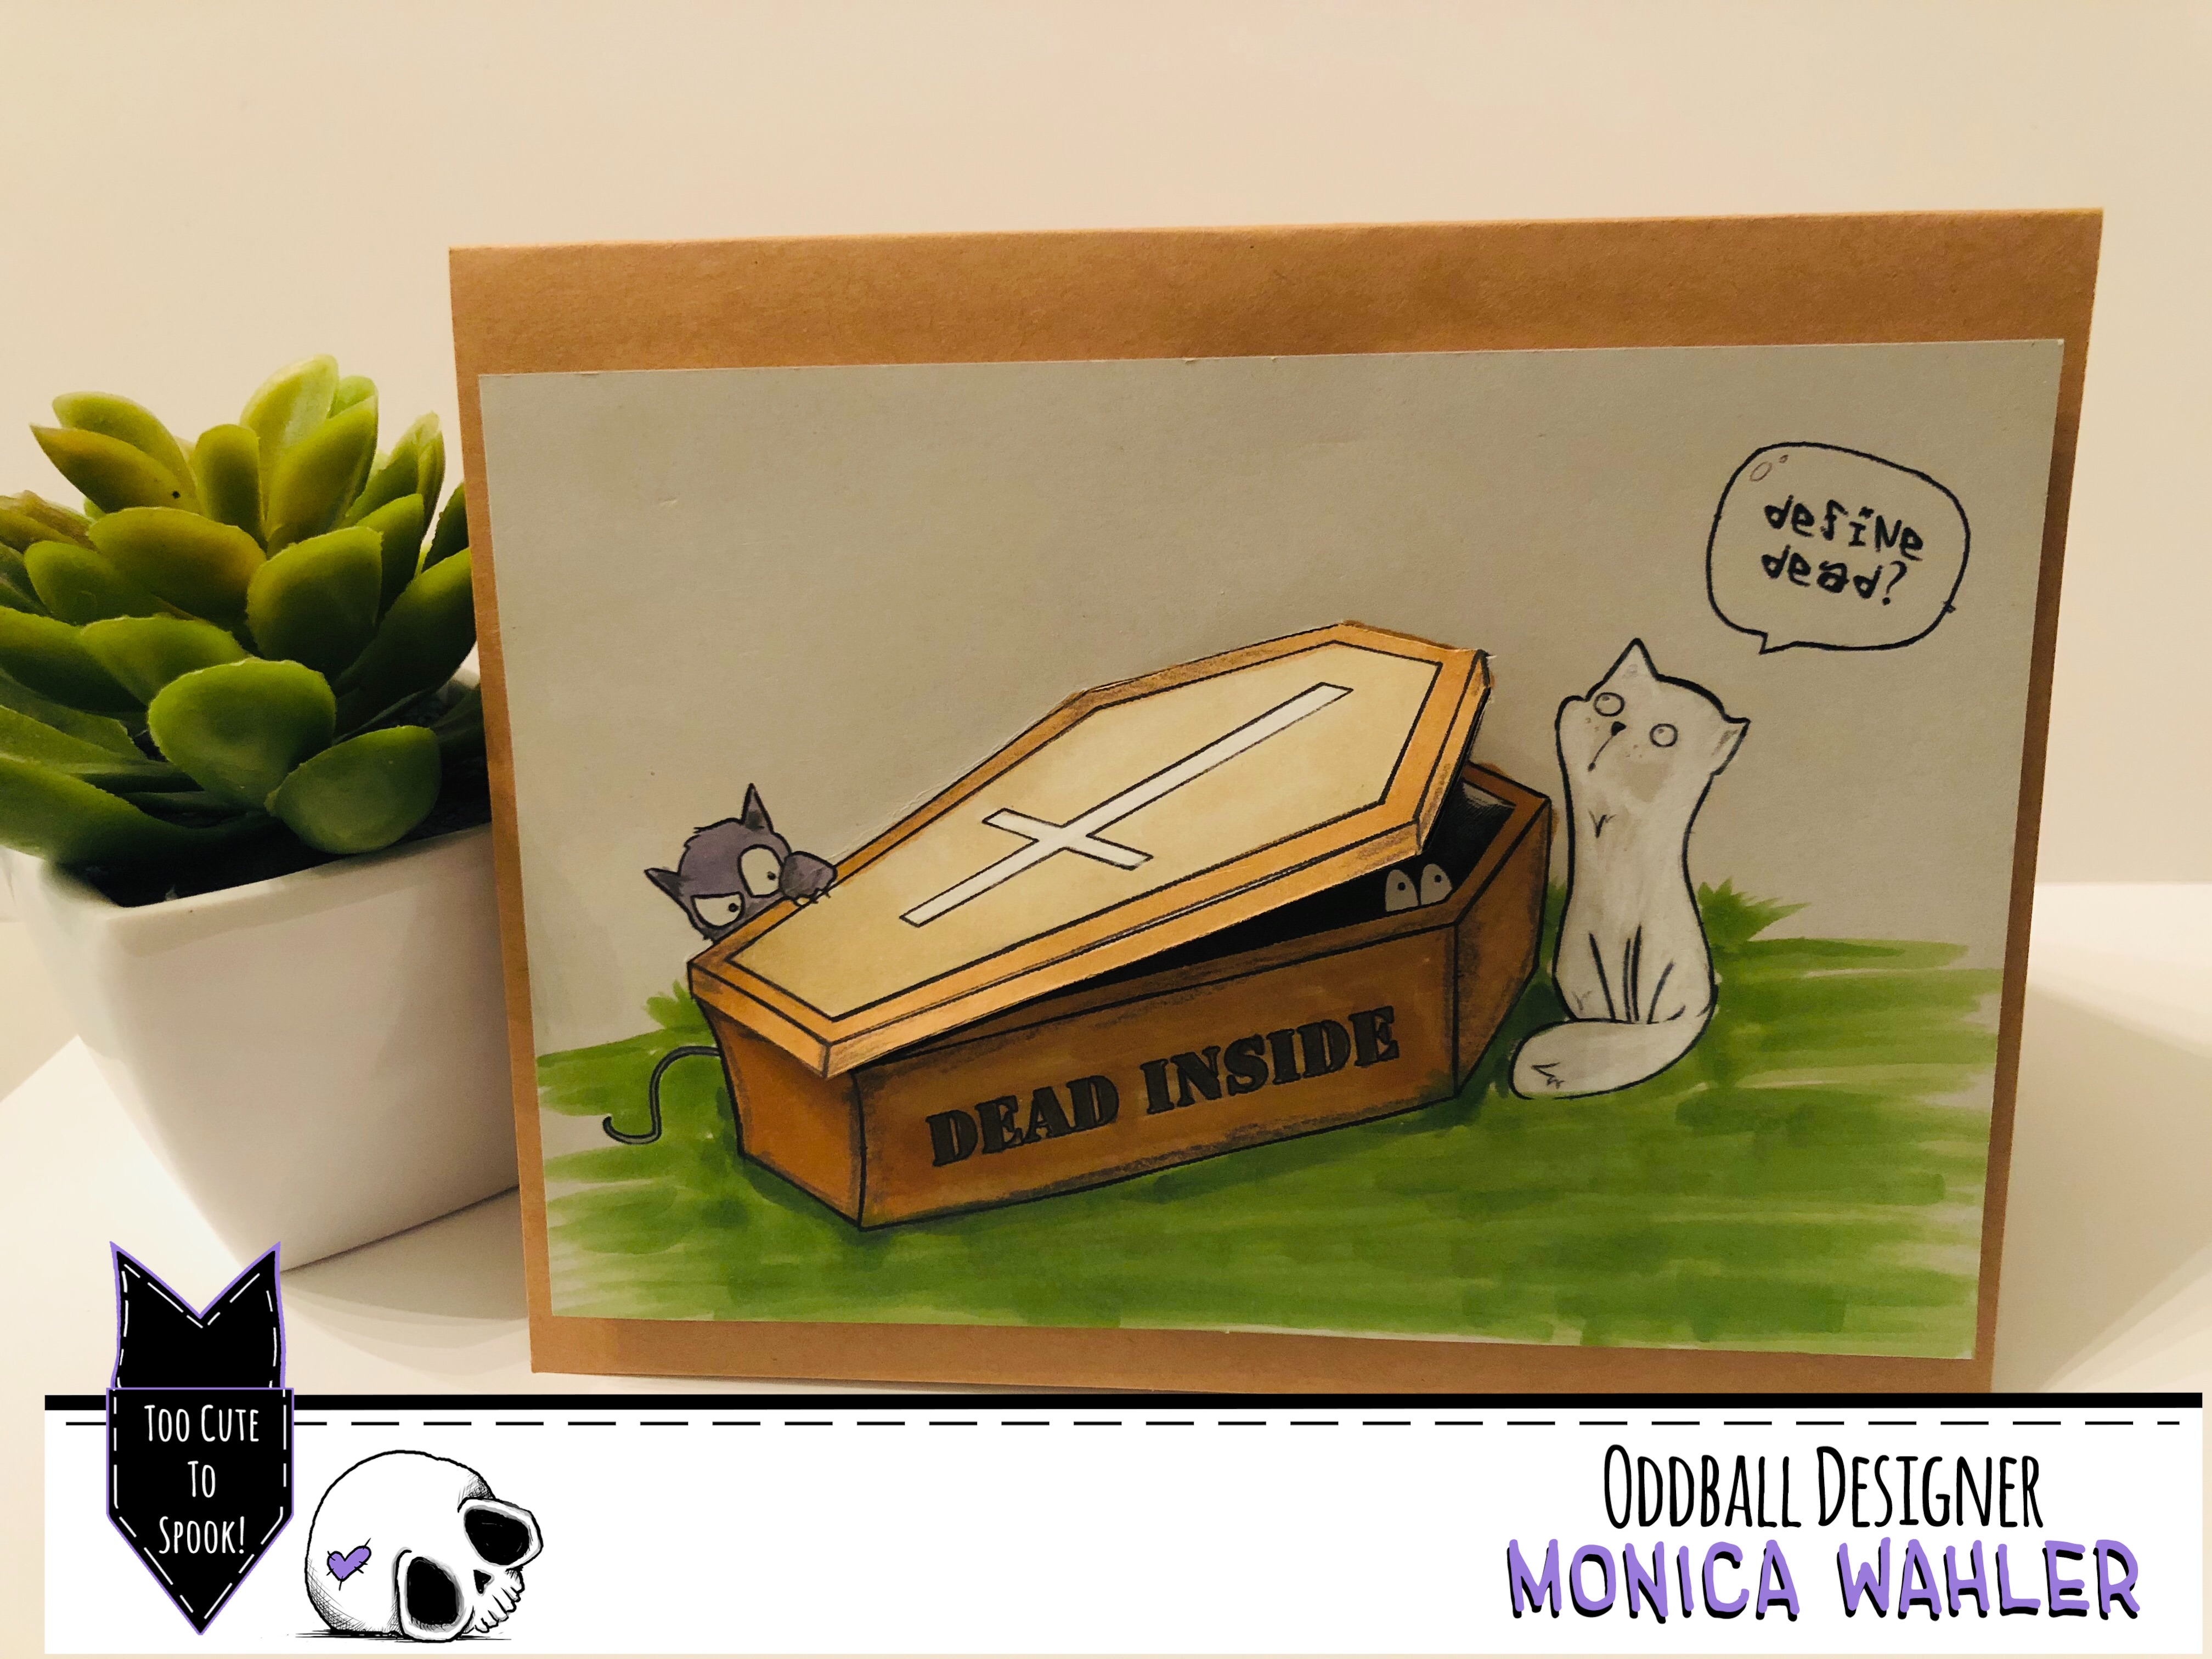
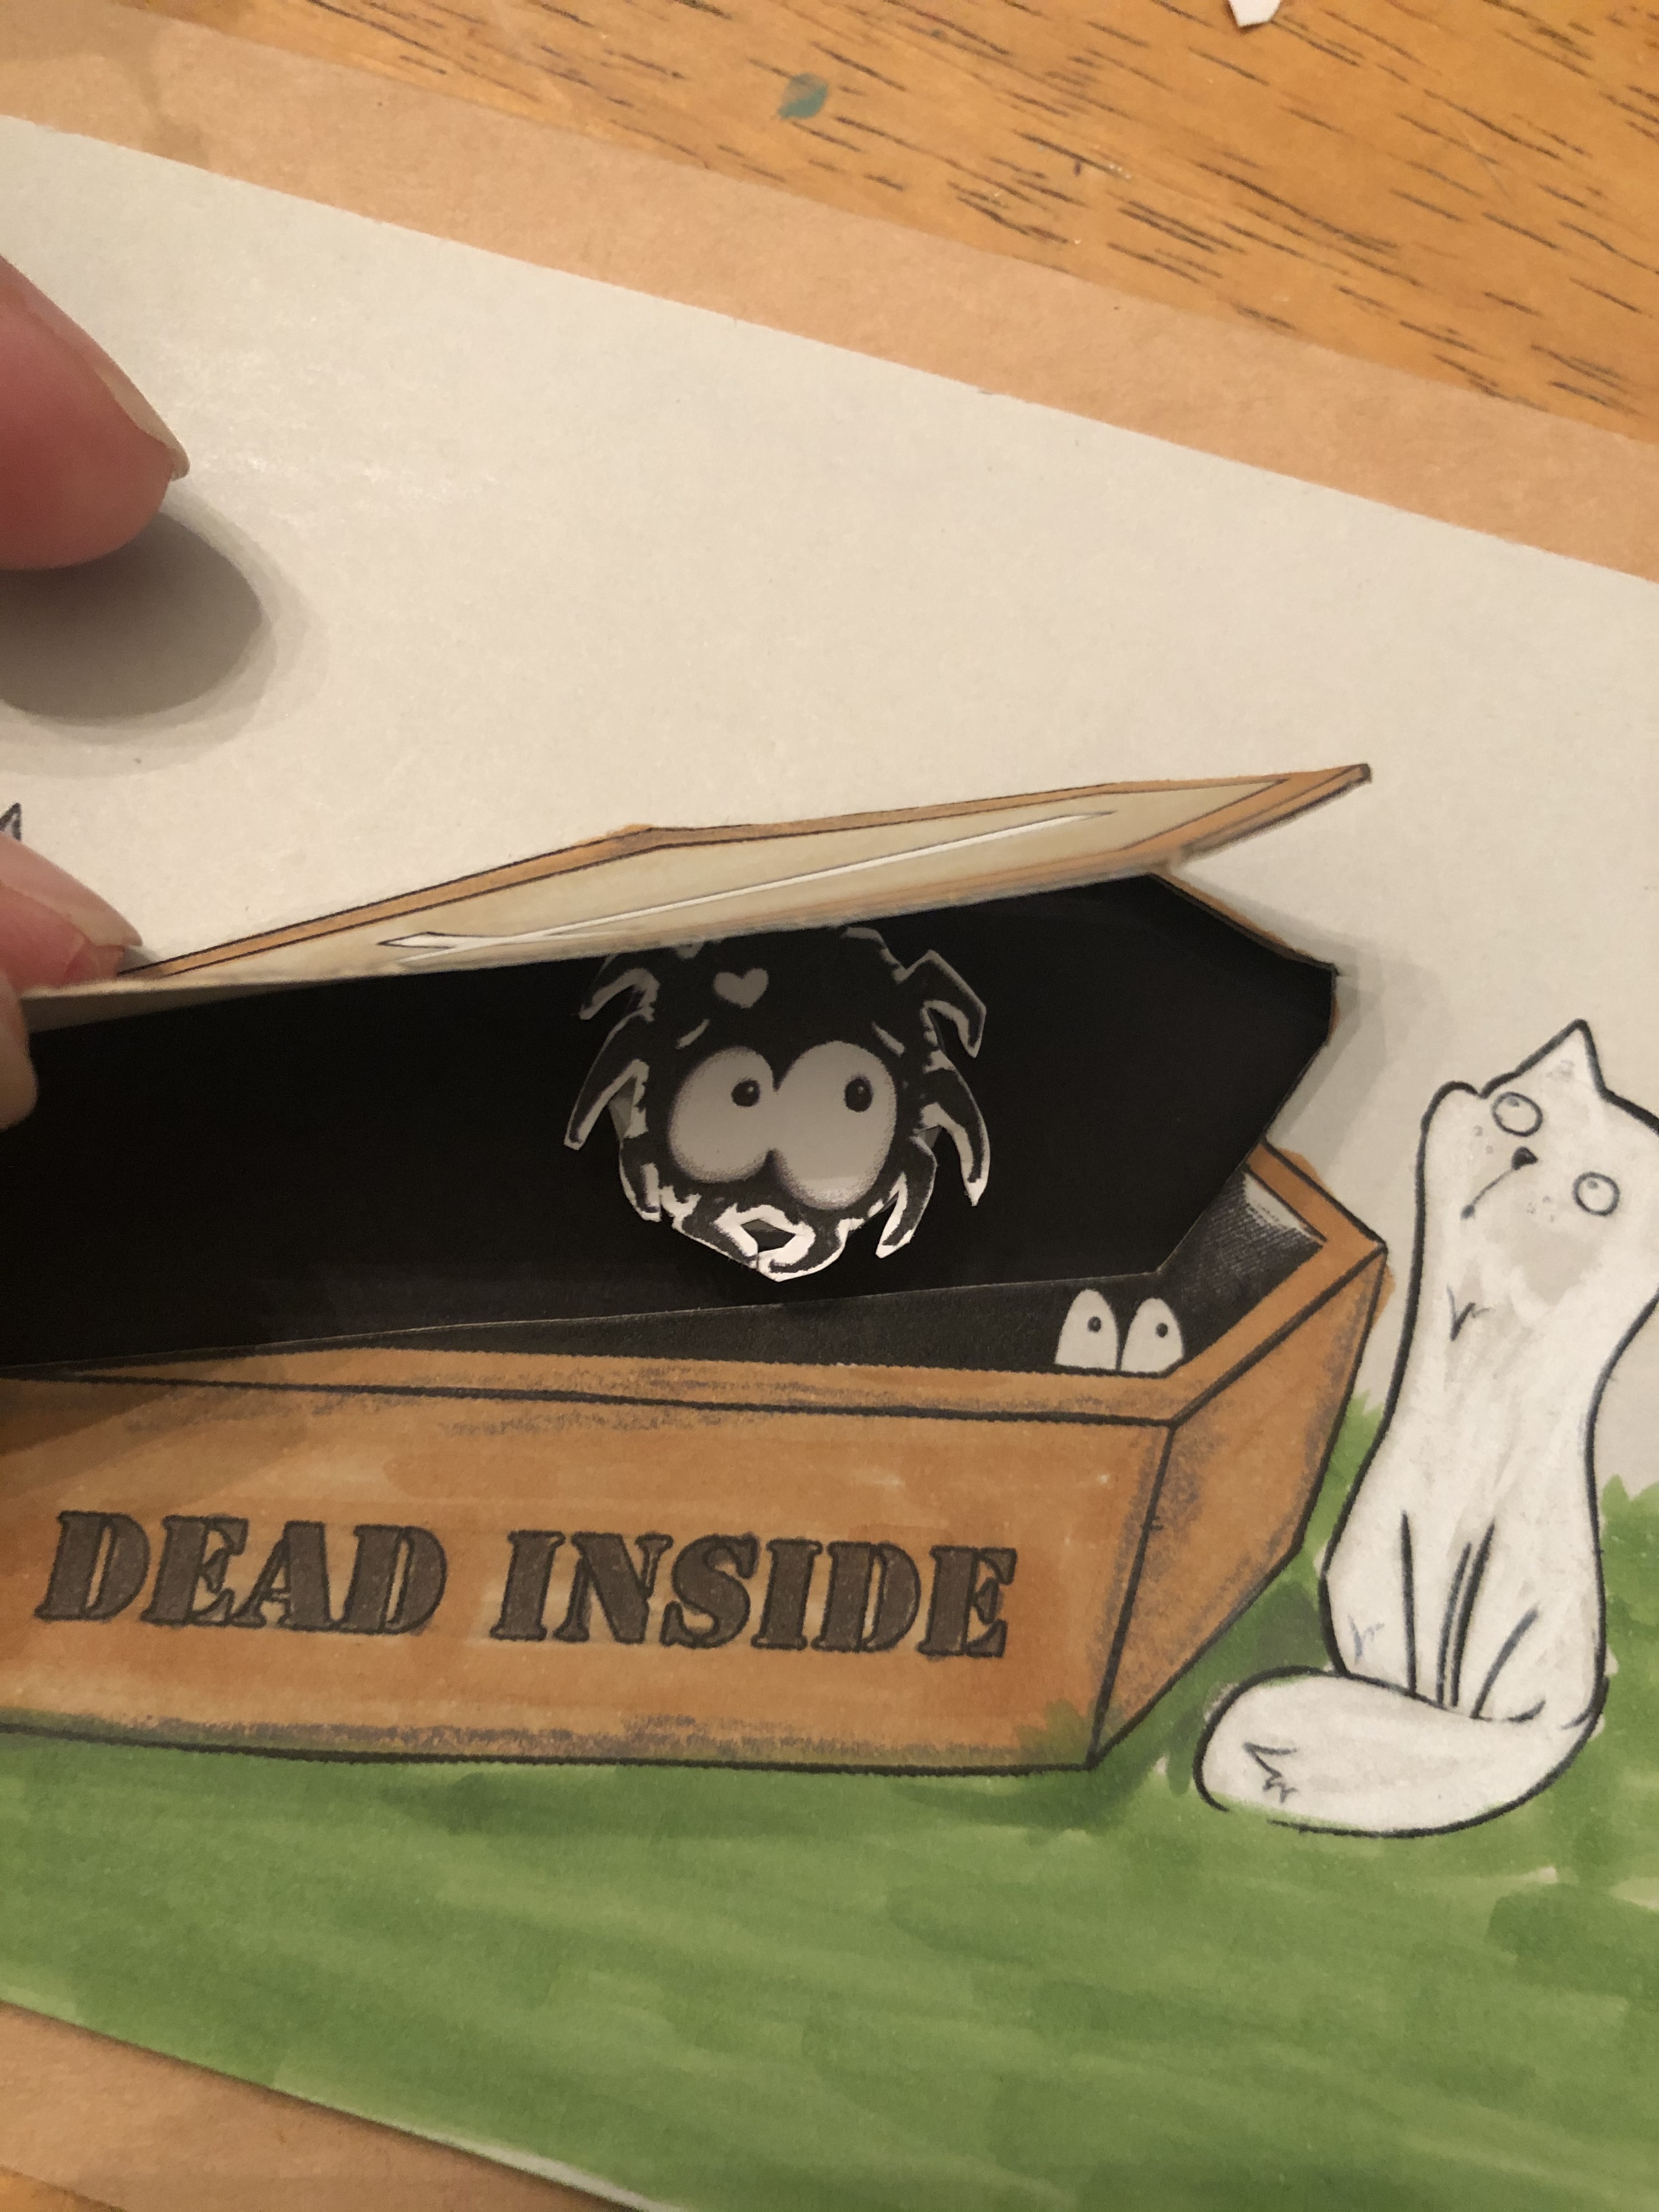
After creating the structure my next step was to color and cut the main characters and the elements that were going to the scene that I looked for among the Oddball Stamps freebies. Finally the chosen ones were:

Clock: CCC 87 Haunted Cukoo Clock
“Drink Me” Bottle: CCC 89 Idiot Relief Bonehead Valentine
Sentiment: CCC 108 Beware of danger


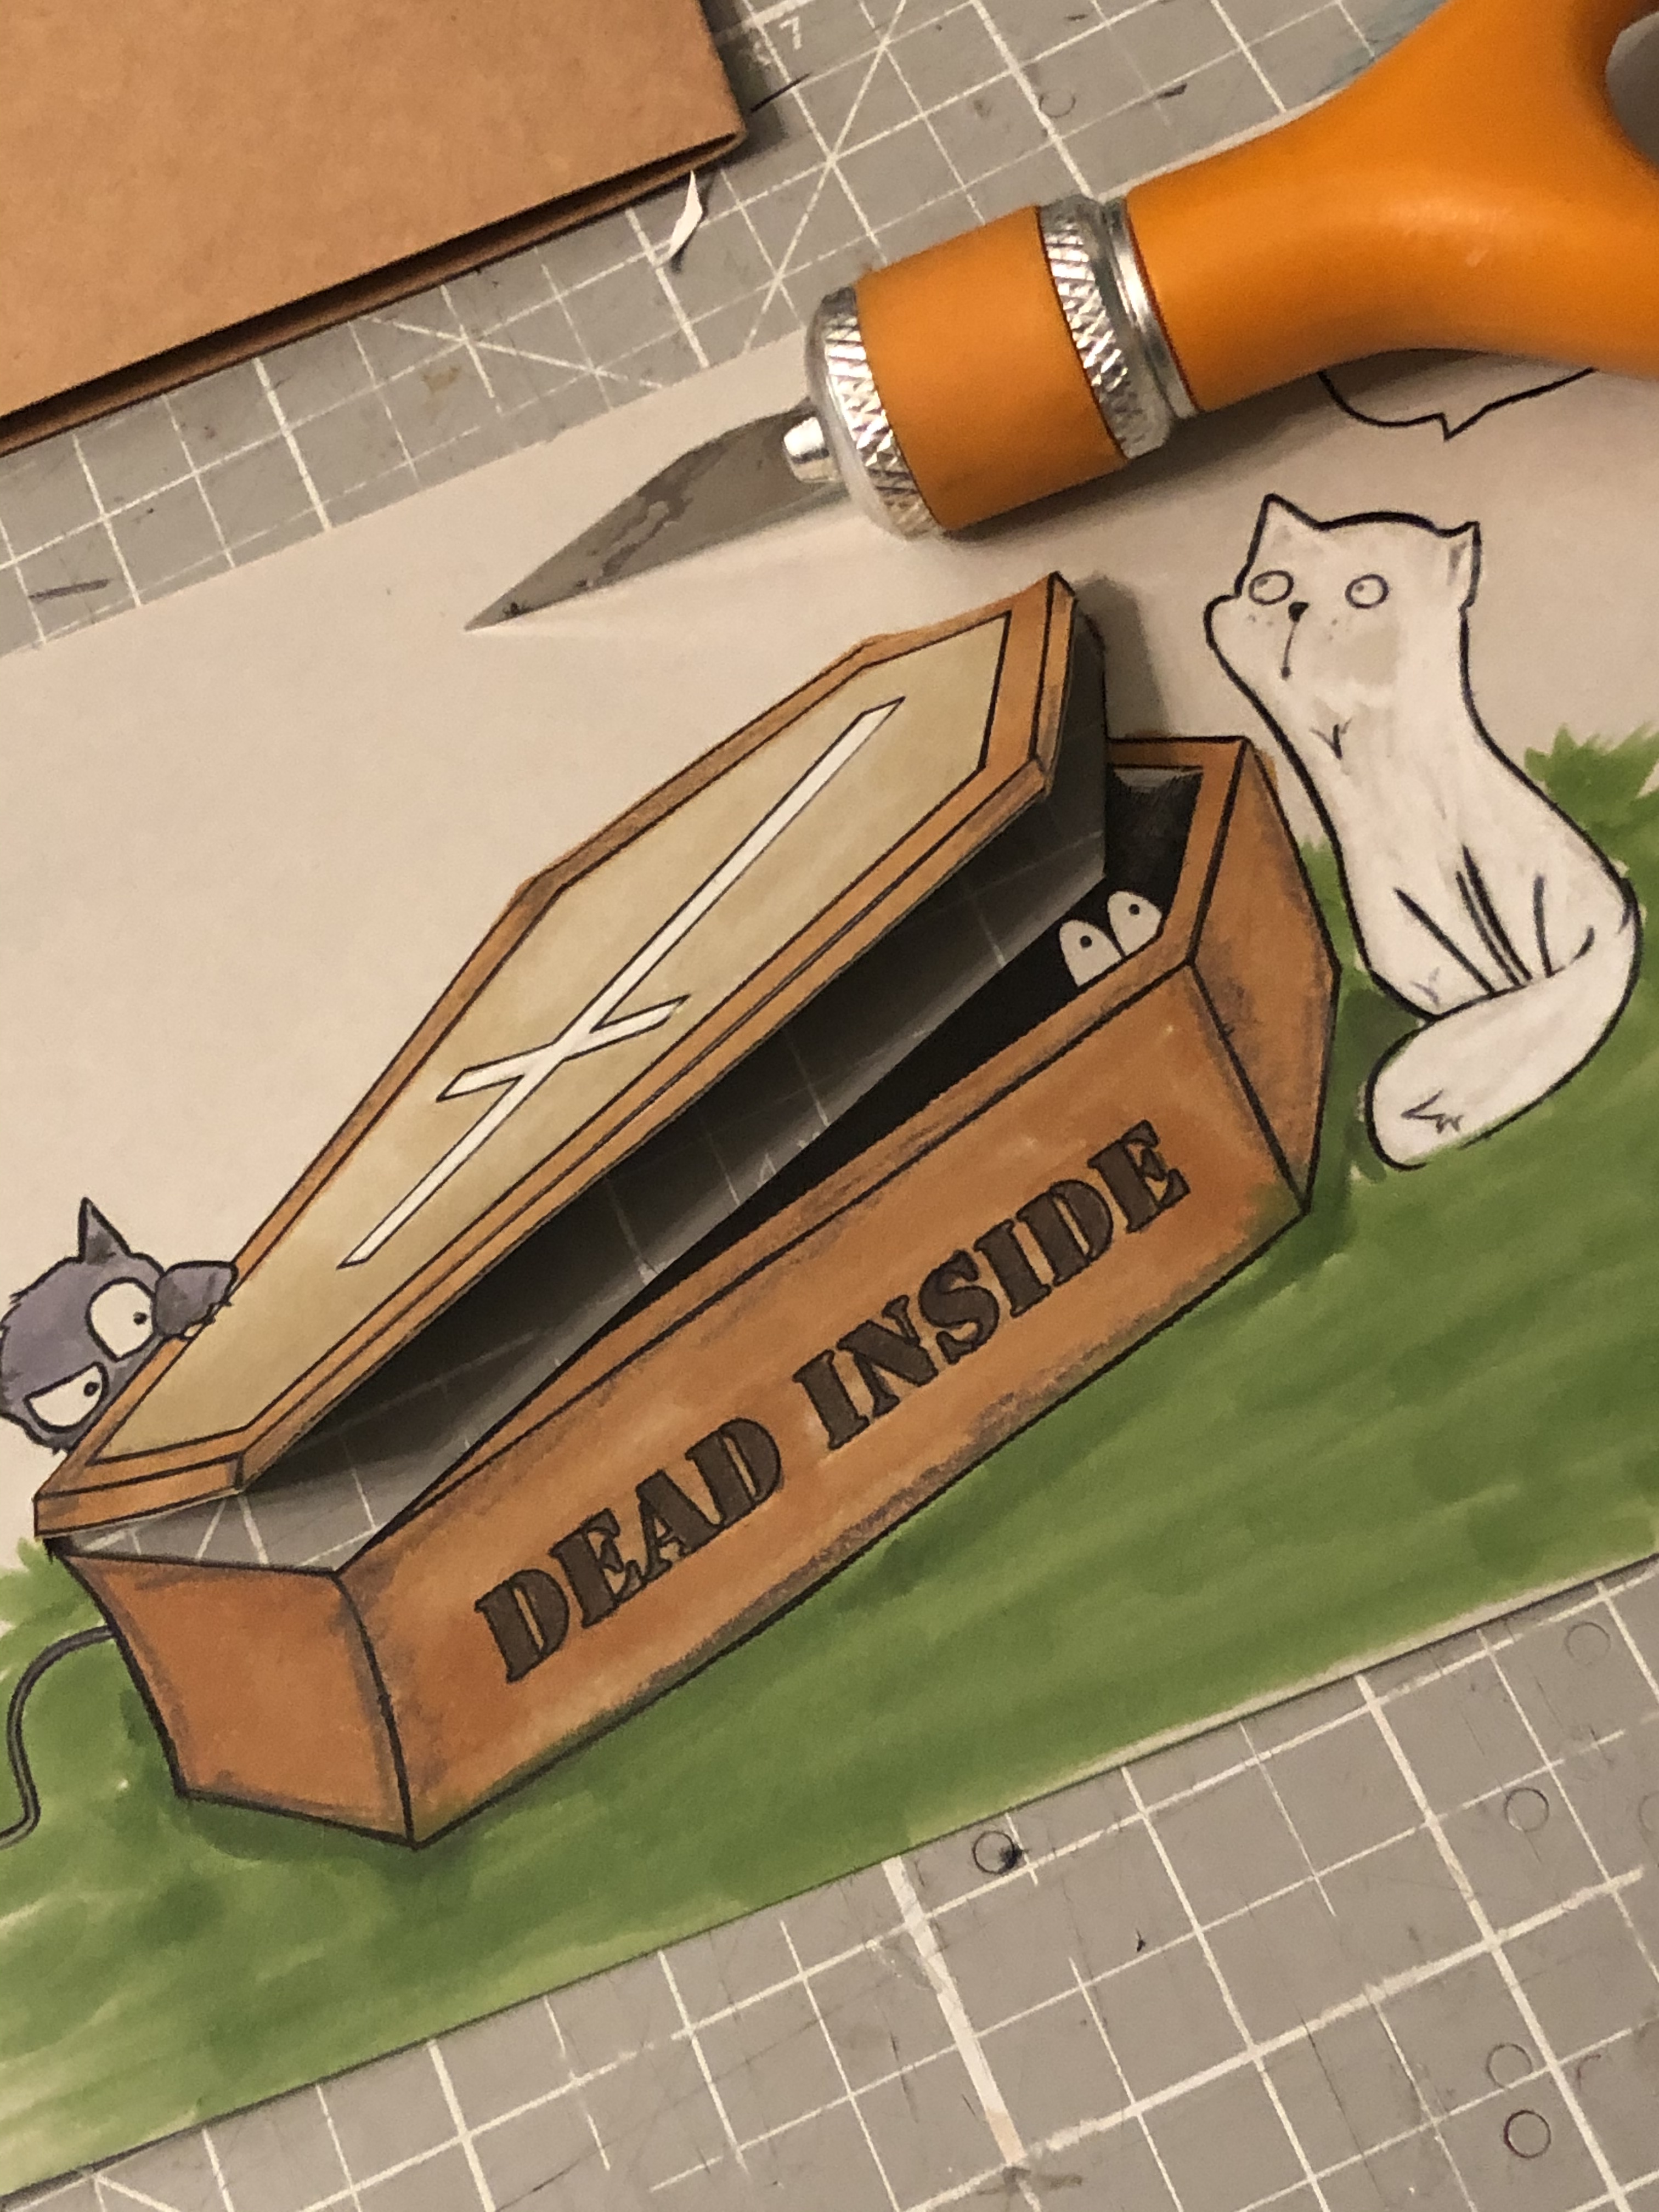
Once colored with my Finecolour and cut out, I started assembling my page.


As you can see it is unfinished, the rest of the pages, covers and dropdowns for the photos are missing, which I will be doing little by little. In the next publications of inspiration I will show you.


It is different from what I have done so far and I hope you like it and inspire you to make your own creations, share them with the hashtag #creepycutechronicles and use the discount code DTIRENE10 that you have at your disposal for the Oddball Stamps store.

See you!


Tuesday, June 23, 2020

Big Eye Girl Sherry Rescues A Puppy Image No. 245

Hello! Today I have a project using Big Eye Girl Sherry Rescues A Puppy Image No. 245. This digital stamp is adorable!


It's all about the purple! I wanted to keep main part of the card clean and simple. I used Zigs to watercolour the images. They are great markers and if you find watercolouring challenging they make it easy. I die cut pattern paper with a postage stamp die to give interest and texture. 


Happy Creating! 

Monday, June 22, 2020

As the bats swoop overhead! Flying madly.


This month's theme is batty...


For this inspirational make 
I have used IMG # 480 Creepy Cute Bat Boy  and a paper from the Halloween paper set Stay Creepy!


You will see a similar post on my blog, Calling All Crafters,  
explaining today's creation, along with other posts you might like...

I have added a page to my journal:

The words come from the D.H. Lawrence poem 'Bat'.


Happy Crafting!

If you would like to buy any of Lizzy's Oddball images use my DT code: DTSUSAN10
This coupon code is for 10% OFF the entire Oddball Art Website


Friday, June 19, 2020

Feeling Blue


CCC 110 Melancholy 
Hi friends! Tonight I will show you how I made this card for the lasted  addition of the Oddballartstamps Creepy Cute Chronicles newsletter.
First I made some background papers.  I usually make quite a few then I  have some for later projetcts.   These papers are ripped from a book that was water damaged.  I used Tim Holtz distress oxide in frayed burlap and mermaid lagoon.  I sprayed, dripped and smooshed the book papers with dye until I was happy with the results.
Next, I pulled molding paste through a water drops stencil (manufacturing unknown).  Let the paste air dry (1/2 hour maybe) and then I added mermaid lagoon distress oxide to the tops of the drops.  You can mix paint with paste and pre-color it if you like.  After that was done I mounted it on brown card stock.
Finally I colored the images using Prisma premium colored pencils (pictured are the hair colors I used to create her blonde hair).   After I finished coloring all the images, I fussy cut them out and glued them on top of the distressed book page.  I hope you enjoy my mixed media card and the rest of the inspiration in the CCC newsletter!!


Wednesday, June 17, 2020

Rated F

Big eyed Mohawk Punk girl
     Hello everyone, Chris here with a snarky birthday card.  Do you like to get funny or sweet birthday cards?  Personally, I think the funnier the better!  This Punk girl # 61 from Oddballartstamps was perfect for this birthday card.  She also has a tamer version flashing a peace instead of the middle finger.  In case you didn’t know our own Lizzy owner of Oddballartstamps had a birthday this week!
     For this card I used Doodlebug papers and the dies used are from Sizzix.  I colored the punk girl with prisma premium colored pencils.  The sentiment and little cake dude are from Ink Road Stamps (sentiment on the inside from IRS also).
Inside of card
                                                      HAPPY BIRTHDAY ๐ŸŽ Lizzy๐ŸŽ‚!

Monday, June 15, 2020

Killer Long Island|Crime and Crafts Episode 4


Hello everyone,

Welcome to another episode of Crime and Crafts. Today I am once again featuring OddaBall Art Stamps for my main craft project and we will be discussing the case of The Long Island Serial Killer. For a period of 20 years, an unidentified person, stalked and killed between 10 and 16 people along  Ocean Parkway, near the remote beach towns of Gilgo and Oak Beach in Suffolk County. Most of the victims were sex workers , and some were even found via Craigslist.

You can find the full video on my YouTube channel, where i share more details on the case and a process of this card.


For this project I used the new OddBall Premium Membership exclusive image. For $15 a year, you get full access to all previous Creepy Cute Chronicles newsletter freebies, premium version of the freebies, and an exclusive stamp set not available in stores.


Make sure check out the OddaBall website today! While you're there, browse through all the wonderfully creepy cute images in the shop. Remember to use coupon code Eny1 to get 1 FREE image with the purchase of two!

Stay safe and stay crafty!
Eny Dunn

Sunday, June 14, 2020

✌๐Ÿผ Peace

Big eyed hippy chick Audrey
     Hello Chris here on the  Oddballartstamps  blog today with a card I call Peace on earth.  This digital image (Number 207- Big eyed hippy chick Audrey) was created for Earth day but given the state of things lately I thought it would work for my peace card.  The world could use a little peace from all the turmoil, don’t you think?   Like the song goes “let there be peace on earth and let it begin with me” (Vince Gill)
     For this card I used copic markers for the stripes and mermaid lagoon distress oxide for the drips.  The peace sign and heart are watercolor (brights by Jane Davenport) and Miss Audrey is colored with Blackwidow pencils.
     Take care! ๐Ÿ˜˜

Wednesday, June 10, 2020

Kawaii Unicorn Girl Chibi Jaz So Sweet & Sour Image No. 268

Hello! I have a project today using Kawaii Unicorn Girl Chibi Jaz So Sweet & Sour Image No. 268.


This image is so cute! I decided to create a slimline card because the image is tall and it would be a good pairing. For coloring the image I used Zig watercolor markers. 

I created the background with a stencil and black soot distress oxide. The sentiments are from Tim Holtz. I die cut the slimline card from Pink Fresh Studio dies. 

I hope this provides inspiration for using this adorable stamp.