Sunday, November 7, 2021

Thank you

 Hi crafty friends

Today I want to share with you a Thank you ATC card since Thanksgiving is coming up.


Lately I am experimenting with some different mediums and techniques. Suddenly I stumbled upon a video from someone who did a Master board tutorial. I never heard about that and I was instantly sold. It is the creation of a background on a big piece of paper that you can cut into smaller cards or ATC cards or tags. Clever right? 

So I took all my acrylic paints, brayer, stencils, stamps and started the process. So relaxing.

The sheet turned out so pretty and I could cut 8 ATC cards out of it. Here is a selection of 6 of them. 


Then I printed Image nr 6 Moonbeam, and I colored her with regular coloring pencils. Mine are from Arteza (and I am not happy with them. I already gave my husband several hints that I want Faber Castell Polychromos for my birthday 😜)

https://www.oddballartco.com/product-page/digital-stamp-cute-big-eye-girl-moonbeam-image-no-6


I glued her onto one of the cards and added a bit more interest with washi tape and some harts with texture paste. And I also added 'Thank you' because this is going to be a Thank you card. 


I just love how this card turned out and creating a Master board has become one of my favorite things to do in my spare time. So relaxing. 

Hope you like it as much as I do. Stay tuned for more cute cards. 


Wednesday, October 27, 2021

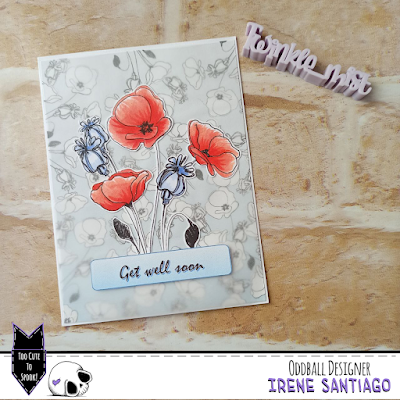
Get well soon!

Hello!

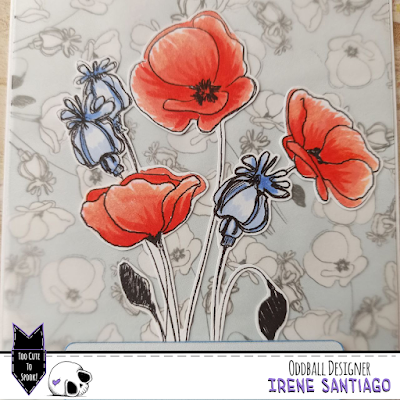
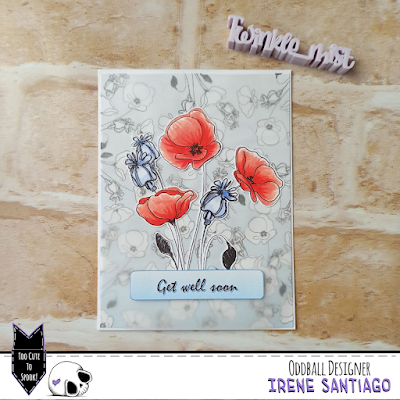
The card that I show you today, apparently complicated, is very simple and is made with a single Oddball Stamps imagen, #534 Bee Happy Spring Flowers, Bees and Sentiment


To do it, I first printed the image and colored it in a large size that would fill the front of the card.


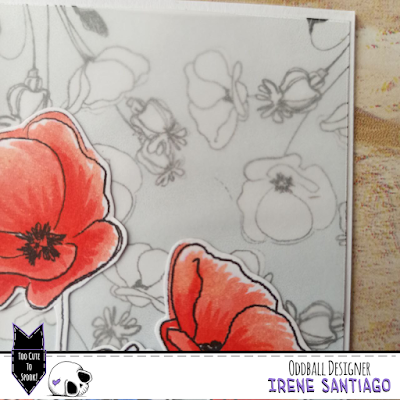
To make the background I used an image editor (I have the GIMP program installed), and in it I opened a document with a colored background with a smooth gradient and, on top of it, I placed the image in small, using the png format, rotated in different directions; exactly the same as when we make a background by repeatedly stamping a physical stamp.

I then printed the resulting image and cut a panel slightly smaller than the size of my card.


I cut a piece of vellum paper of the same size and glued them with small dots of the glue that is less visible; four dots in the corners and a slightly larger amount just below where the big picture and sentiment will go. And all together I glued it to the base of the card.

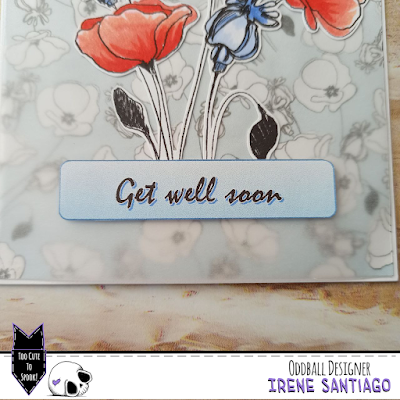
Finally I pasted the main image and the sentiment, which I printed in colors to match the background, with a little volume.


As you can see, very simple to do and relatively fast (depending on the skill you have when handling the image editor)


I hope you like it and inspire and encourage you to make your own creations.

I remind you that you have the discount code DTIRENE10 for your purchases in the Oddball Stamps store and the hashtag #creepycutechronicles to share your work on the networks.

See you!

Sunday, October 24, 2021

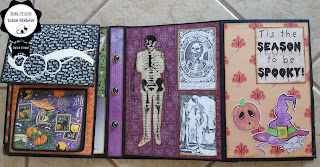
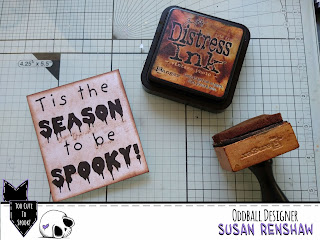
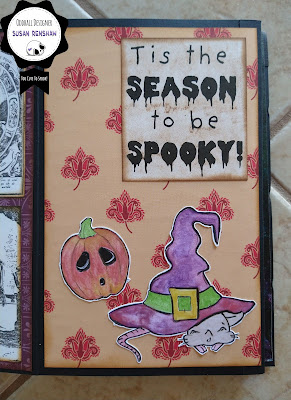
Tis the season to be spooky


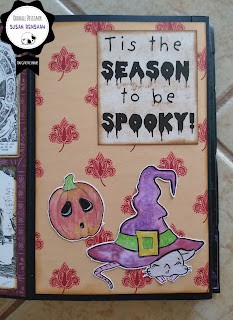
For this inspirational make I have used images and sentiment from CCC125 Spooky Season
If you still have Halloween projects to make do look at the website for all the suitable images! 

You will find a similar post on my blog and maybe some other posts you will like!

Oddball Art Stamps

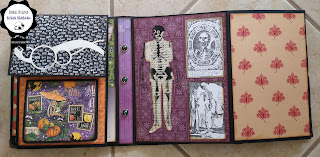
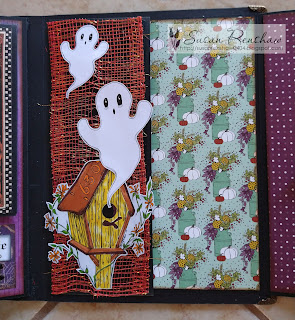
During October I have been making a Halloween album (see more on my blog) and this is another page - but the parts could equally make a card...


Recipe:
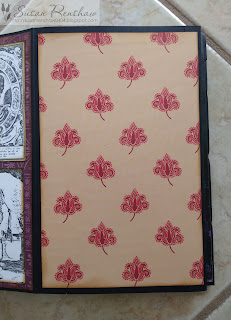
Step One. Page matted with a paper from my stash with vintage photo Distress Ink around the edges.


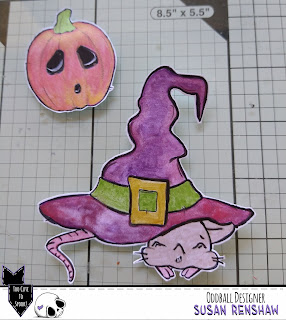
Step Two. Print the images and paint with shimmery watercolours.


Step Three. Cut out the images.


Step Four. Add vintage photo to the sentiment and trim, adding the Distress Ink to the edges.


Step Five. Adhere to the page.


Happy Crafting!


If you would like to buy any of Lizzy's Oddball images use my DT code: DTSUSAN10
This coupon code is for 10% OFF the entire Oddball Art Website


Wednesday, October 13, 2021

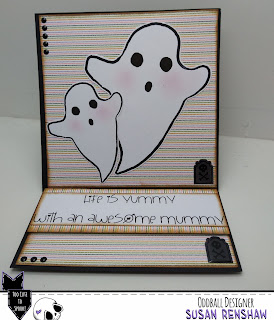
Life is Yummy with an Awesome Mummy.


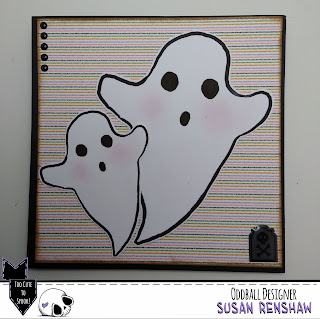
For this inspirational make I have used a ghost image from CCC124 Ghosts in the Mist and
the sentiment from CCC151 from Oddball Art Co 
You will find a similar post on my blog and maybe some other posts you will like!

Oddball Art Stamps

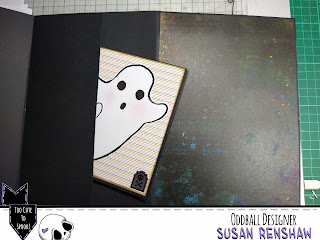
During October I have been making a Halloween album (see more on my blog). It has several pockets in which I am putting Halloween cards.


 I have made an easel card to go in one of the pockets - this is the front and what appears as you take it from the envelope.


Recipe:
  1. Base made from a square black card blank plus an extra square of black card. One side of the base is folded in half to form the easel for this.
  2. Layers of Stampin' Up Halloween paper on the base and the extra card.
  3. Ghosts printed in two sizes and cut out.
  4. I am using CCC151 Premium Mummy's Day sentiment to form the stand.
  5. Additional puffy embellishments from Stampin' Up.
Happy Crafting!


If you would like to buy any of Lizzy's Oddball images use my DT code: DTSUSAN10
This coupon code is for 10% OFF the entire Oddball Art Website


P.S. Find a make using another ghost image from Oddball Arts on my blog here.

Tuesday, October 5, 2021

Just some Halloween inspiration!


 Oddball Art Stamps has many suitable images for Halloween...
Do you need to make some cards or some decorations?

I am just about to get out my Halloween box and I know it contains these two paper dolls!

Find more details of this one here. It used last year's October exclusive.


And this one here. On this I used papers from Oddball Art Stamps Papers.

I love this sentiment:


Happy Crafting!


If you would like to buy any of Lizzy's Oddball images use my DT code: DTSUSAN10
This coupon code is for 10% OFF the entire Oddball Art Website


Saturday, October 2, 2021

🎃 HALLOWEEN INSPIRATION PROJECTS🎃


Hello Oddballers!


I´m Natalia (@la_maleta_encantada_scrap). Welcome!! 😄.


Today I show you some inspiration projects if you would like the theme "Halloween". 


REMEMBER! You can use my code DTNAT1 if you would like to buy 2 digital stamps and get 1 free on Oddballartco.com.


You can share your projects with #creepycutechronicles on Instagram and on Facebook and Wix group.


With LOVE,


Natalia 💜 


Web Oddball Art Stamps: https://www.oddballartco.com/


Visit me:

Instagram : https://www.instagram.com/la_maleta_encantada_scrap/

Facebook: https://m.facebook.com/lamaletaencantadascrap/?locale2=es_ES

Youtube: https://www.youtube.com/channel/UCqvaQgT5Lv0InriJeEhWYmA

Halloween profile: https://www.instagram.com/p/CA81owjnB7x/?igshid=wzxqj0bfxtmt 


Monday, September 20, 2021

Halloween is Coming! Another Oddball rerun...

 Halloween is coming and there are so many suitable images in Oddball Art Co


You may remember this from  Oddball Art and my blog Calling All Crafters! a couple of years ago...

I made a spooky altered box using many Oddball images:


Inside I put many ATCs and ATCoins...


This uses all Oddball images:
 If you would like to buy any of Lizzy's Oddball images use my DT code: DTSUSAN10
This coupon code is for 10% OFF the entire Oddball Art Website


Happy Crafting!

Wednesday, September 1, 2021

Baby Shower Thank You Cards

 Hey Creepy Cuties!

Celia from Paper Beats Rock Designs here to share some Thank You cards I created using the so adorable stamp № 269 Baby Hanging Clothesline.

I started by coloring my printed stamps and fussy cutting them out. I found it was easier to cut them out by starting at the top of one of the bows, looping around to the bottom, and cutting out the stuffed animals. 

I cut down two sheets of pink cardstock to make four A2 size cards. After that I grabbed two double sided patterned papers from Crate Paper and cut them to 2½ x 5¼ inches and 1.¾ x 5¼ inches to build my front panels. 

I then diecut a few stitched rectangles from those same papers and coordinating and one to stamp my "thank you"s on with stamps from my stash.

To finish them off, I popped some rhinestones and pearls on them. I think they came out super cute and I can't wait to send them out.