Friday, February 14, 2020

Princess Ash


I was so excited when Lizzy announced that Princess Ash was going the be the new freebie for this week’s newsletter.
She is from a 2013 painting that Lizzy did, isn’t she gorgeous?  I hope you enjoy my version.
My first layer is copic marker (131-132 Master’s touch) .  Adding copic markers under colored pencils adds depth.
Next I began to add pencils to her face.   (914, 956, 1008, 1014, 1026,1081, 1092 Prisma premier colors)
This was a new skin combination for me, I wanted to push myself to try something different.  Her hair color is comprised of colors (914, 1092, 1029, 1095 PPCP)
First layers of the bokeh background using  Caron d’ache neocolor pastels.  Next I added layers of Prismacolor
pencils over the pastels, and added color to the bubbles.  I finished this picture by adding a mixture of purple and gray splatters.  With a name like Princess Ash I thought a few drops of ash on her face a suitable!
Happy Valentine’s Day!

Thursday, February 13, 2020

Creepy Cute Girl Kendell Collector of Hearts Image No 131


Hello!!! One more day till Valentines/Galentines day!!! I gravitated towards 

Creepy Cute Girl Kendell Collector of Hearts Image No 131 for this card. 


I watercoloured the images with Zig Clean Color Real Brush Markers. They are easy to use and pack a punch of colour. Tip - use Bristol Smooth cardstock. I highlighted the image with Faber-Castell Polychromos Colored Pencils. It's my new fav technique. 

The background I used an embossing folder. I think they are underrated tools which quickly add texture and dimension to a card. I blended over it with Distress Oxides. 

Happy Valentines/Galentines Day my friends!!!!


If you like this post and want to see more of my work Instagram @rightbrainart and my blog  http://rightbrainart.blog

Tuesday, February 11, 2020

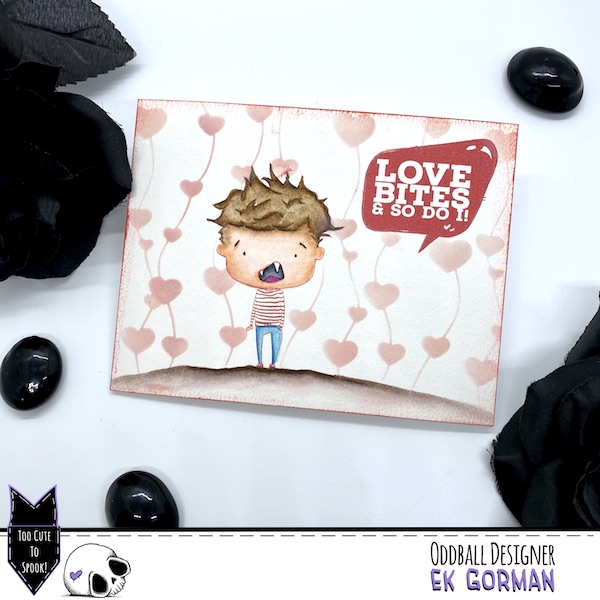
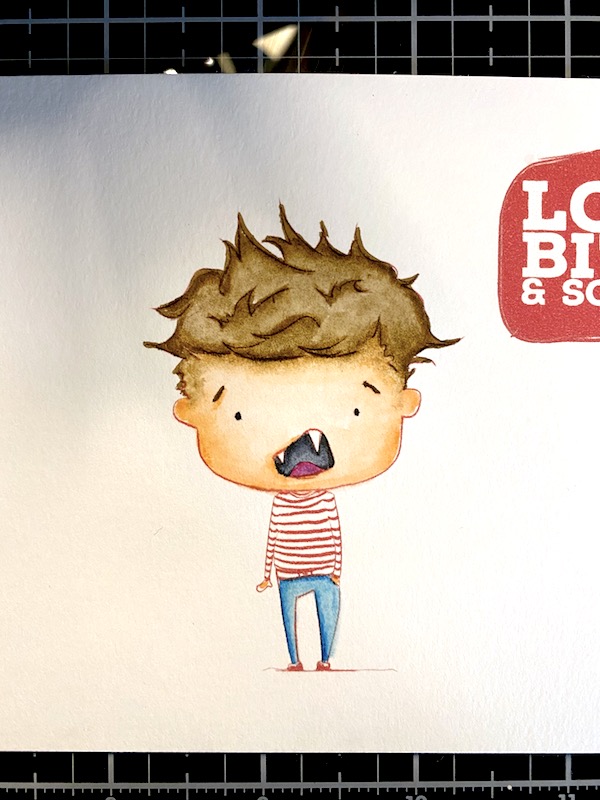
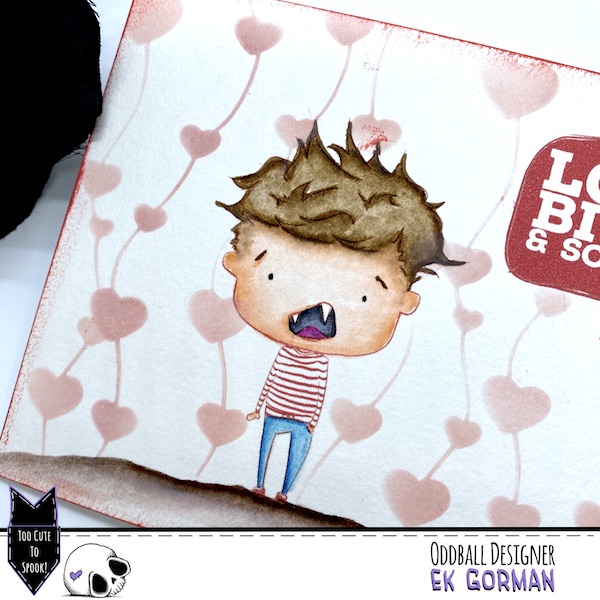
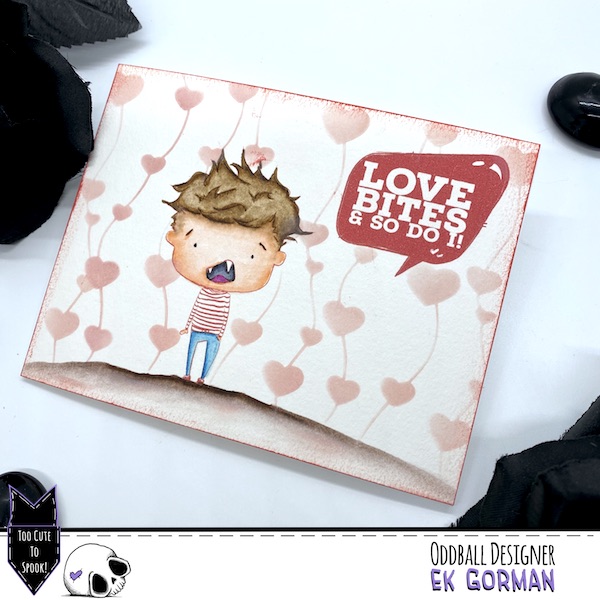
Love Bites

IMG_E9081
Hey Oddballs, it's EK.  I really do love a Valentine's Card with a twisted sense of humor.  I mean, Valentine's Day can get so over blown, so finding an image that is a little humorous really makes me excited.  I am just loving IMG506 Mr. Valentine from Oddball Art because it has exactly that bit of love and humor I am always looking for.

IMG_9075
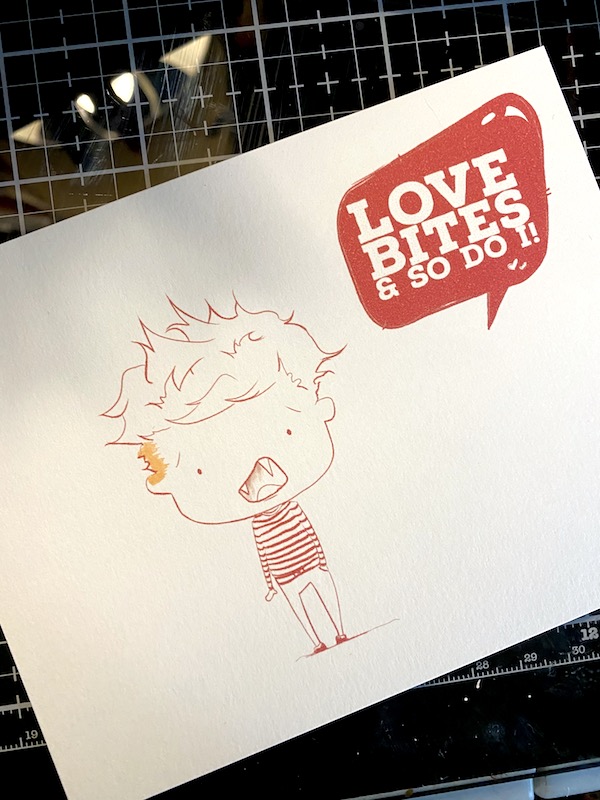
I printed out the image onto some watercolor paper using red ink.

IMG_9076
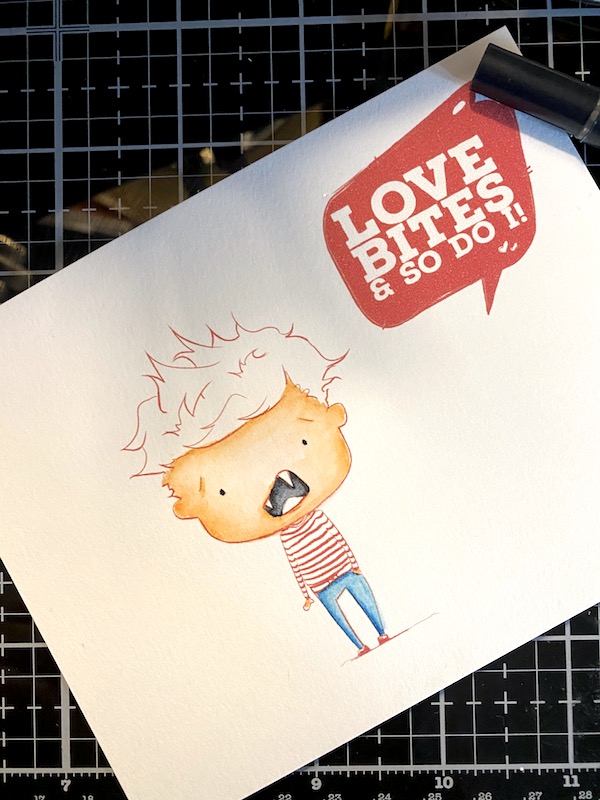
Using Tombow markers, I colored in the image.

IMG_9077
I would outline the digital image lines with the marker...

IMG_9078
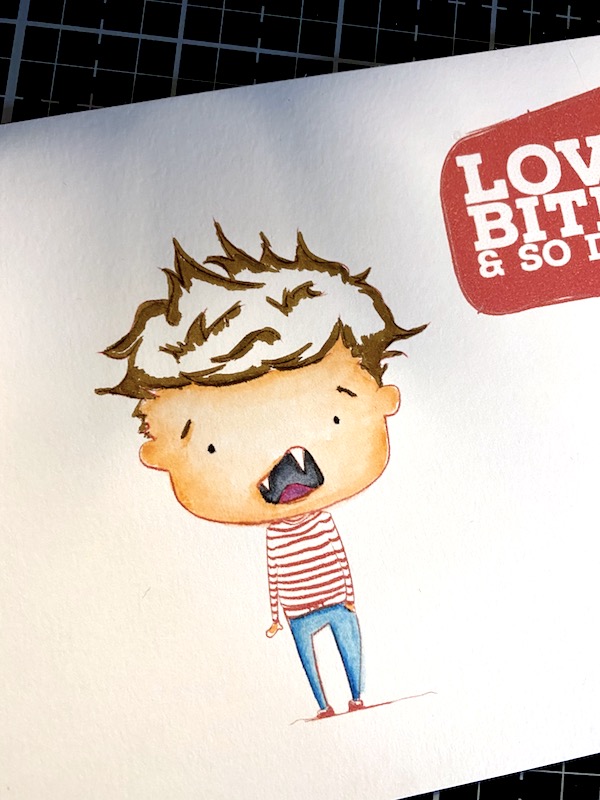
Then using the blender pen, I blend out the marker.

IMG_9080
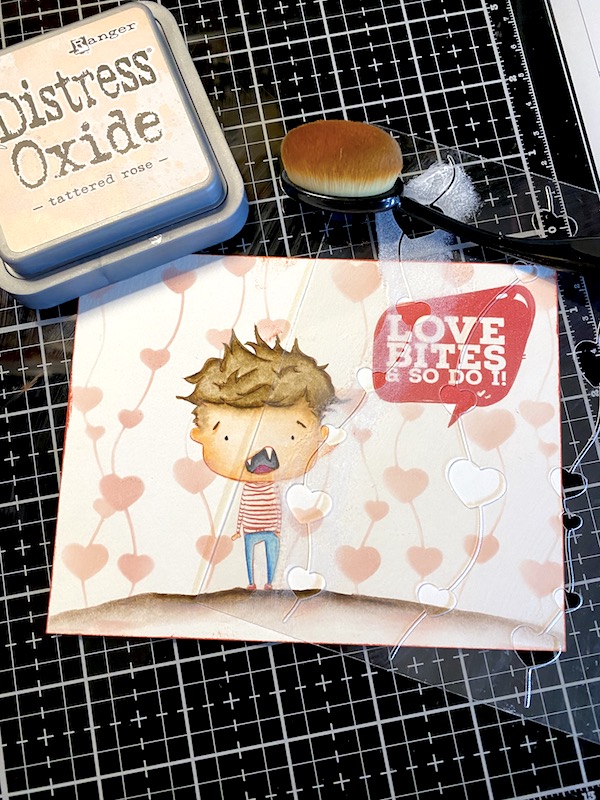
Using a stencil and some Distress Oxide in Tattered Rose, I added a little background hearts.

IMG_E9082
Finally, I added a bit of red ink around the edges and added the image onto an A2 card frame!

IMG_E9084
Let me know what kind of Valentine's are your favorite to make in the comments below.  Until then, Happy Crafting!

Monday, February 10, 2020

Take Note Fiona

Hello!

Happy Monday! It’s Monica from 
OwlMakeItCrafts here again to share some inspiration using another adorable image. I have taken up the task of posting a project every Monday during this month and I am very excited to share different images with you  and would love for you to join me each week and leave me a comment😊 . You can also find me on Instagram @OwlMakeItCrafts when I don’t post on the blog.
99D54493-B1D7-43C6-ABEE-8F4FDC46F1C2

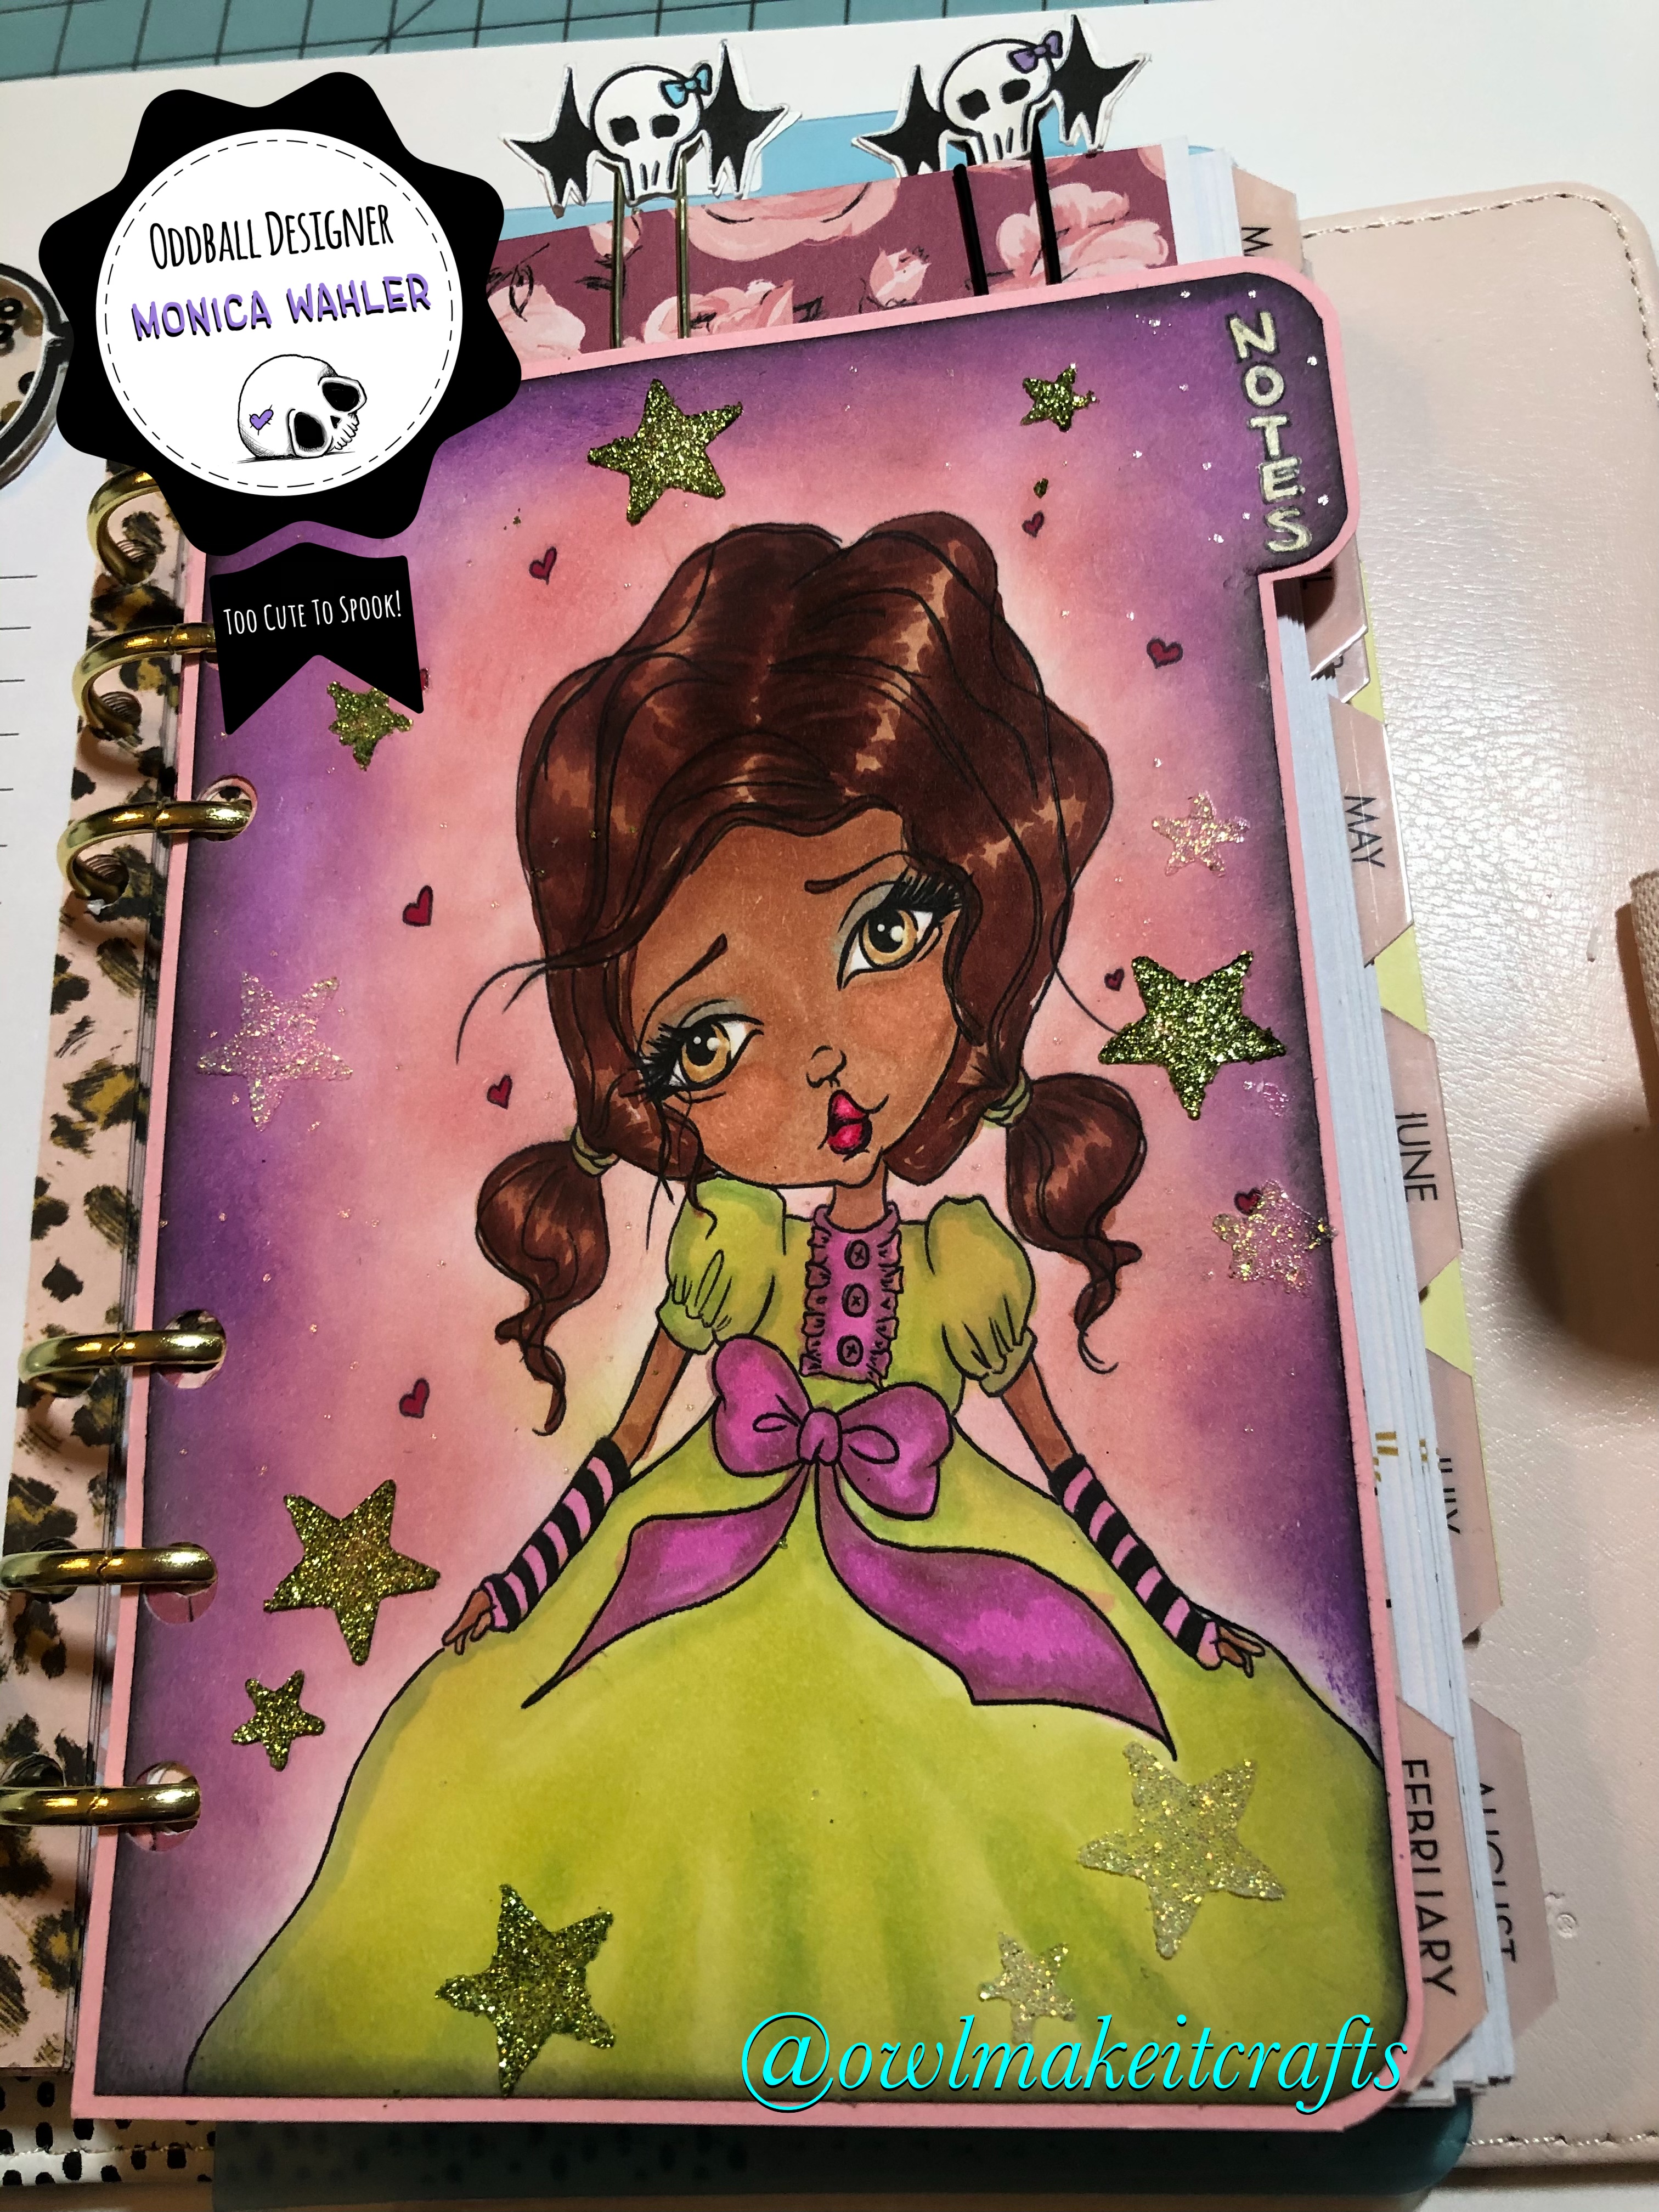
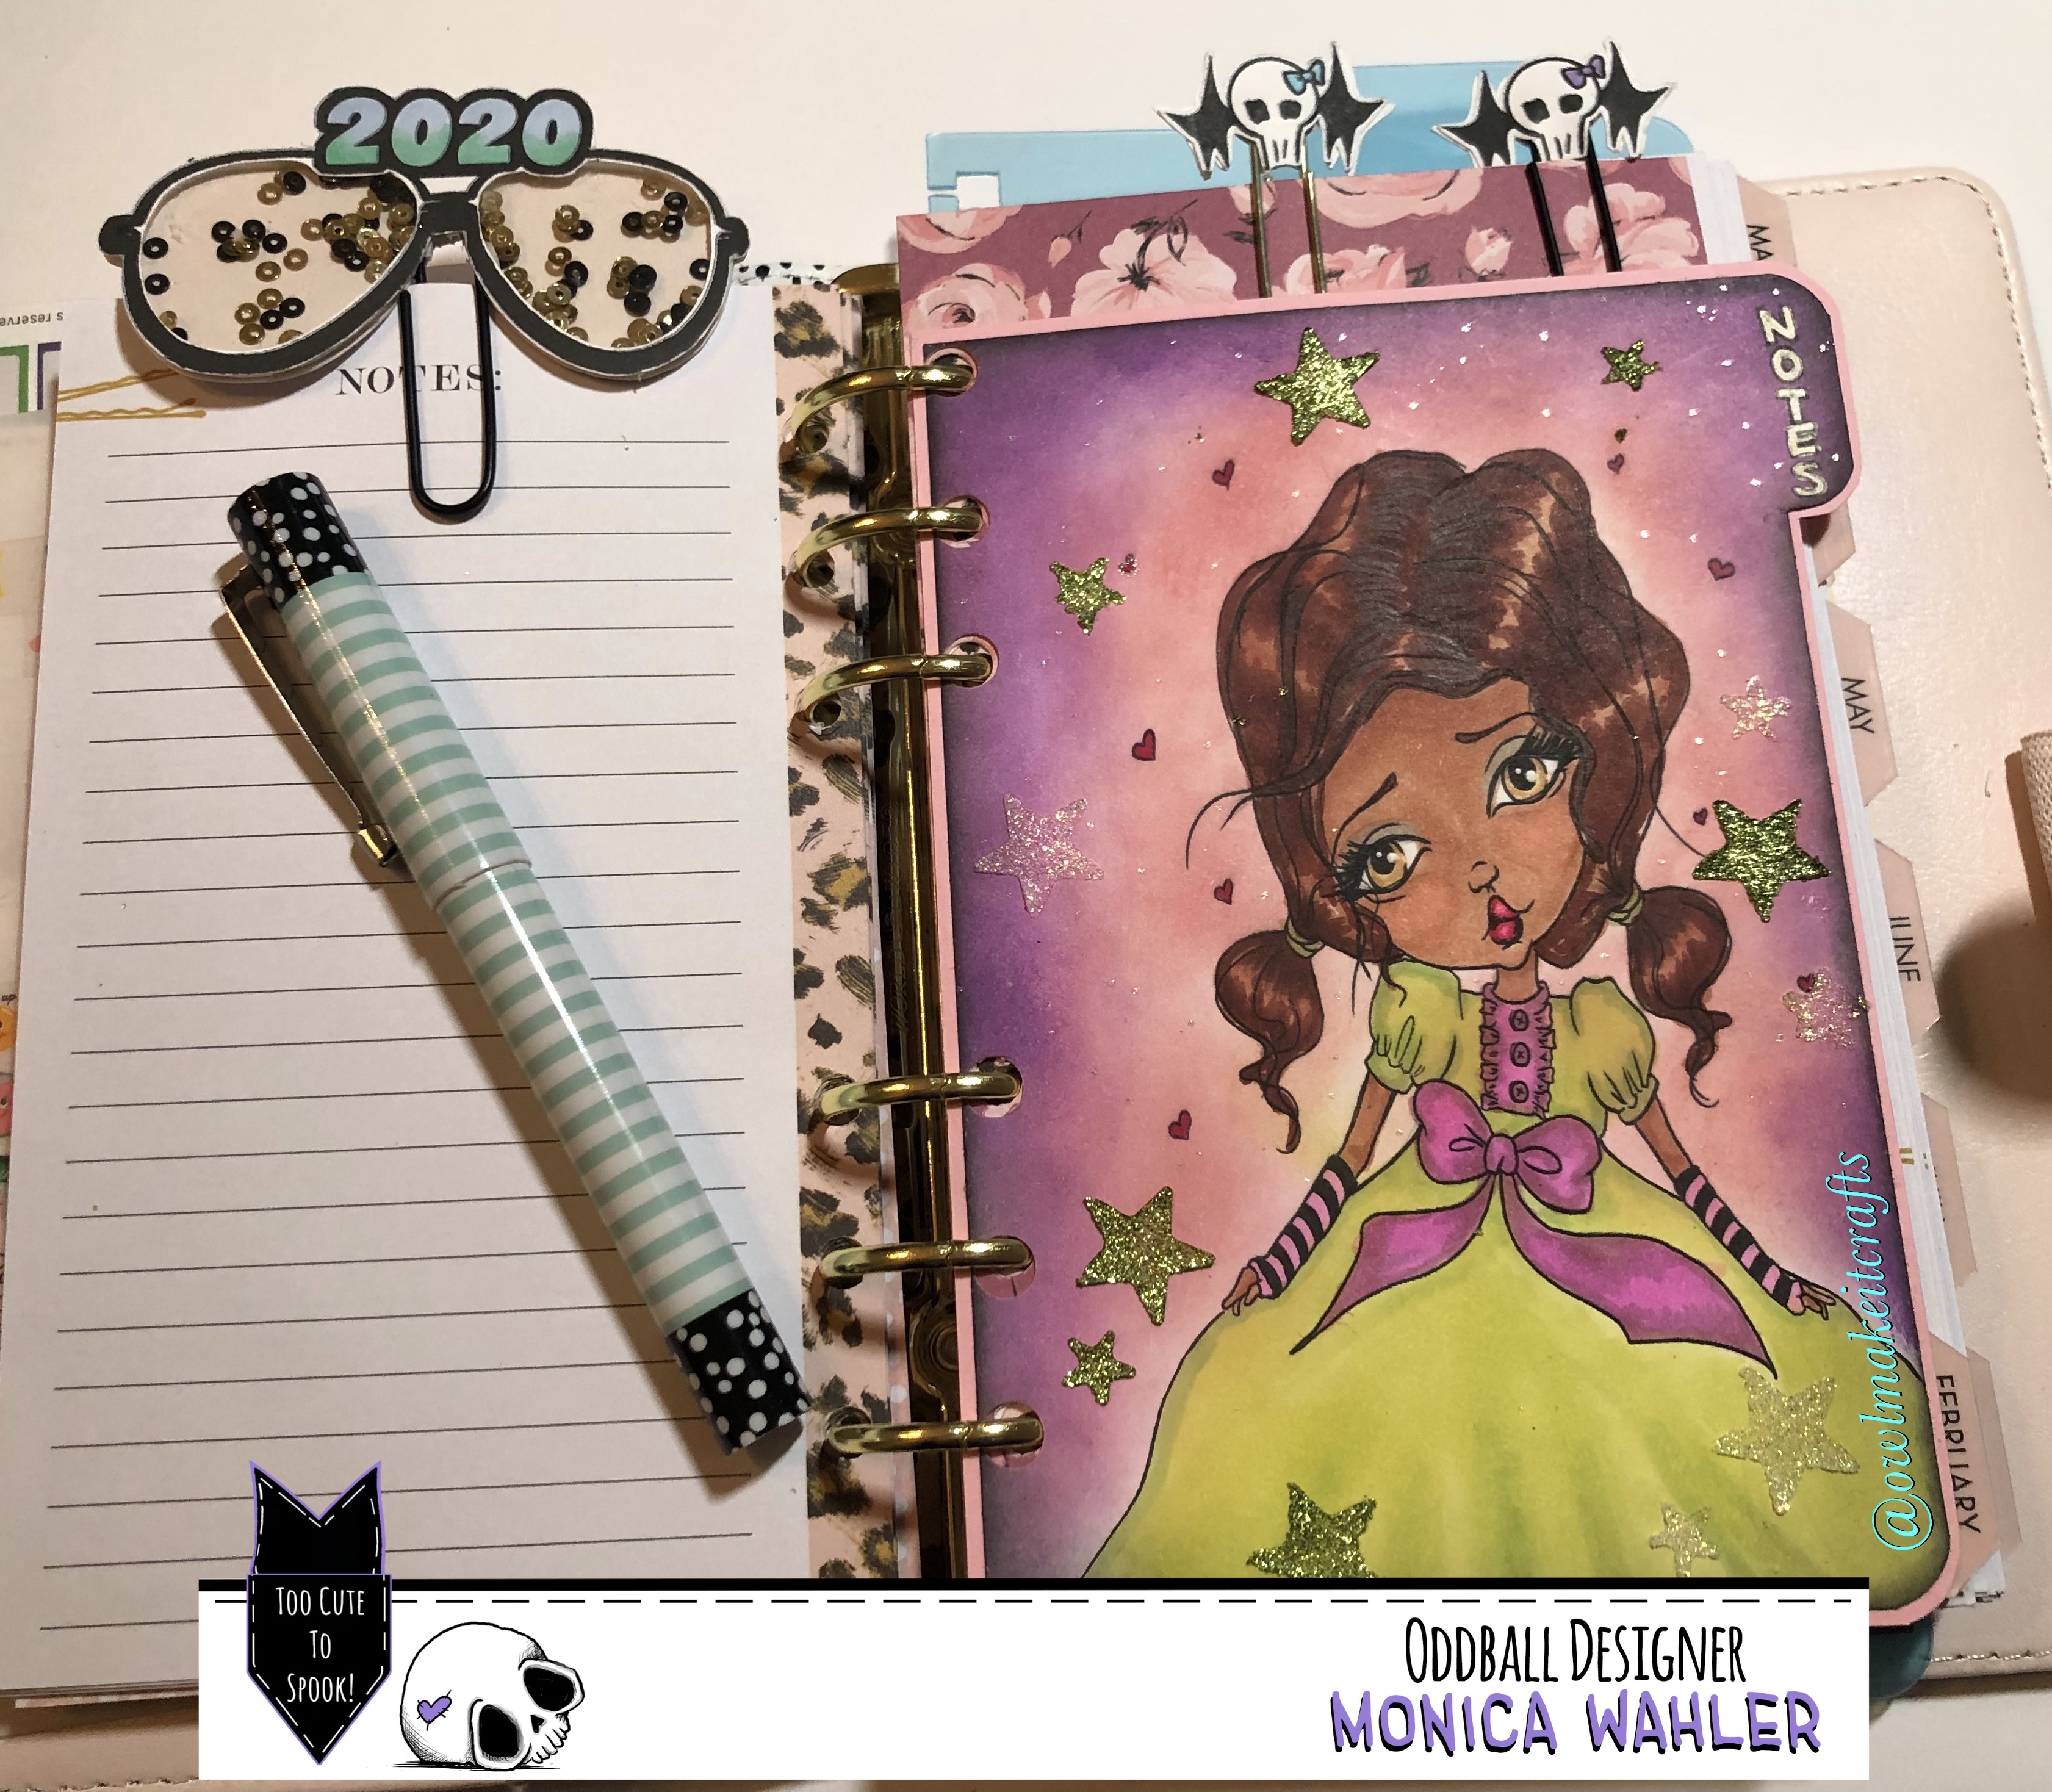
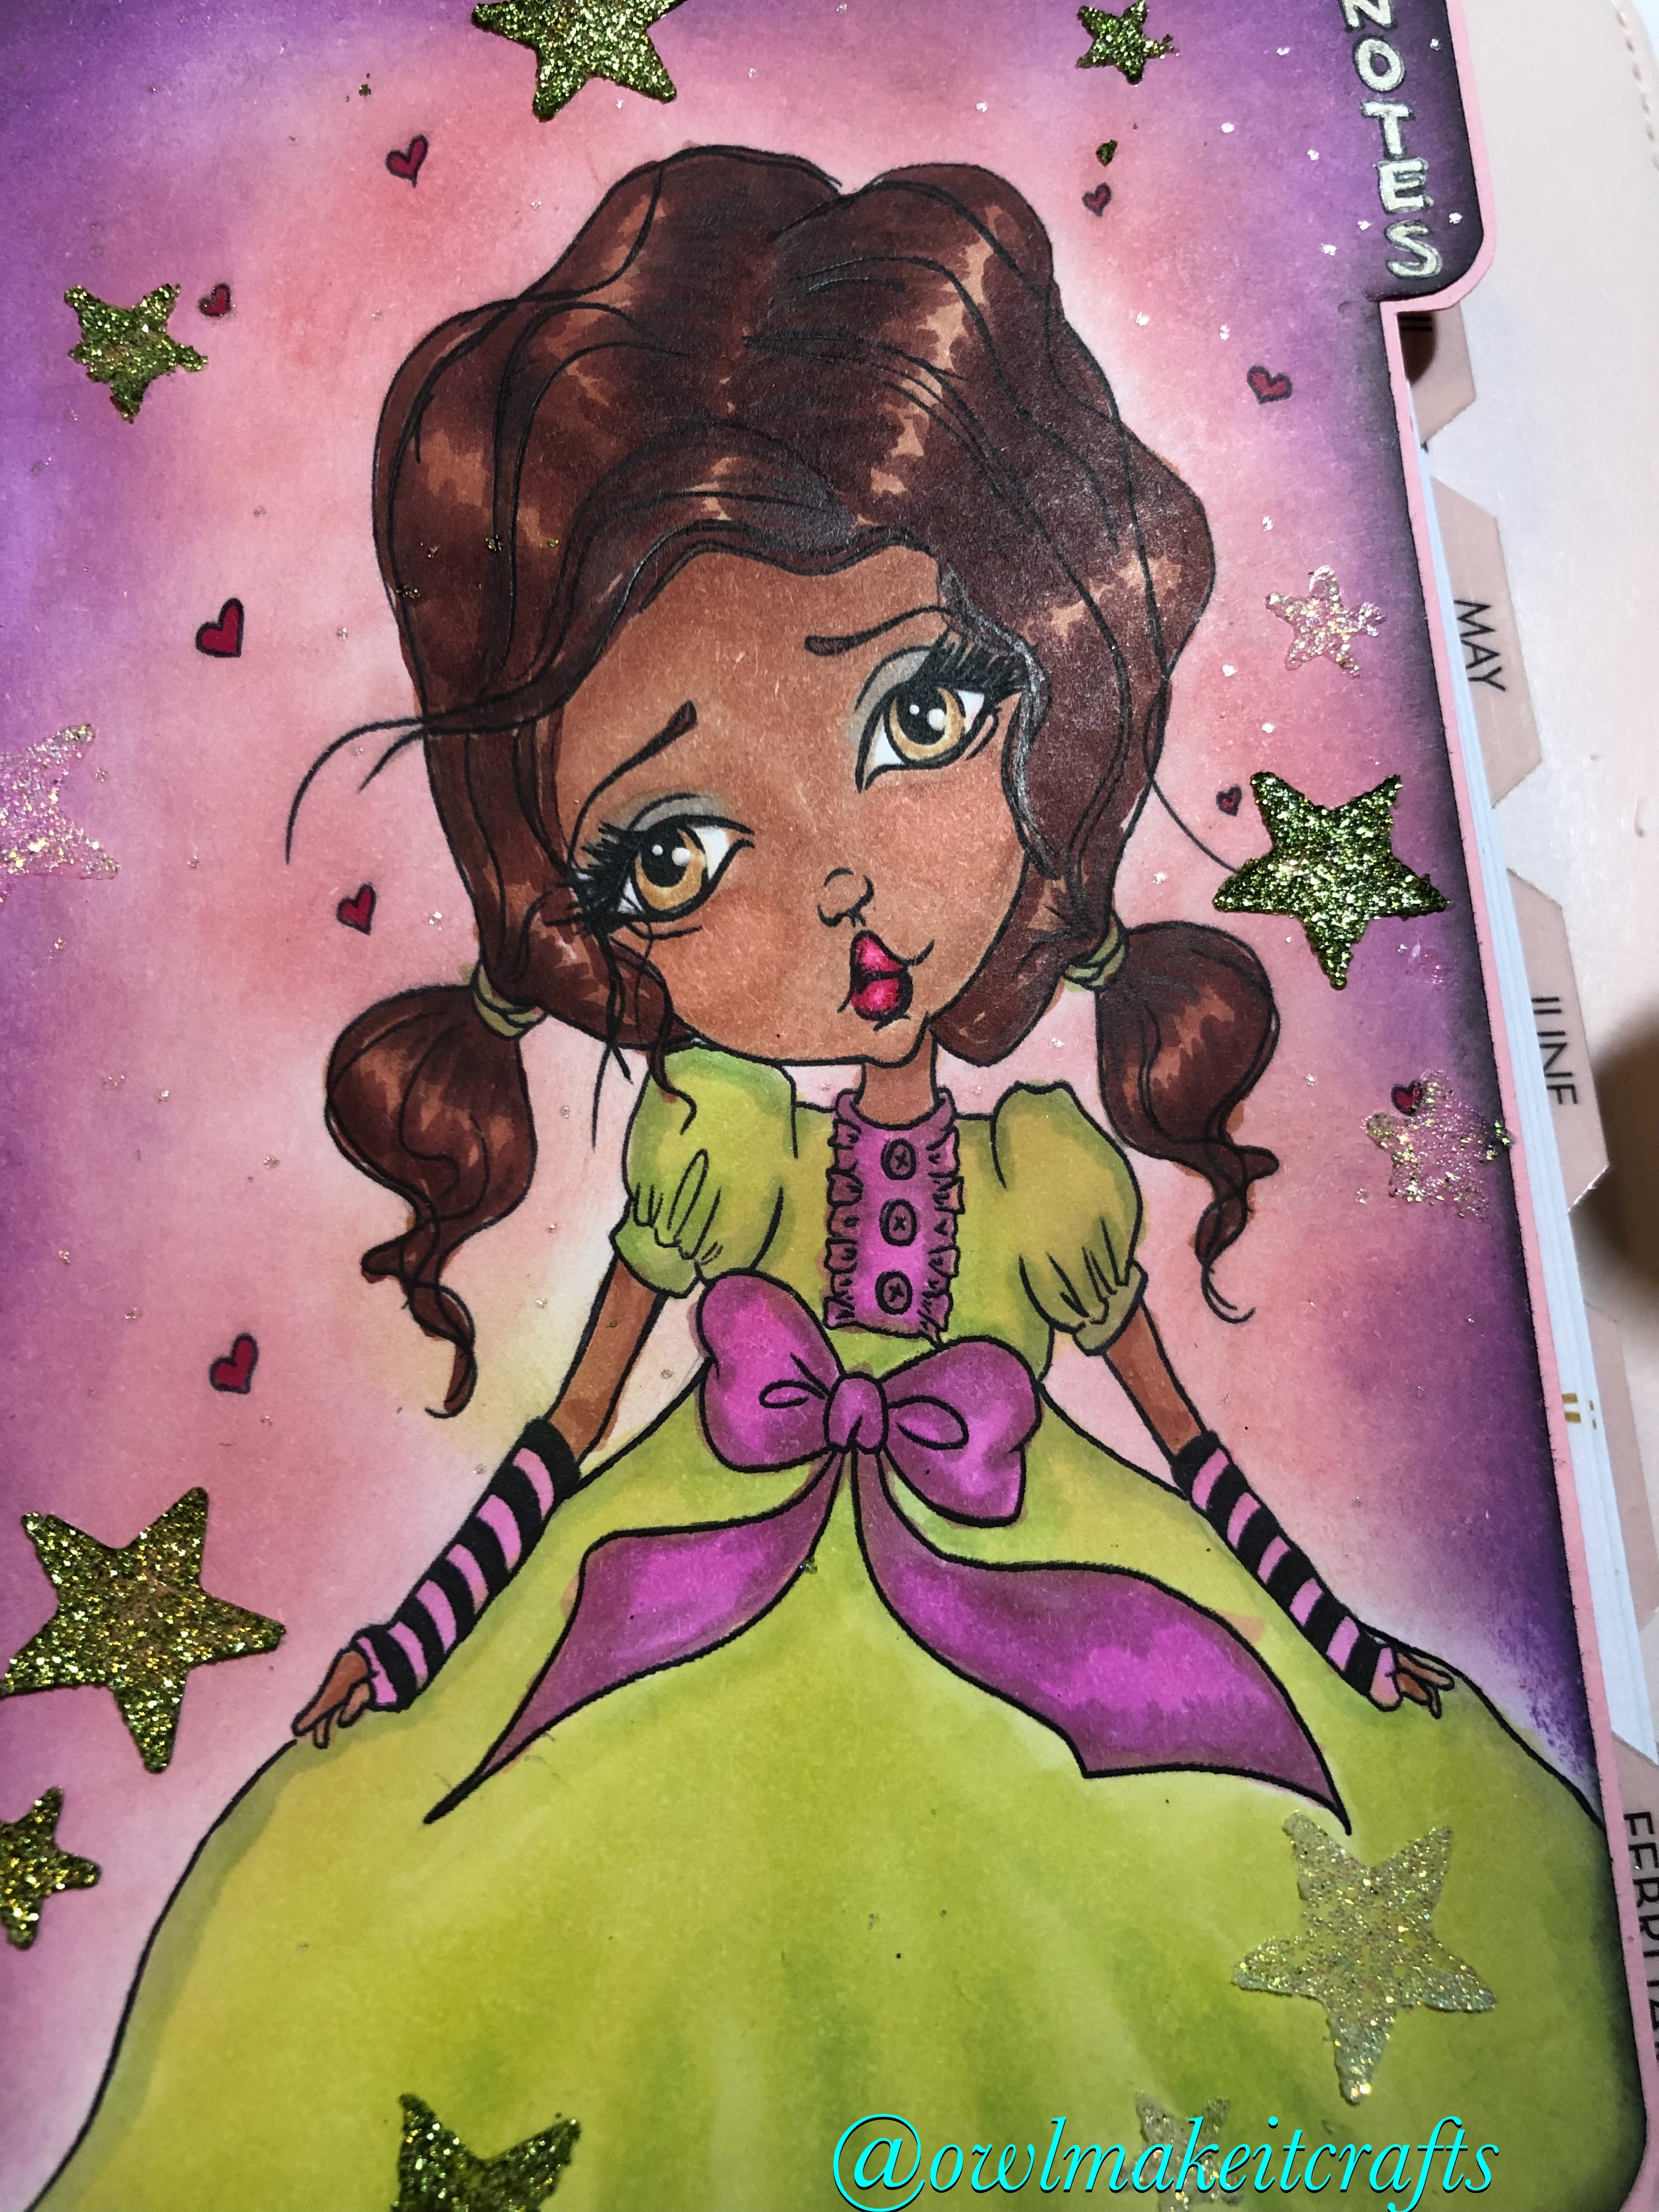
For today’s project I decided to make a dashboard for my planner. I needed to add some paper and a divider to add notes. I wanted something whimsical and the Big Eyed girls collection from Oddball Stamps was perfect. This is Fiona Image #317  and she’s adorable. I stretched the image to fit my planner since it is vertical and the paper is longer.

1C2E0807-A69D-4F82-BC74-1C4199F64C7A

I colored her using Copic and Spectrum Noir markers. I cut the paper like a dashboard with a tab and used Distressed Inks for the background. I then used a stencil with stars and added some glitter paste. Once it was dry I mounted it on pink card stock and punched the holes. With a gold pen I added the word “Notes” and outlined it with a black pen.

BE37D9D6-9AB8-40F4-B9DD-B0C29A174257
This was a very simple project but I love how it turned out. Just thinking that there is so much more you can do than making a card with these adorable images.
Thank you for stopping by and hope to see you back soon ðŸ˜‰
Till next time!
💙Monica

Friday, February 7, 2020

Caged Love/CCC 91 newsletter

Hello everyone!

Eny here, with another fun OddBall project! Tonights Creepy Cute Chronicles newsletter freebie is a fun one! Heart shaped rib cage, for the win! A perfect blend of Creepy and cut , perfect for valentine's day projects.

For todays tutorial, I wanted to use the Premium Membership version of the freebie. If you dont know what the Premium Membership is, let me explain real quick. For $15 a year, you get access to all previous CCC newsletter freebies, a exclusive monthly stamp set not available in the shop and a premium version of the freebie! The premium freebie always includes extra images and/or sentiments, so this is one subscription you dont want to miss out on.


To highlight these fun images,  I wanted to create a layered card, to give the whole look a 3D effect. In my YouTube channel video tutorial, I break down each step, and show my coloring process.

Make sure to visit the OddBall website today,  and sign up for the newsletter! If you decide to browse the wide selection of digital stamp sets, make sure to use coupon code Eny1 to get one FREE image with the purchase of two!

Happy crafting,
Eny Dunn
Lead Ambassador for OddBall

Thursday, February 6, 2020

Falling for you

Valentine’s Day is right around the corner.  Do you like sappy sweet cards or snarky?  Or in Oddball terms Creepy or cute?  This card “floats” between the two!

I always start with the skin because if I mess that up I want to be at the beginning, not the end.
I used Derwent skin tones pencils.  Next I colored her dress.  I chose 4 Prismacolor pencils for her dress and kept
layering them until I was happy. (105,208,905,992)
Next, I colored up the hair, again I chose 4 colors (but I don’t always), I just find it makes a smooth
blend to use four colors. (995, 993, 929)
I used the doodle and dots 8.5 paper pack and layered the sentiment over the top of the stars.  I colored
the clouds (1067, 1065, 1061,1059, cold greys), (925, 923, 922 reds).  I made two copies of the sentiment
background  for this card, you’ll see why later.
 I trimmed the background and used distress  oxide inks to color it. When I tweak it the words will stand
out again. (Black onyx, seedless preserves and blue denim).  I also splattered the background with white paint for a starry sky look.

Ok! So I am a little obsessed with slider cards lately!  See why I needed 2 copies?  I wanted the words be readable.
As you can see I also added clouds to the background
This card was made with digital stamp #125 and digital papers doodle and dots 8.5
Follow me over at Scribble and create with Chris

Monday, February 3, 2020

Birthday Wish

Hello, Monica here.

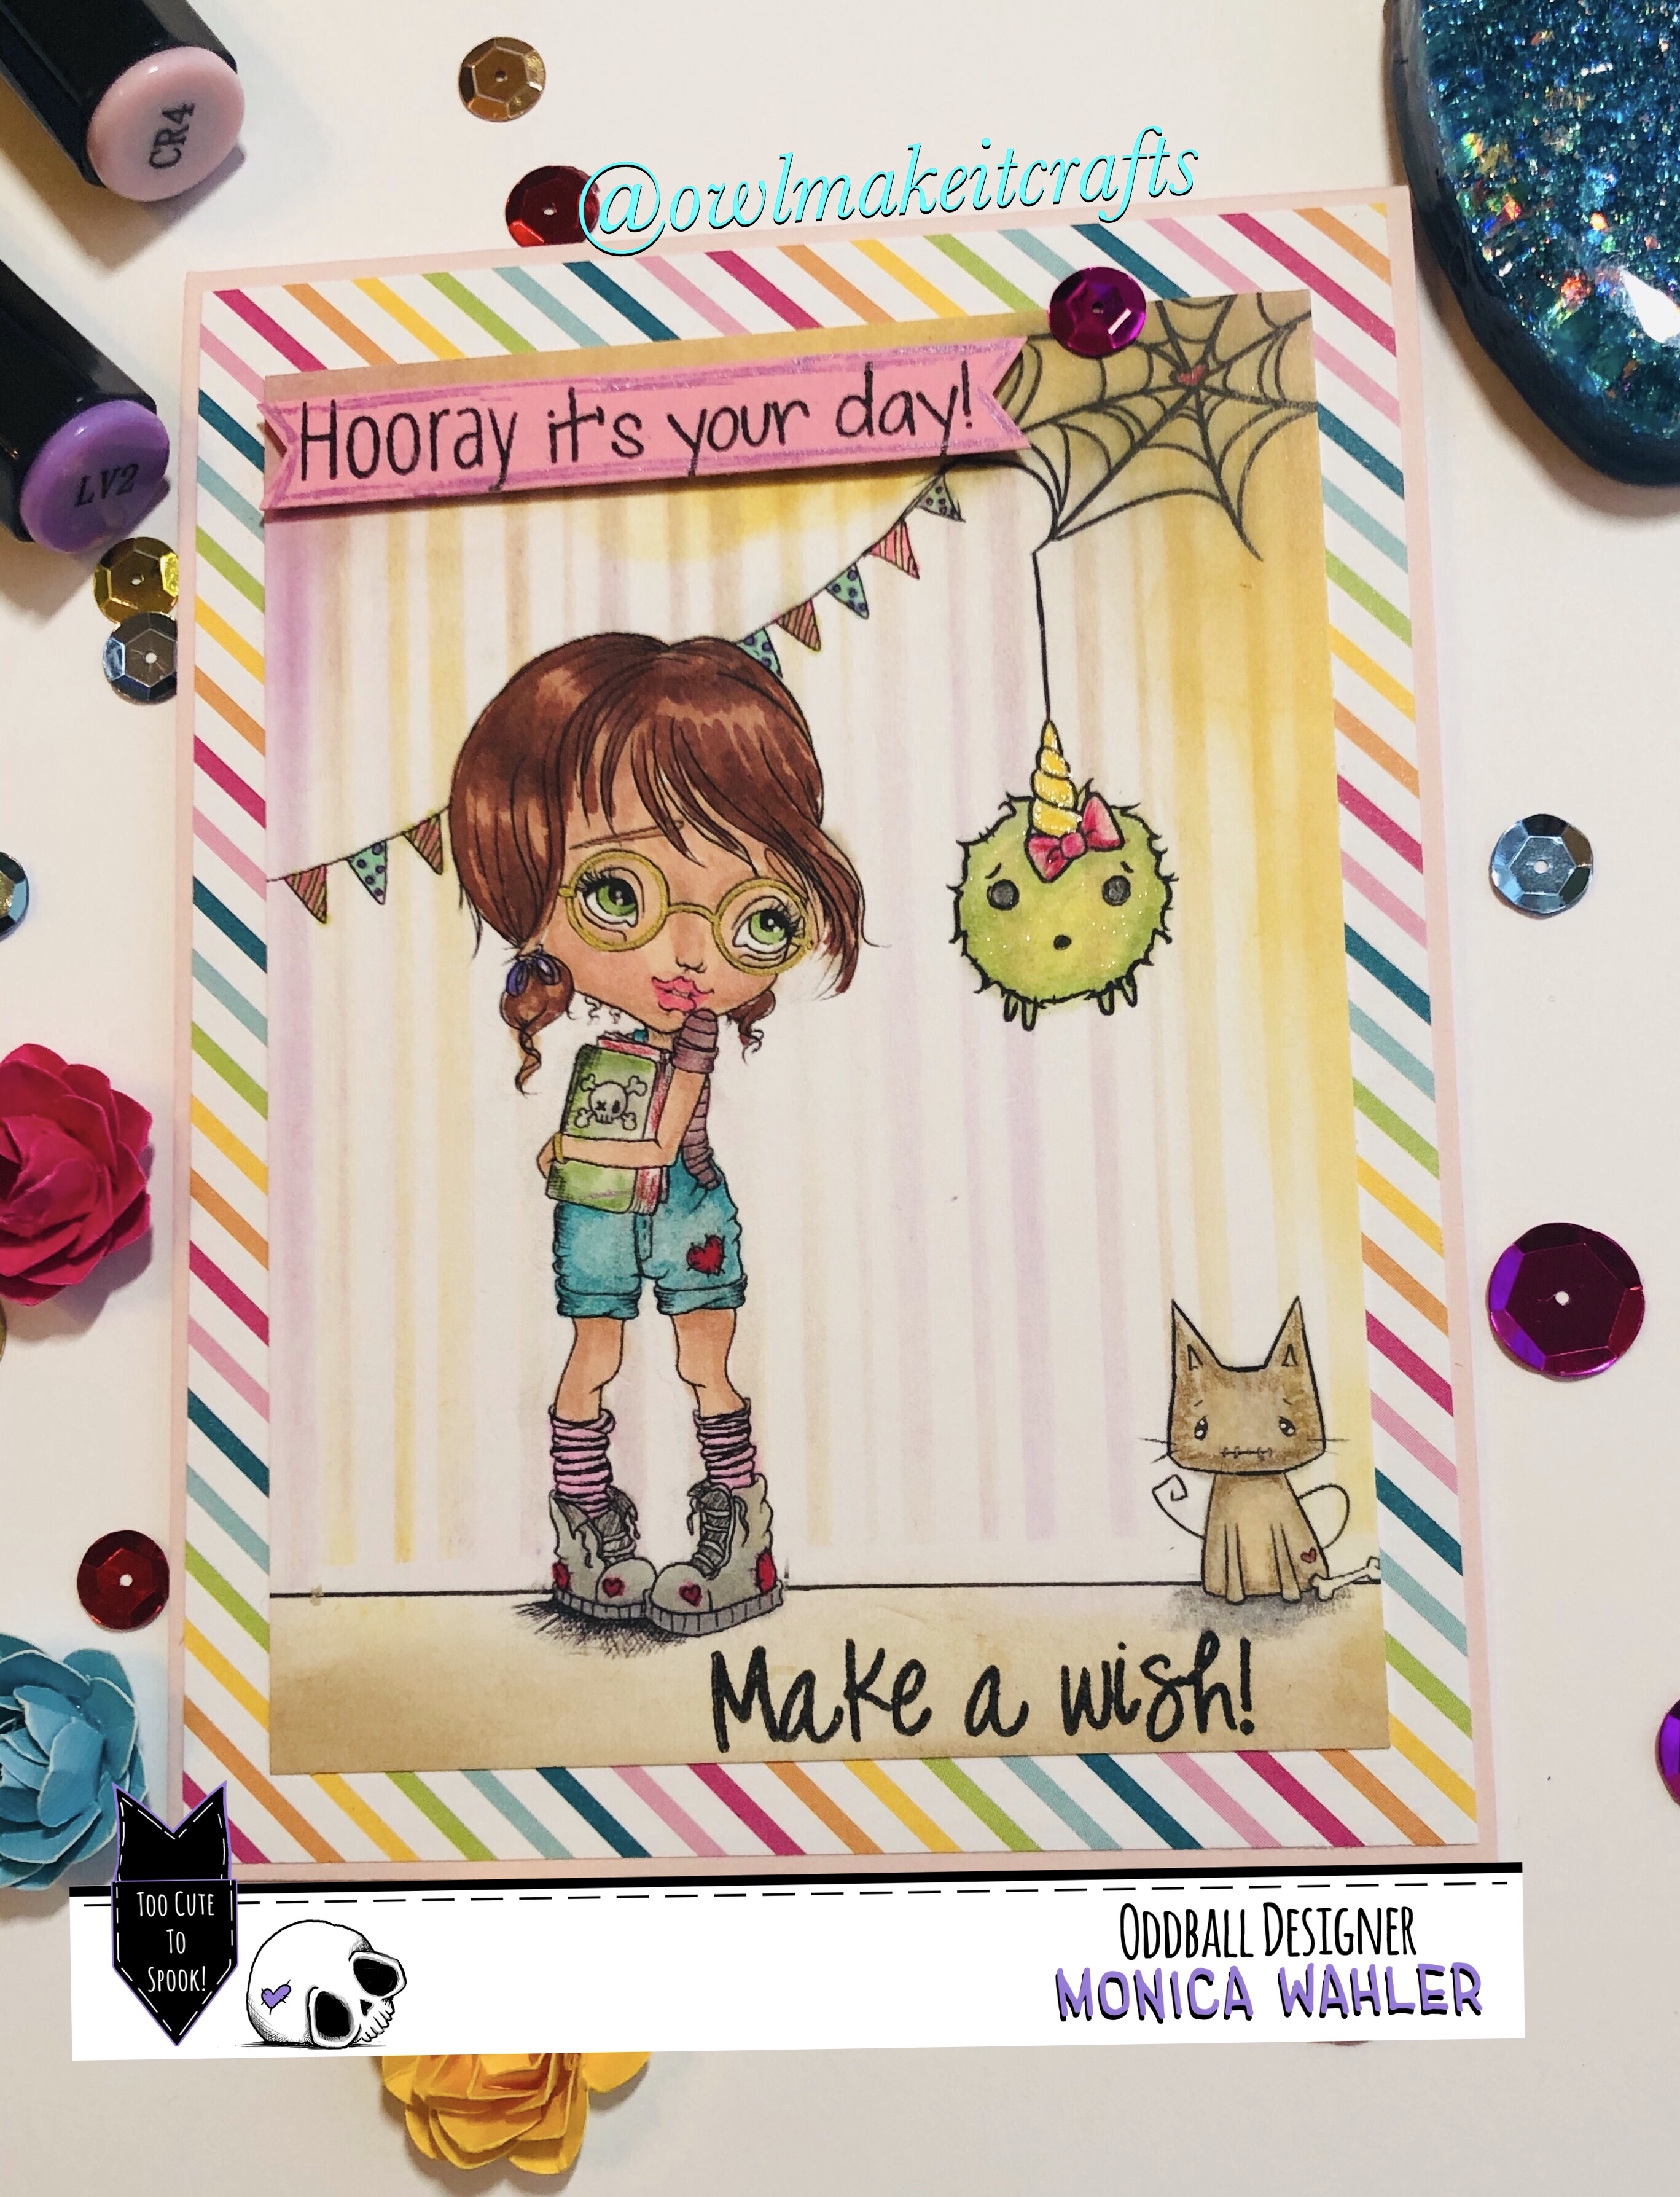
 I am happy to be here today to share a birthday card I made. I have had this idea in mind for a while and I am glad to finally get it done 😊
350EBA61-CC5E-4EDC-B0CC-3F43419FCEA7
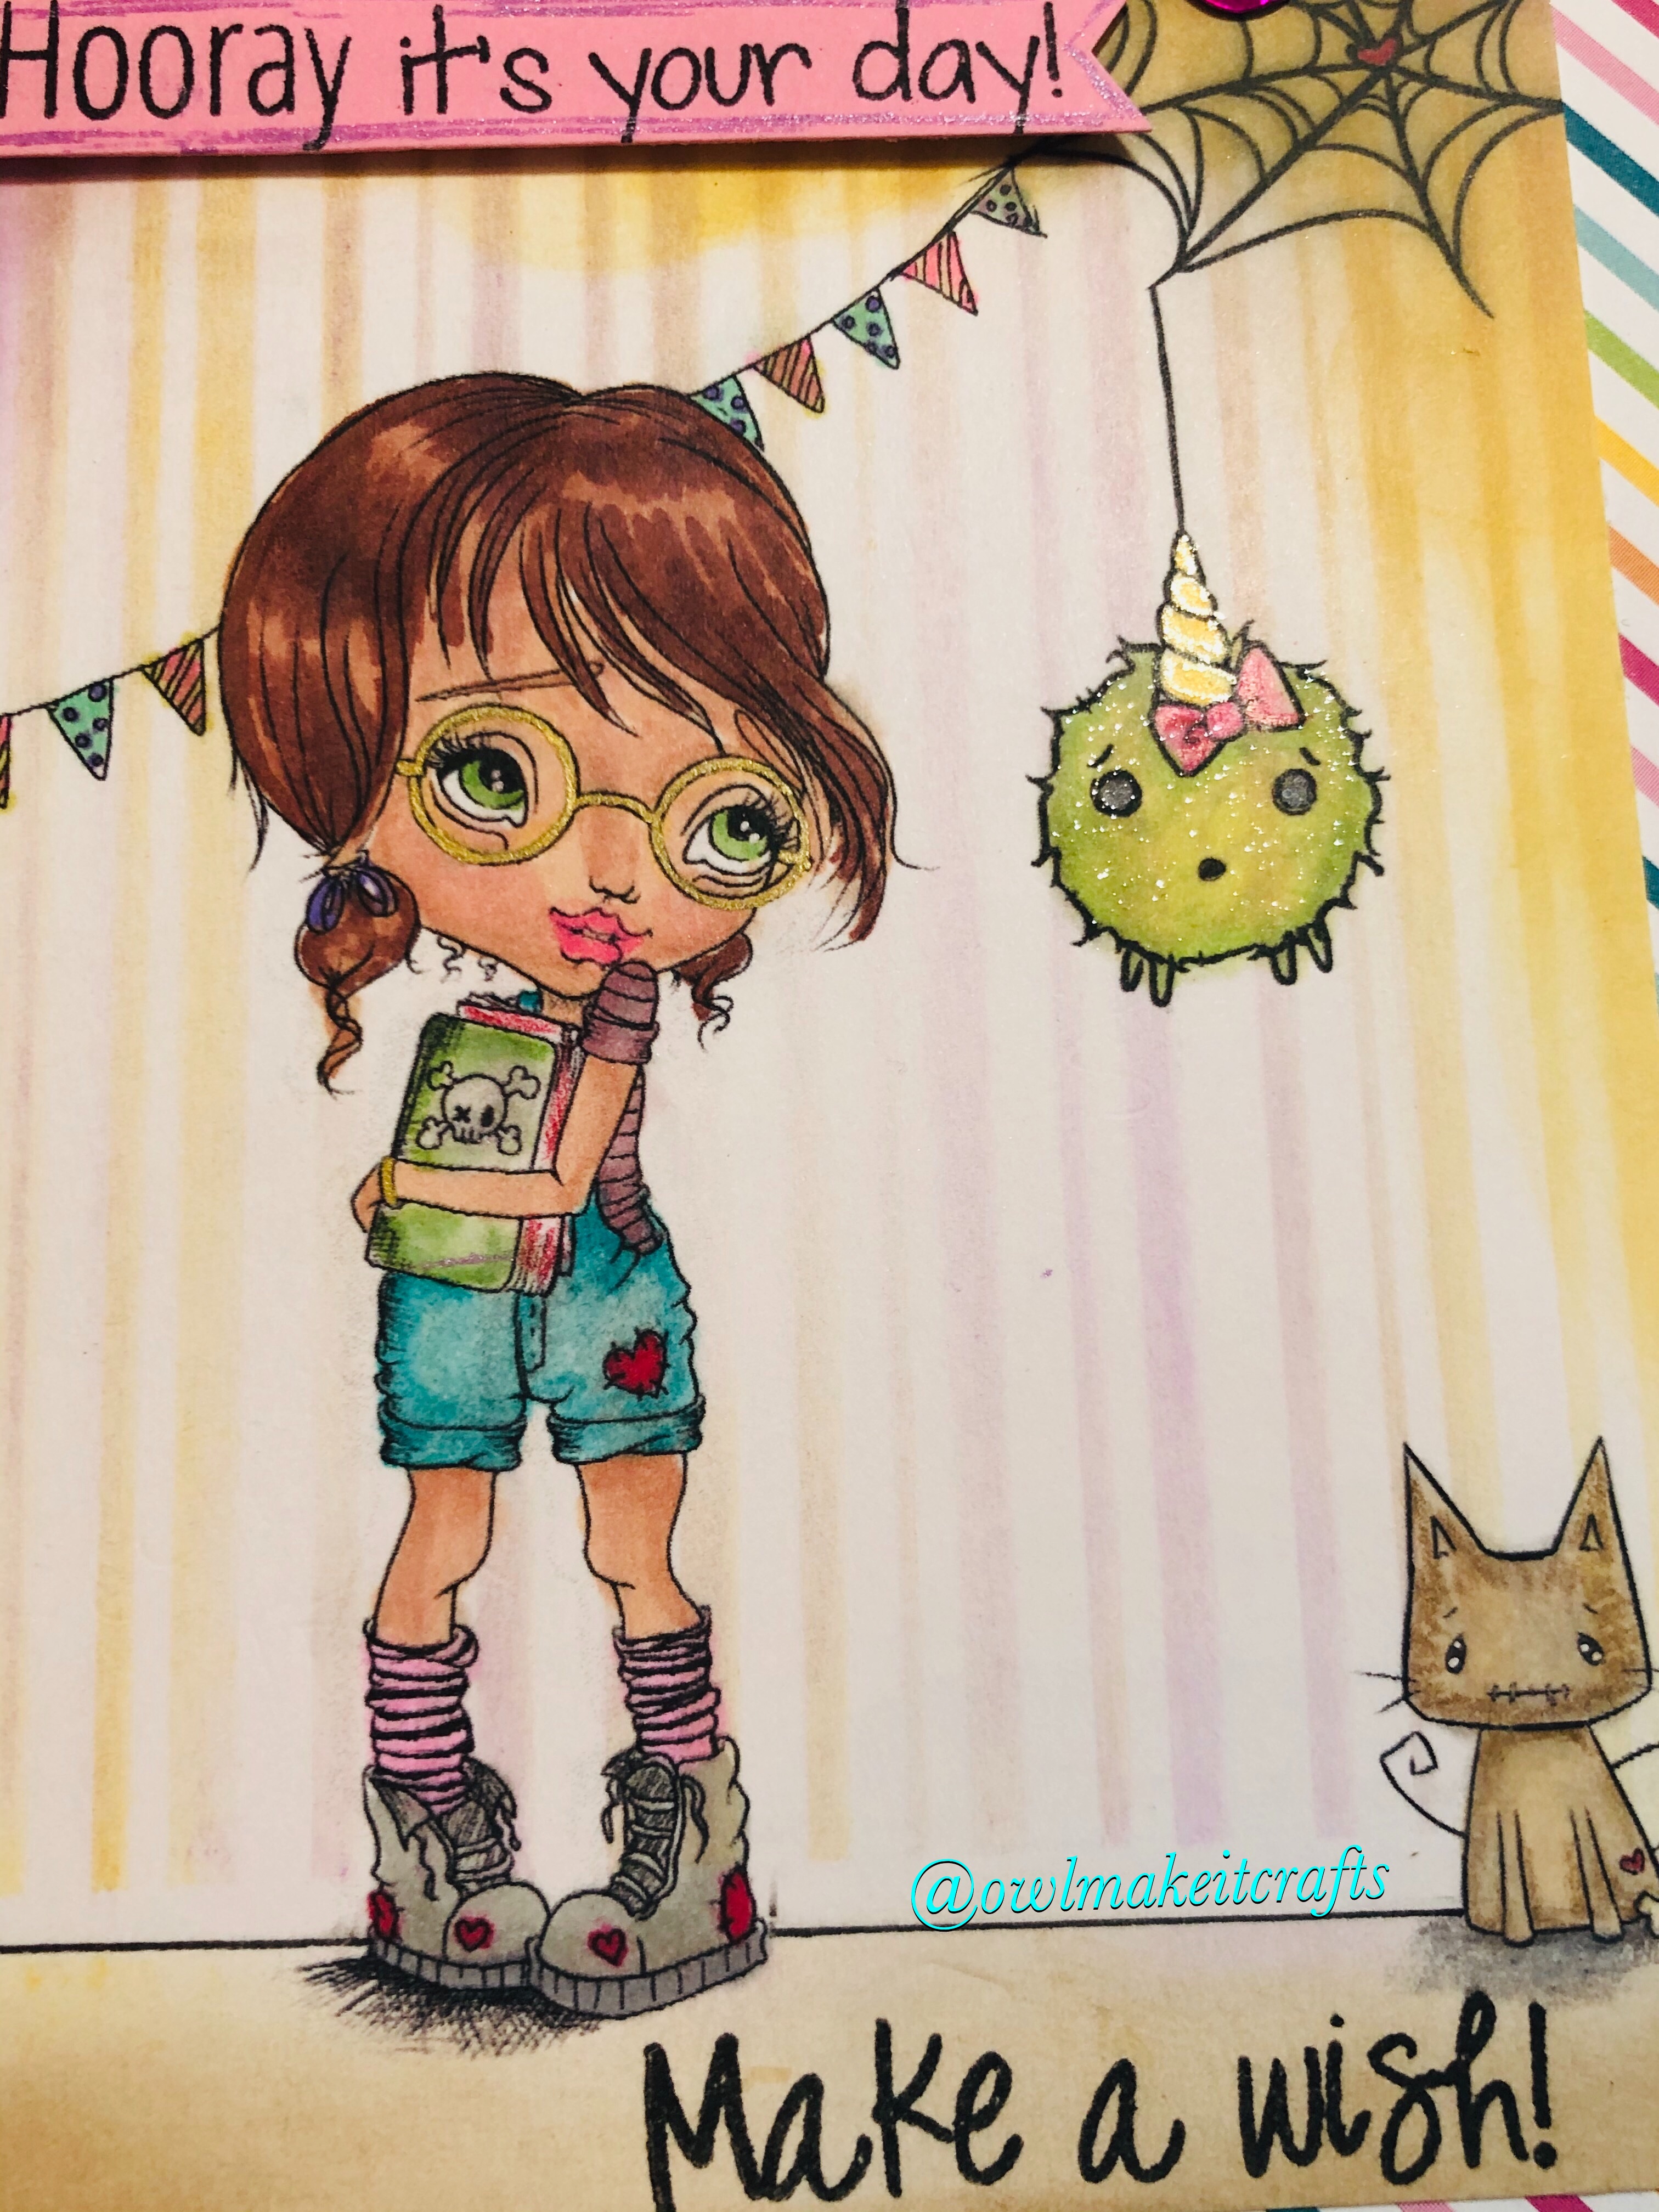
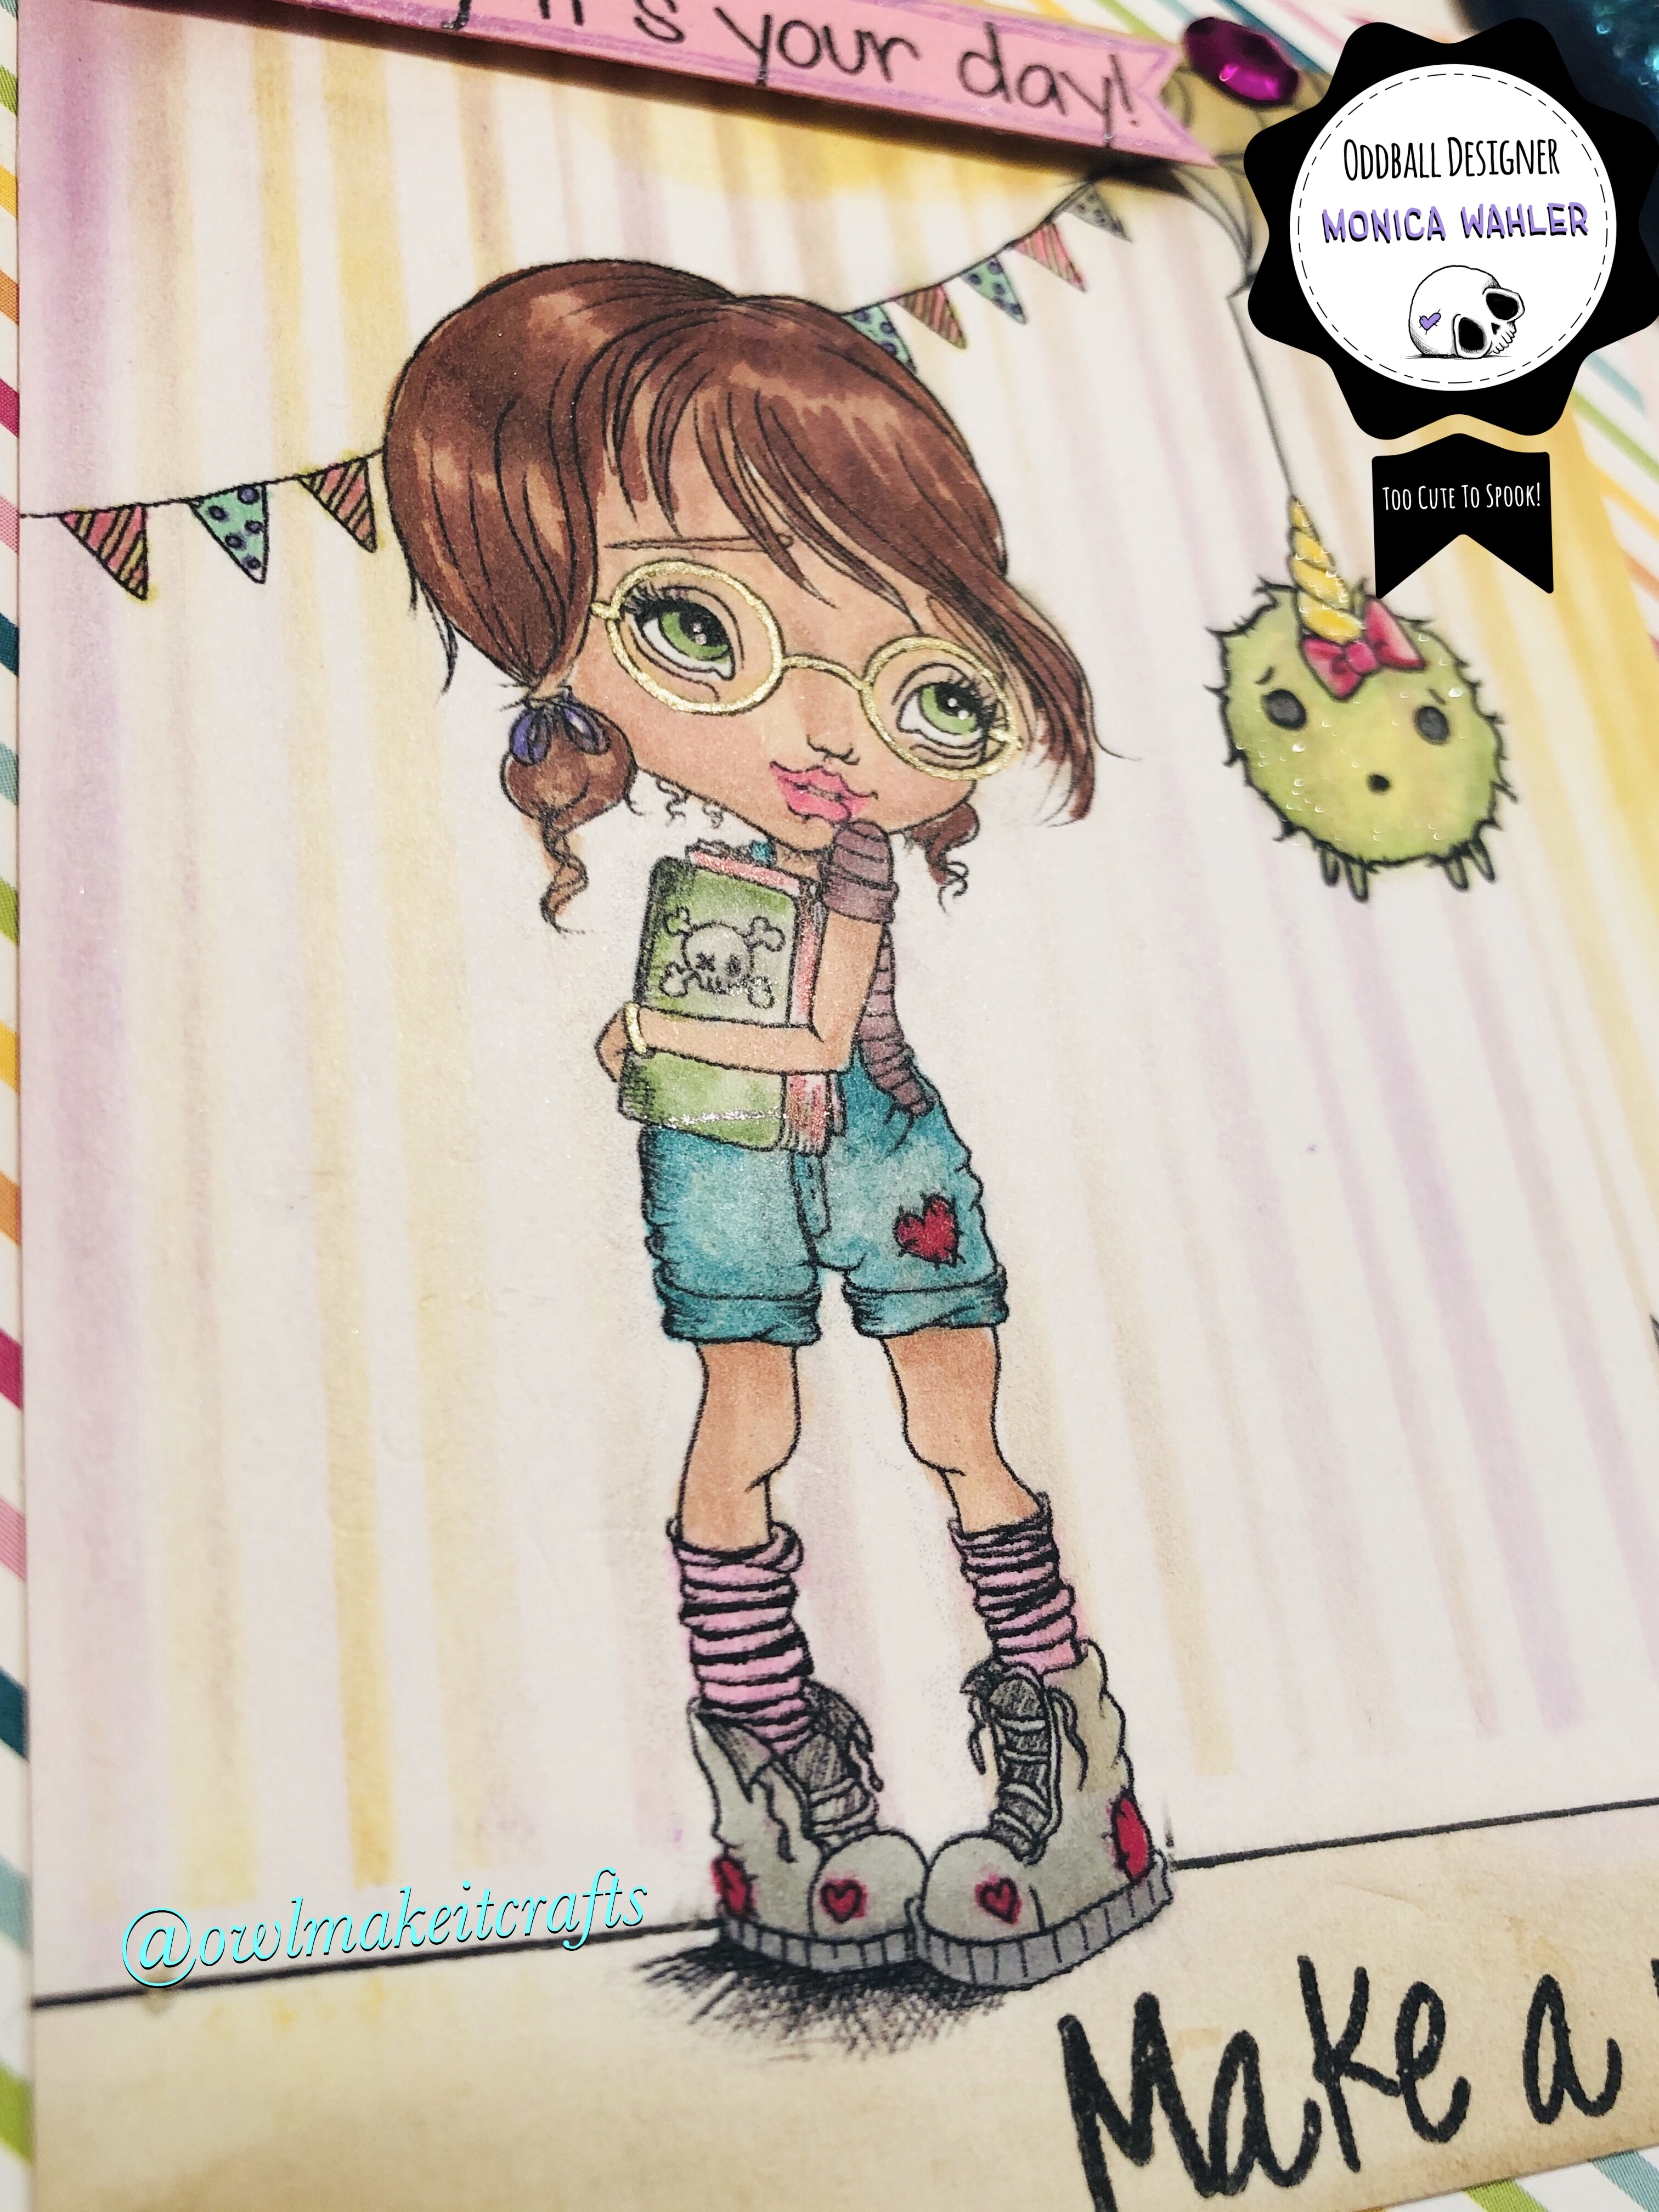
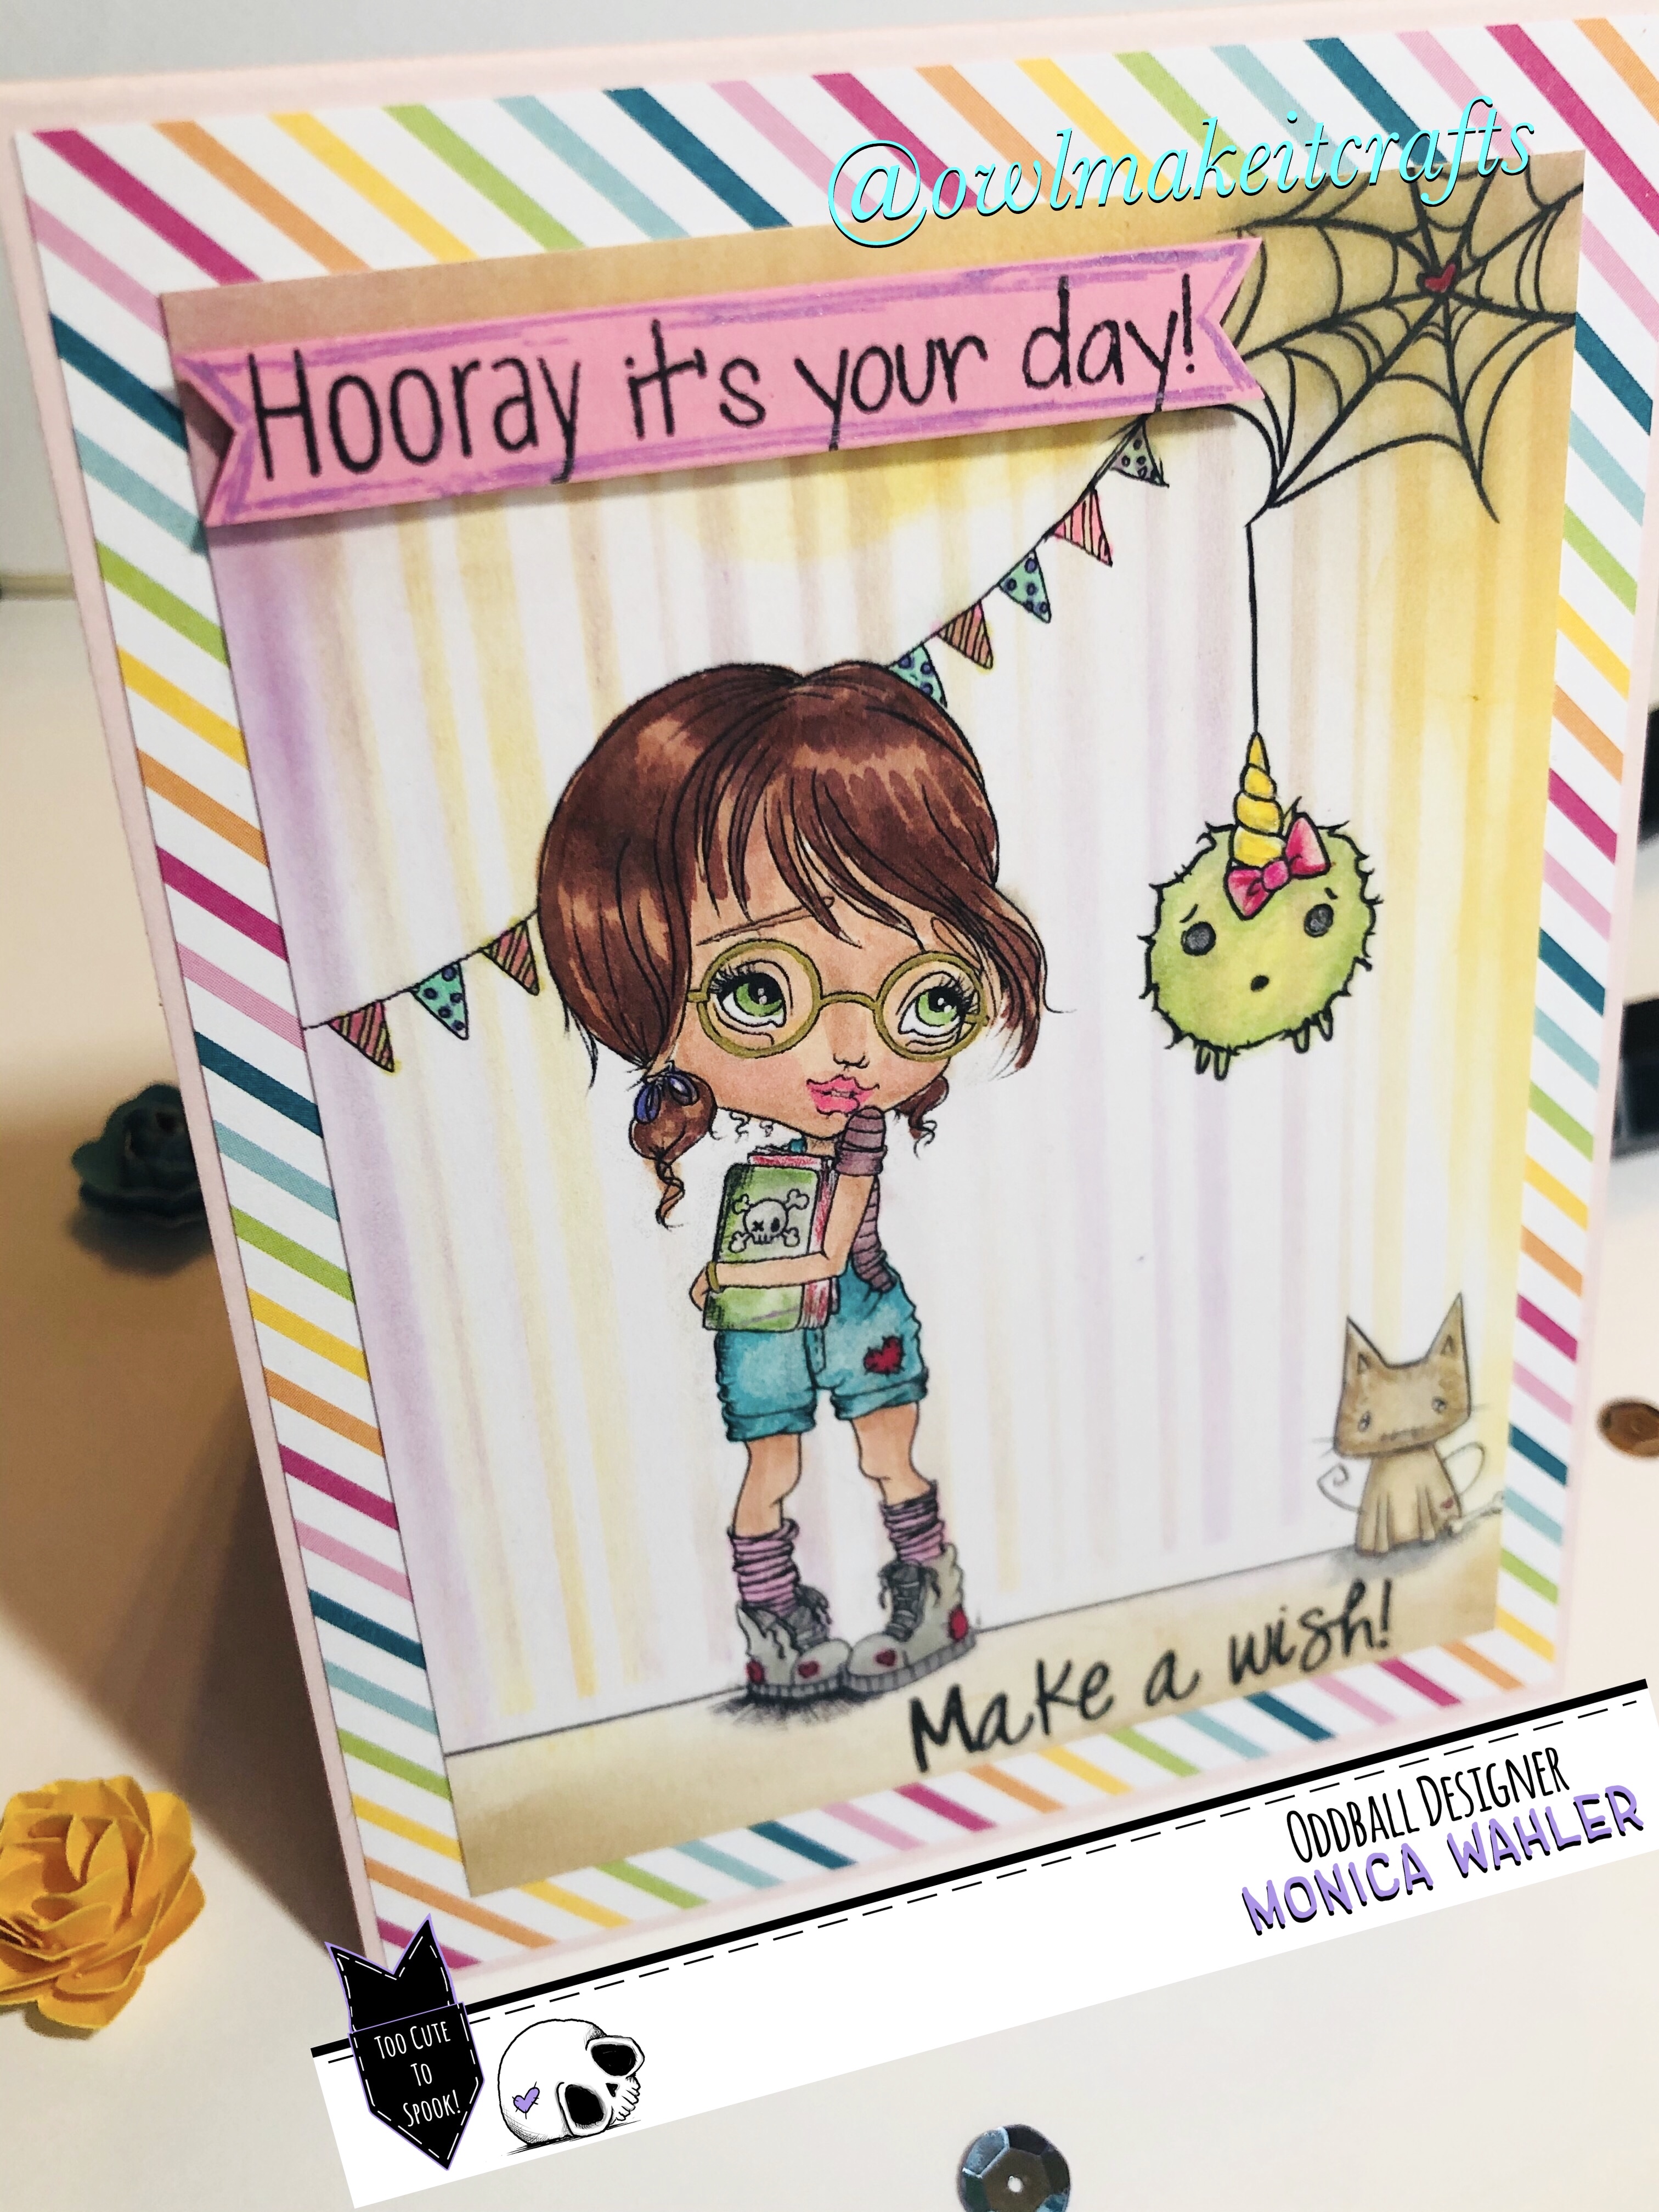
I am using Image #88 Brittanys First Day. She is a Big Eyes, Bigger personalities girl and you can find her at the Oddball shop. I paired her up with a couple of previous Creepy Cute Chronicles images, the hanging spider made me think of a piñata lol.
91E029FA-14F0-4E5E-8AAD-579112EFB424
I created a scene with the images and colored them with Spectrum Noir markers. I used a stripped stencil and added distress oxide inks to resemble wall paper. I used stencil brushes to give a subtle look and ink blender tool for the edges and the floor.
039F19E7-B571-46AF-8CA6-C80AA99C4395
I trimmed the panel to allow room to add pattern paper. I used this stripped paper from the Birthday paper pad from My Favorite Things. FB306BD9-5E02-46D9-BDA6-F2F758458B3C
I was trying to make this a one layer card, or as flat as possible. When thinking of a sentiment to add I used a couple of different stamps. The make a wish and it’s your day is from a Your Next Stamp set and the horsy is from Avery Elle. I created a fish tail banner in both ends and popped it with foam tape. Added some sparkle to the spider piñata and its horn.
Hope you like this card I made and be sure to visit the Oddball Stamps shop to check out all the awesome images Lizzy has.
Thanks you for stopping by and hope to see you again soon. If you wish to stay connected with me you can find me on  My Blog  and on Instagram @OwlMakeItCrafts.

P.S. If It’s your birthday or have one coming up, I’d like to wish a fantastic one!🎉

💙Monica

Sunday, February 2, 2020

Hello Love! Slimline Card Pictorial

Hello everyone!

Eny here, to share a fun tutorial with all of you! I have recently been in a slimline card kick. They are so fun to make, and the amount of "real estate " gets my imagination going. The possibilities are endless.

For todays project,  I will be using IMG#533 Creepy Cute Zombie Hearts and Hands.

I begin by printing my image on white smooth cardstock. I will be using Neenah Crescent Crest 80lb. I find it works well for Alcohol Markers.  To color my images, I will be using Arrtx markers. A affordable brand of Markers that I recently stumbled upon.


I color the images from darkest to lightest. I try to stay within the same color "family" , and pick out ay least 3 colors, so I make create cast shadows or shading, and a nice highlight.


Onve all images are colored, I can then fussy cut them for the project. 


I will be using 2 colored cardstock for the card cover; Hot Pink and Light Pink. I will also be using several dies. You can create any design you like, but for this valentines card , I will be using nesting heart dies from Tonic Studio. 


To create my slimline card, I trimmed the light pink cardstock to 3.5x7 and the Hot pink to 4x7.5


I will use the heart dies to cut "windows " on the light pink cardstock.


Make sure to use different sizes to create a fun pattern.


Using Distress Oxide inks Candy Apple, Worn Lipstick and Black Soot,  I will be adding extra pops of color to my cardstock. Make sure to blend as well as possible to create a seamless look.


My card cover is now ready to be decorated with all images and the sentiments I cut out from other dies in my stash. I decided do have the hands coming out of the heart windows, for a fun "peekaboo" look.


Finish the look by adding enamel dots. I used my favorite products for this,  Nuvo Drops.

I hope you enjoyed this pictorial and that you try this design with other Images! Make sure to visit the OddBall website so you can see all the fun images available in the shop. 
Use coupon code Eny1 to get one FREE  stamp set with the purchase of two! 

Happy crafting, 
Eny ❤