Sunday, March 15, 2020

St Patty's Day - almost...


For this inspirational make I have used  St Paddy's Day Girl 

You will see a similar post on my blog Calling All Crafters  

about today's creation along with other posts you might like...

 I have made a quick card...


Recipe:
  1. White rectangular card blank.
  2. Layer of green paper.
  3. Layer of Brusho through stencil on watercolour paper with moss green ink around the edge.
  4. Shamrock sentiment from image printed on green several times and cut out.
  5. Girl image printed and coloured with a variety of pens and pencils and cut out.


Happy Crafting!


If you would like to buy any of Lizzy's Oddball images use my DT code: DTSUSAN10
This coupon code is for 10% OFF the entire Oddball Art Website


Friday, March 13, 2020

Oddball Painter’s Club CCC# 96

EA211085-7D2F-419D-9683-E6693DFC21B9

Hello There Oddballs!


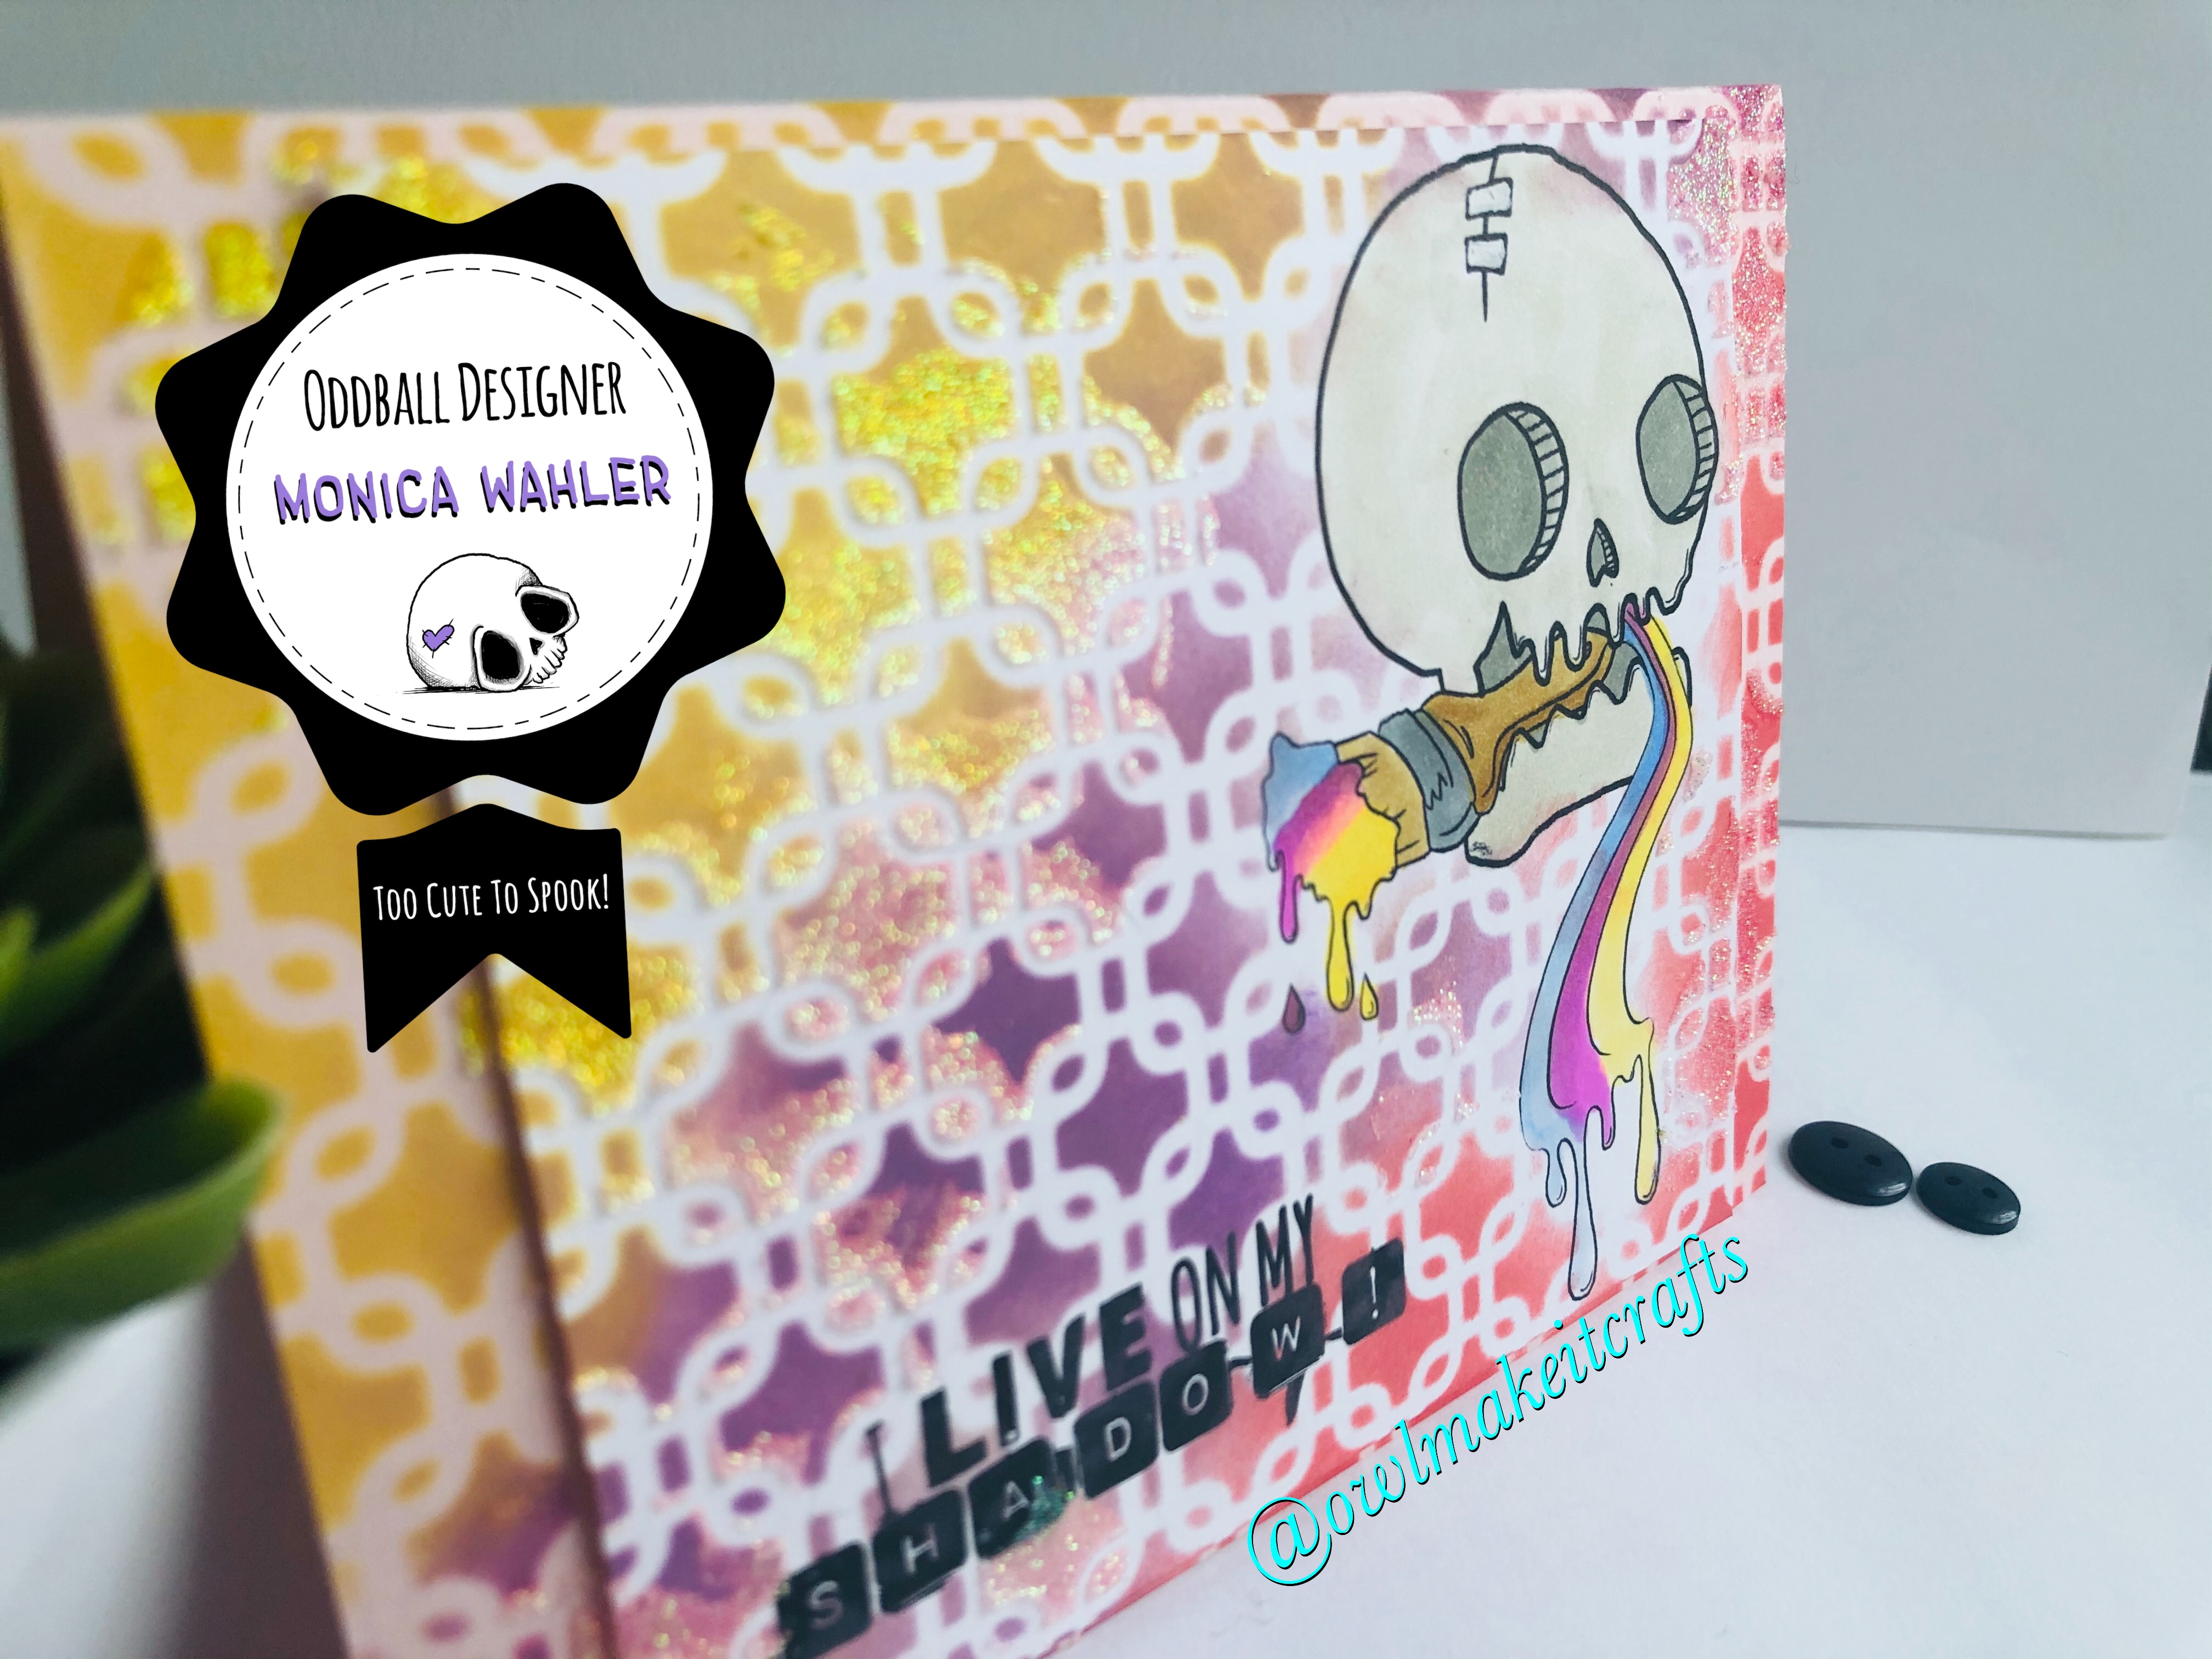
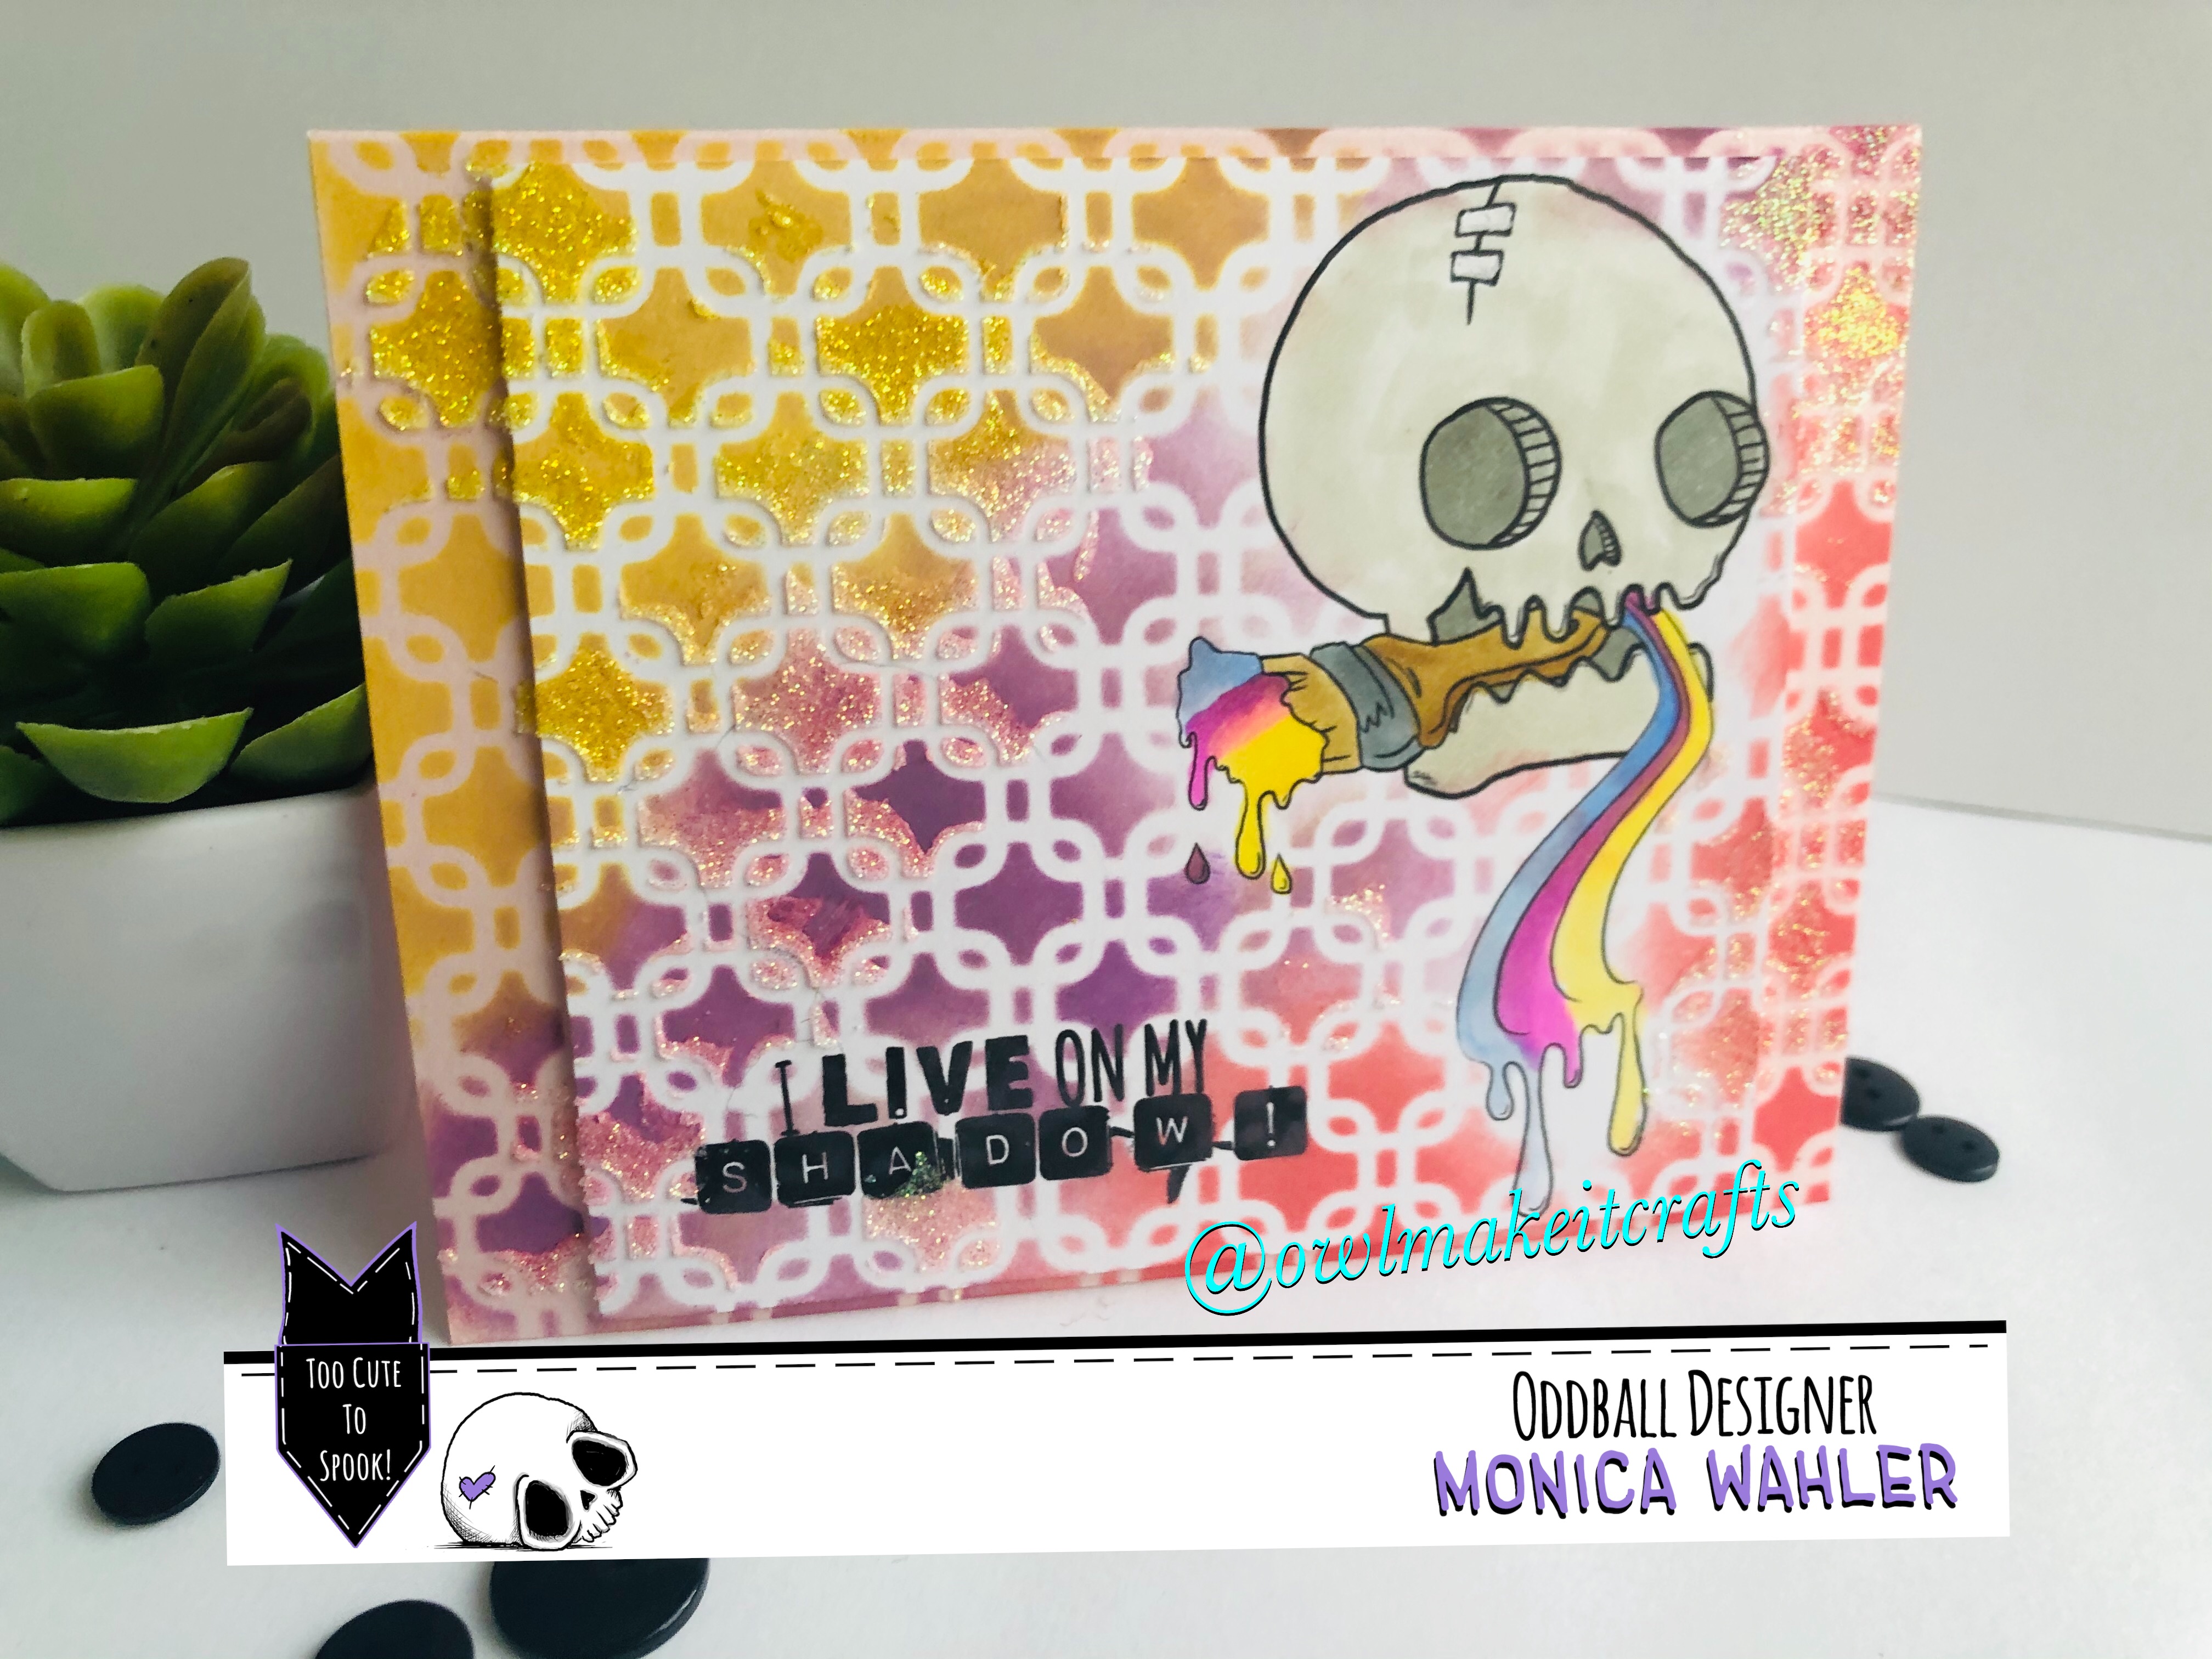
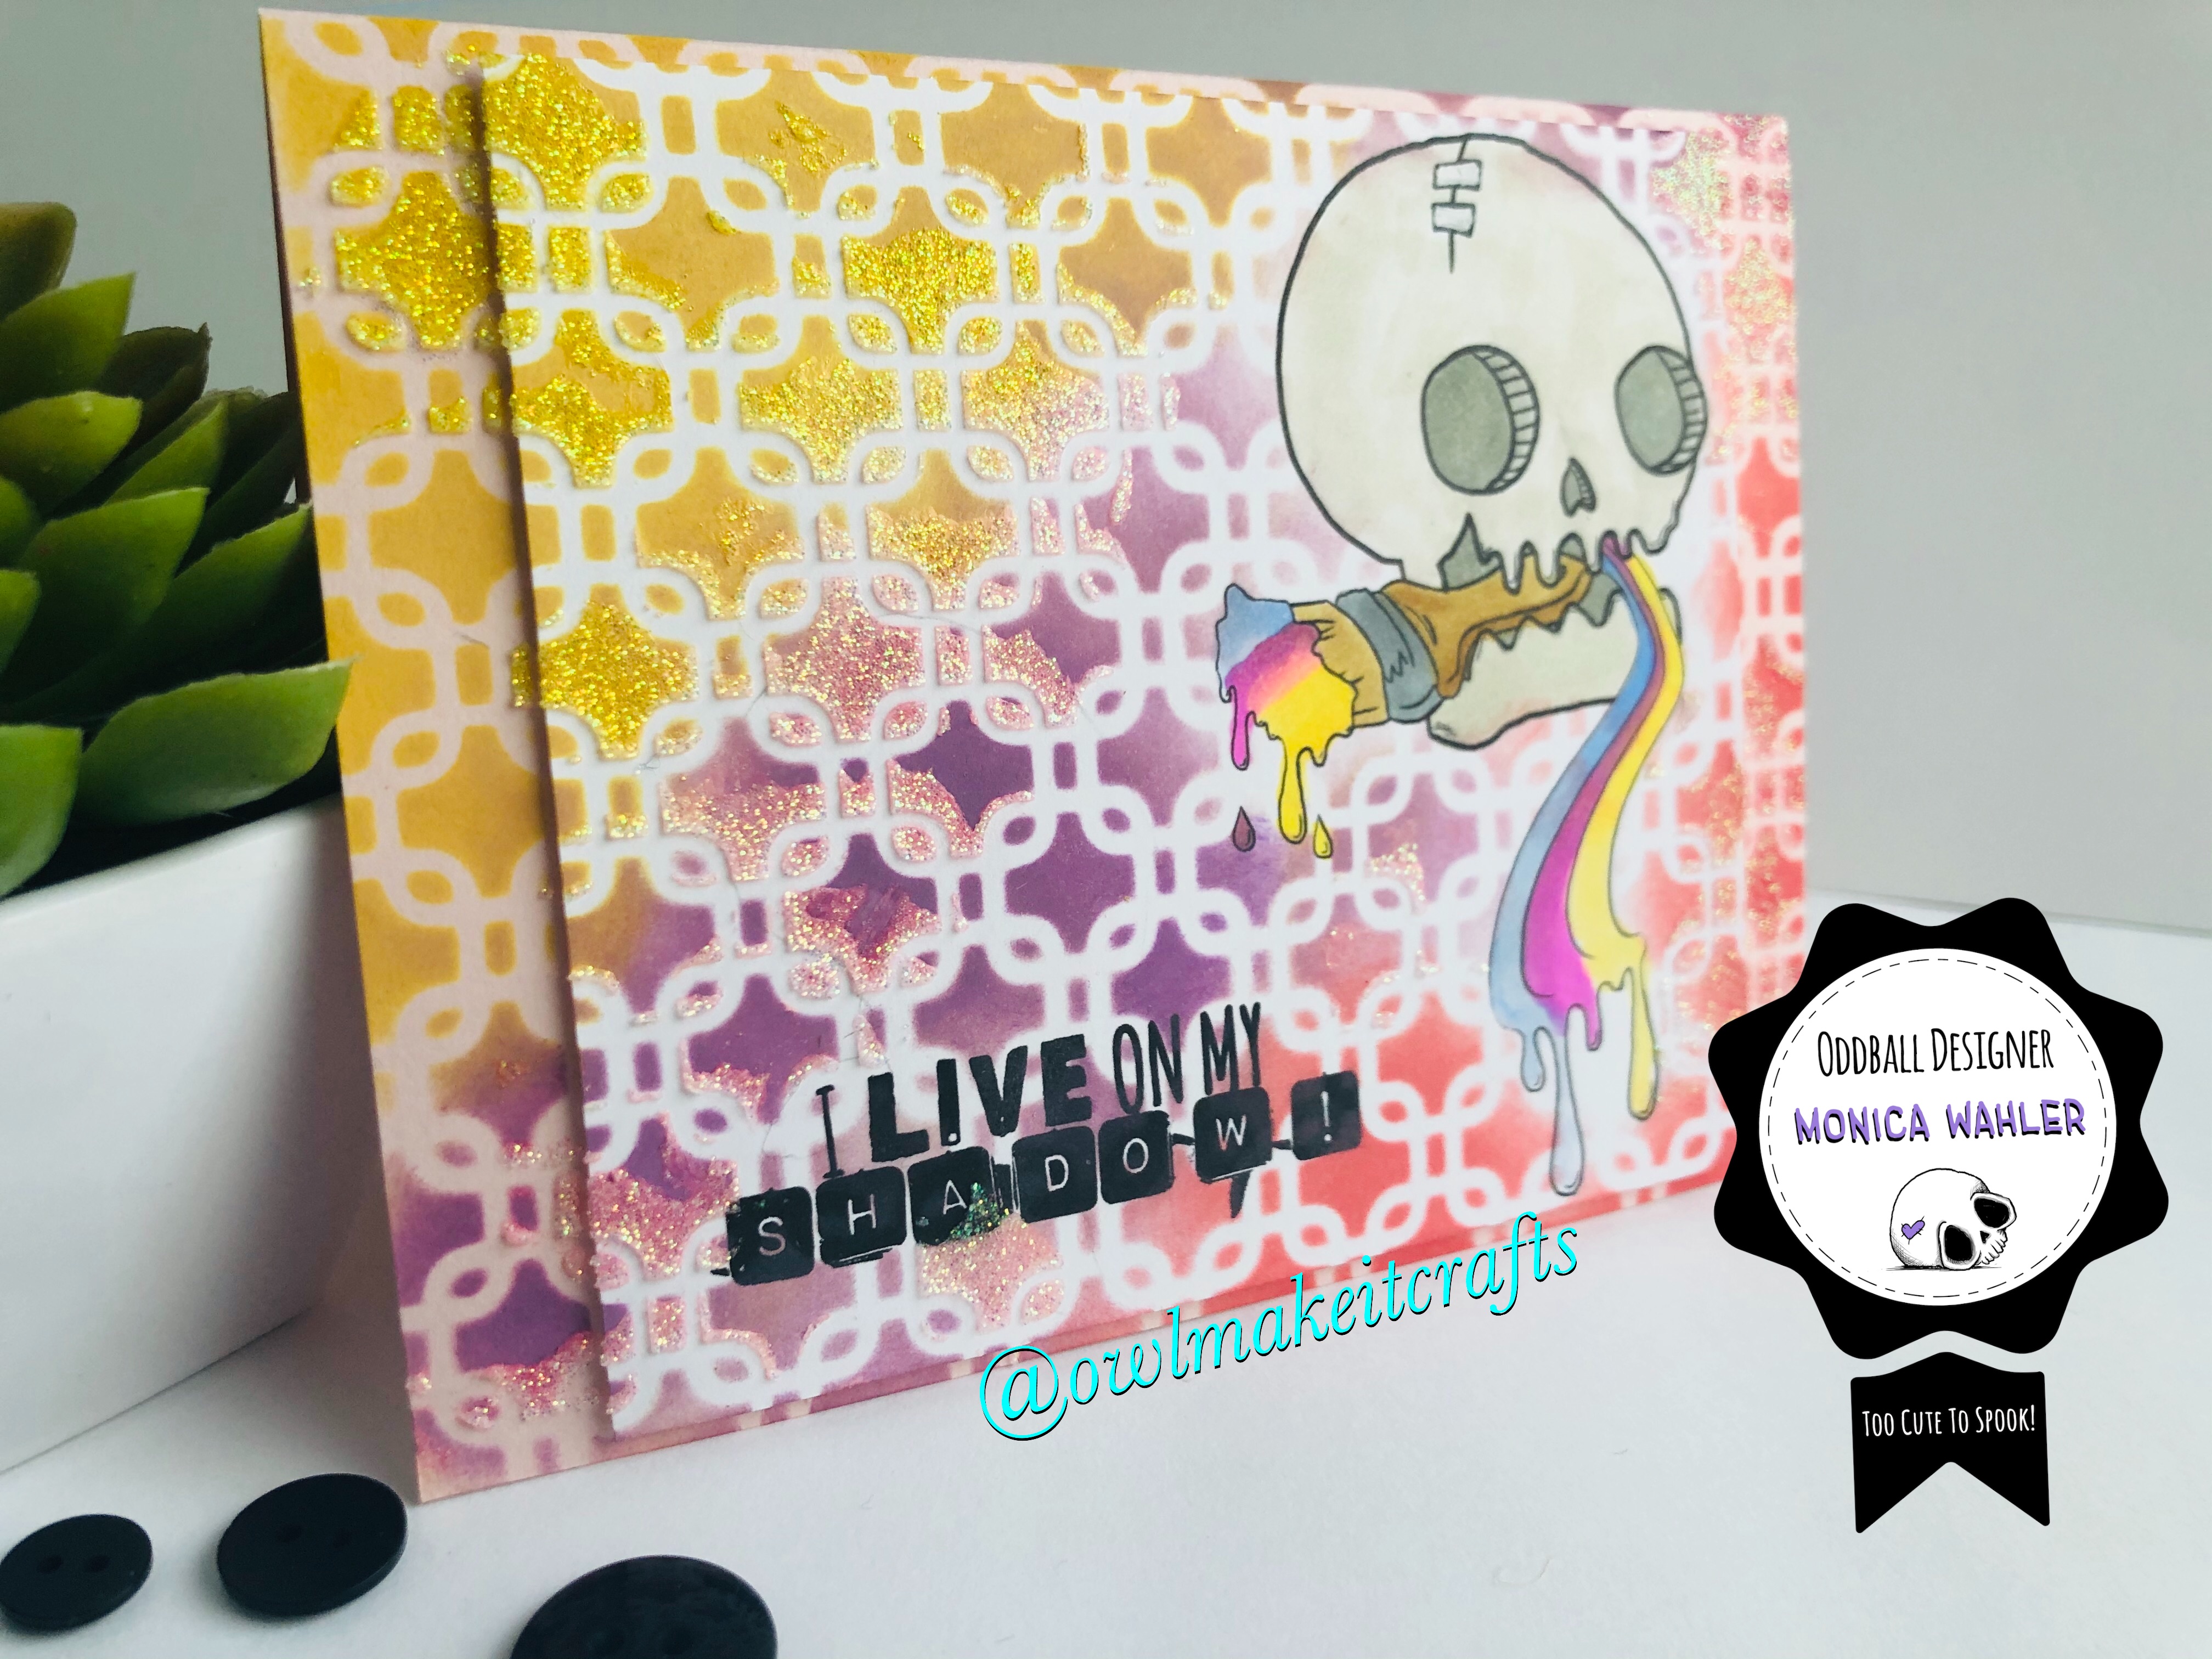
Monica here today sharing this card I created using the free Creepy Cute Chronicles  image for this week. I am using the Premium version which includes the sentiment and a colored version of this painter. If you’re not a premium member yet, I recommend you sign up as soon as possible😉
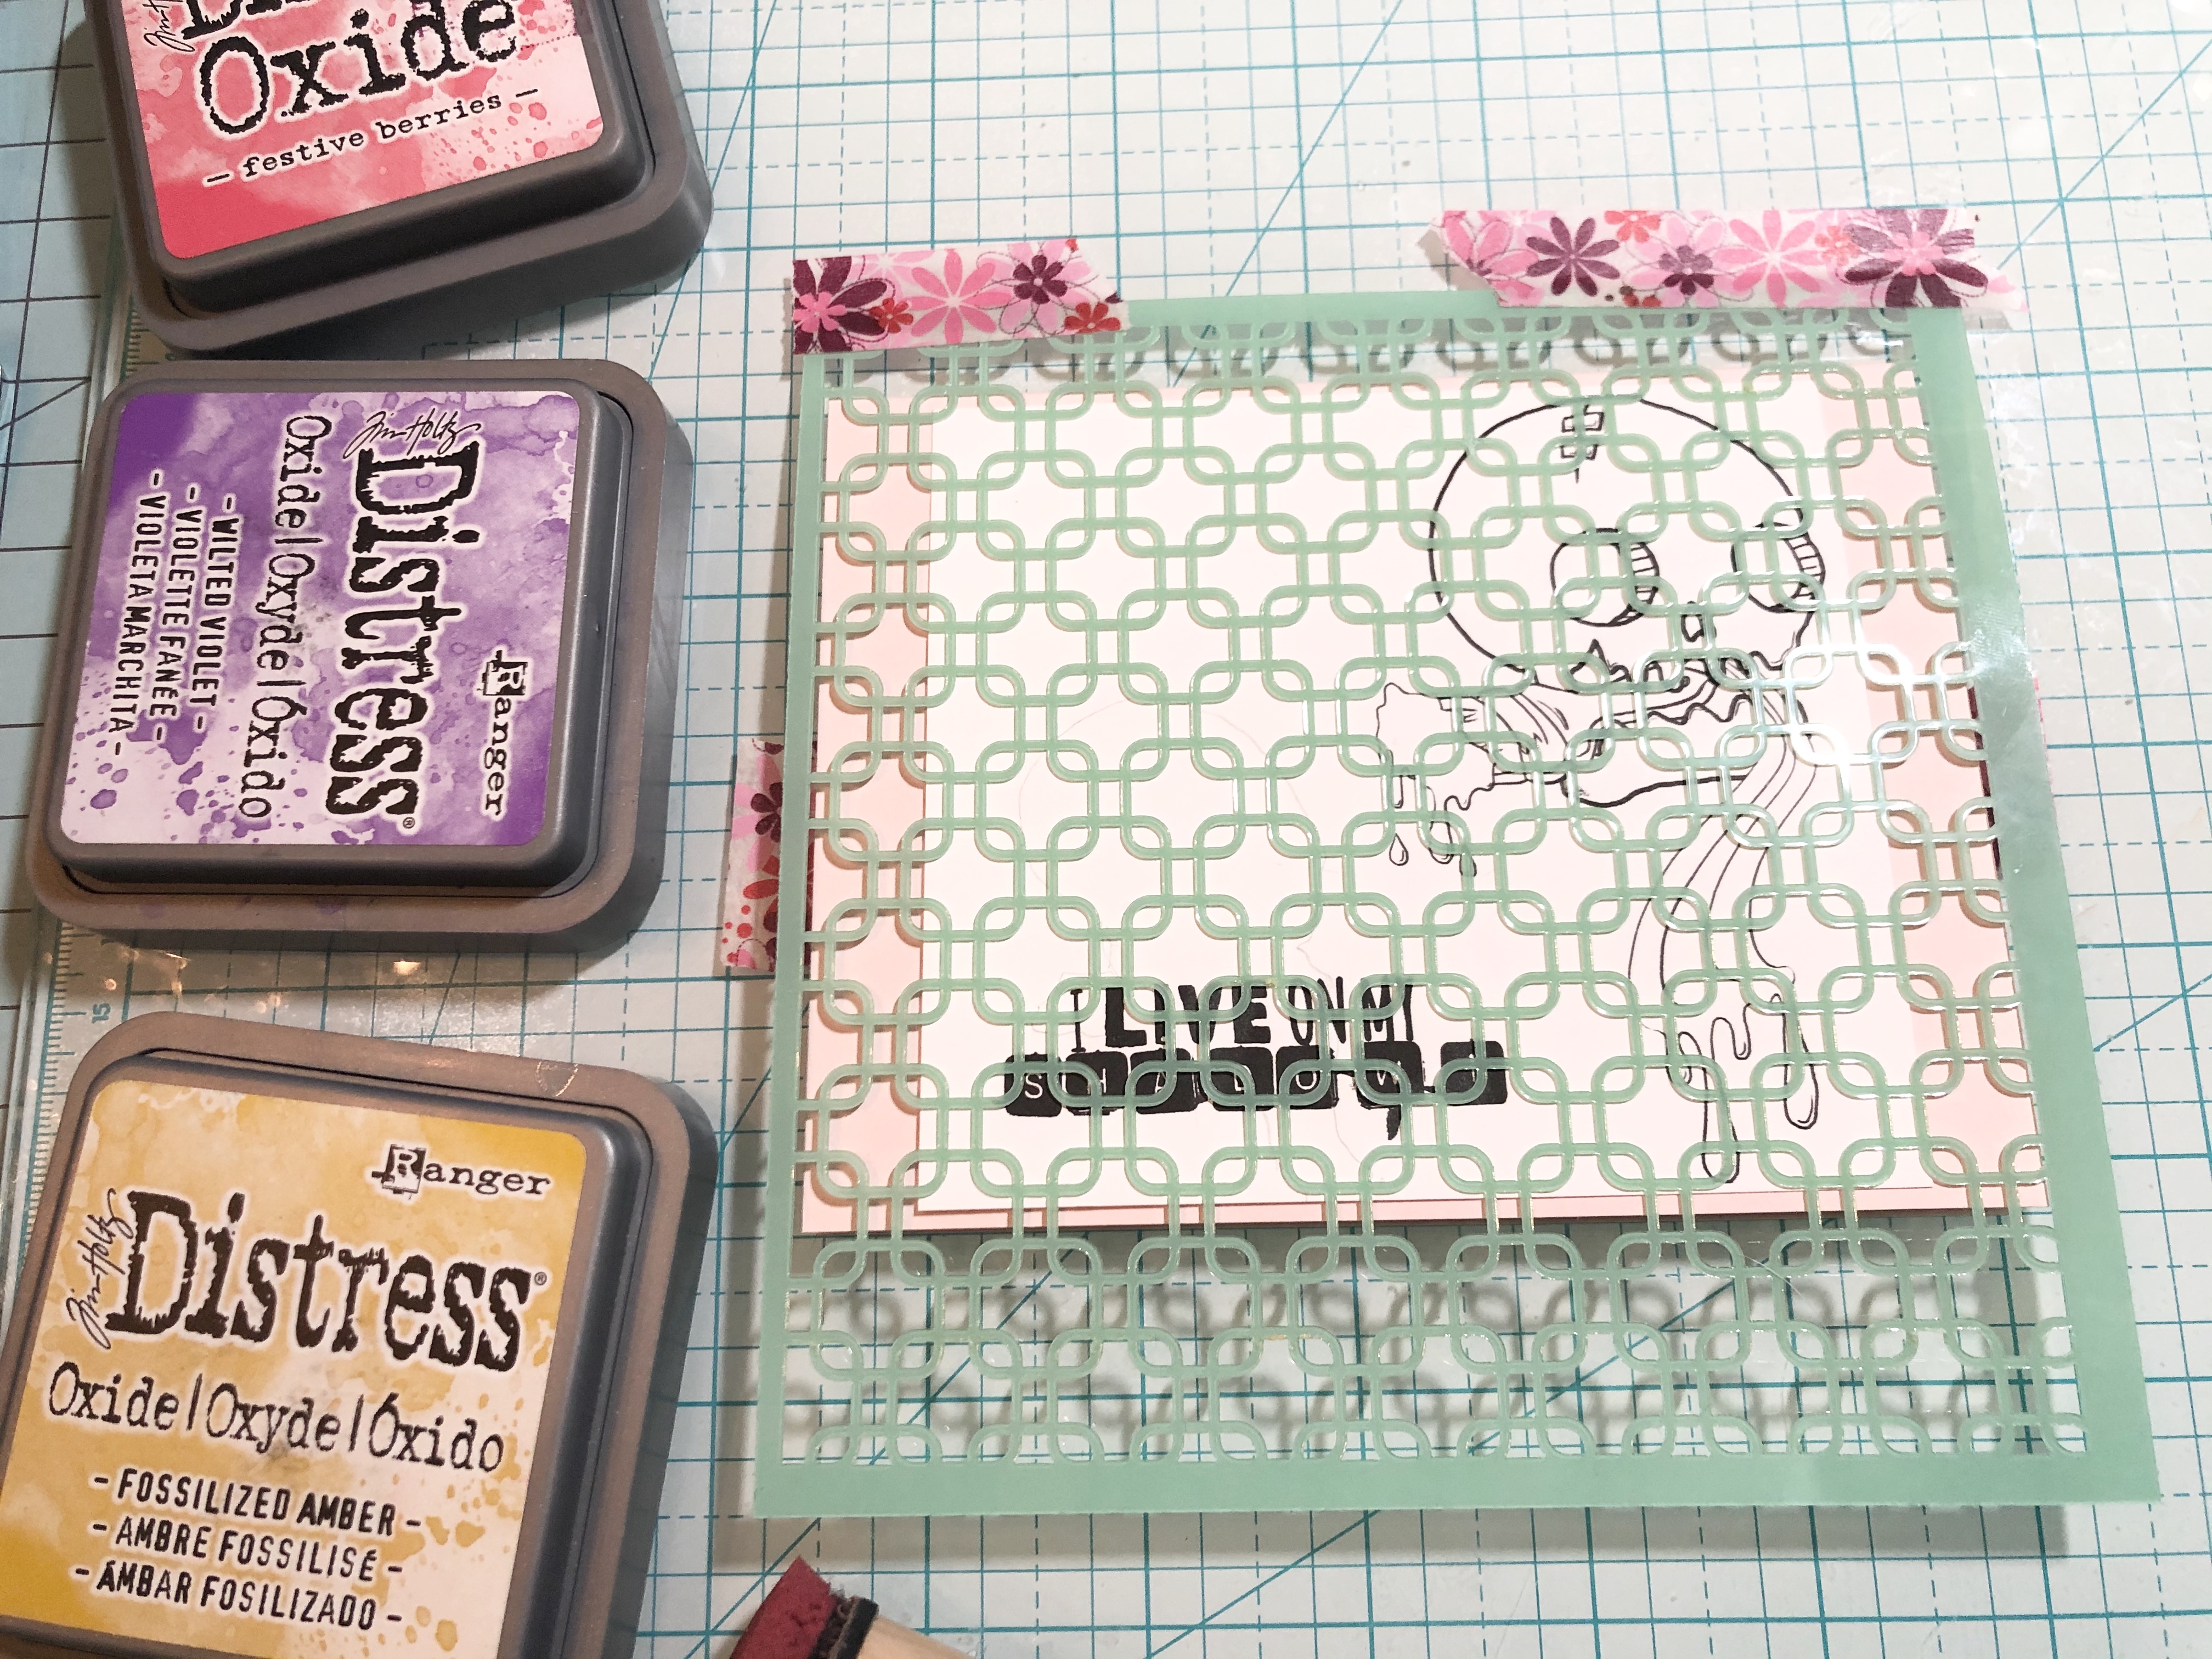
I started my card by cutting the panel with the image to be a bit smaller than my card base. I wanted to make it seem like a one layer-continuous card. I used this Heidi Swapp stencil and taped it to my mat.
55AD20BB-75BA-492E-9011-DE32A38EEF6C
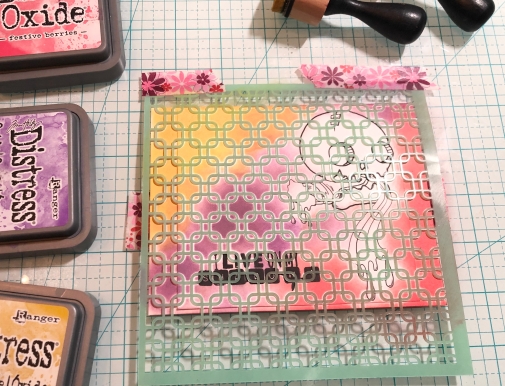
I used an ink blender to blend in the Disteress Oxide inks in the colors Festive Berries, Wilted Violet and Fossilized Amber.
DD351EE4-2BC5-4ED7-B15E-670A6D9704BB
I did not mask the image but was very careful not to ink it because I wanted to color it with alcohol markers. I also peeked to make sure I was happy with the color.
EE2E9849-C915-4047-9D79-8C769E810068
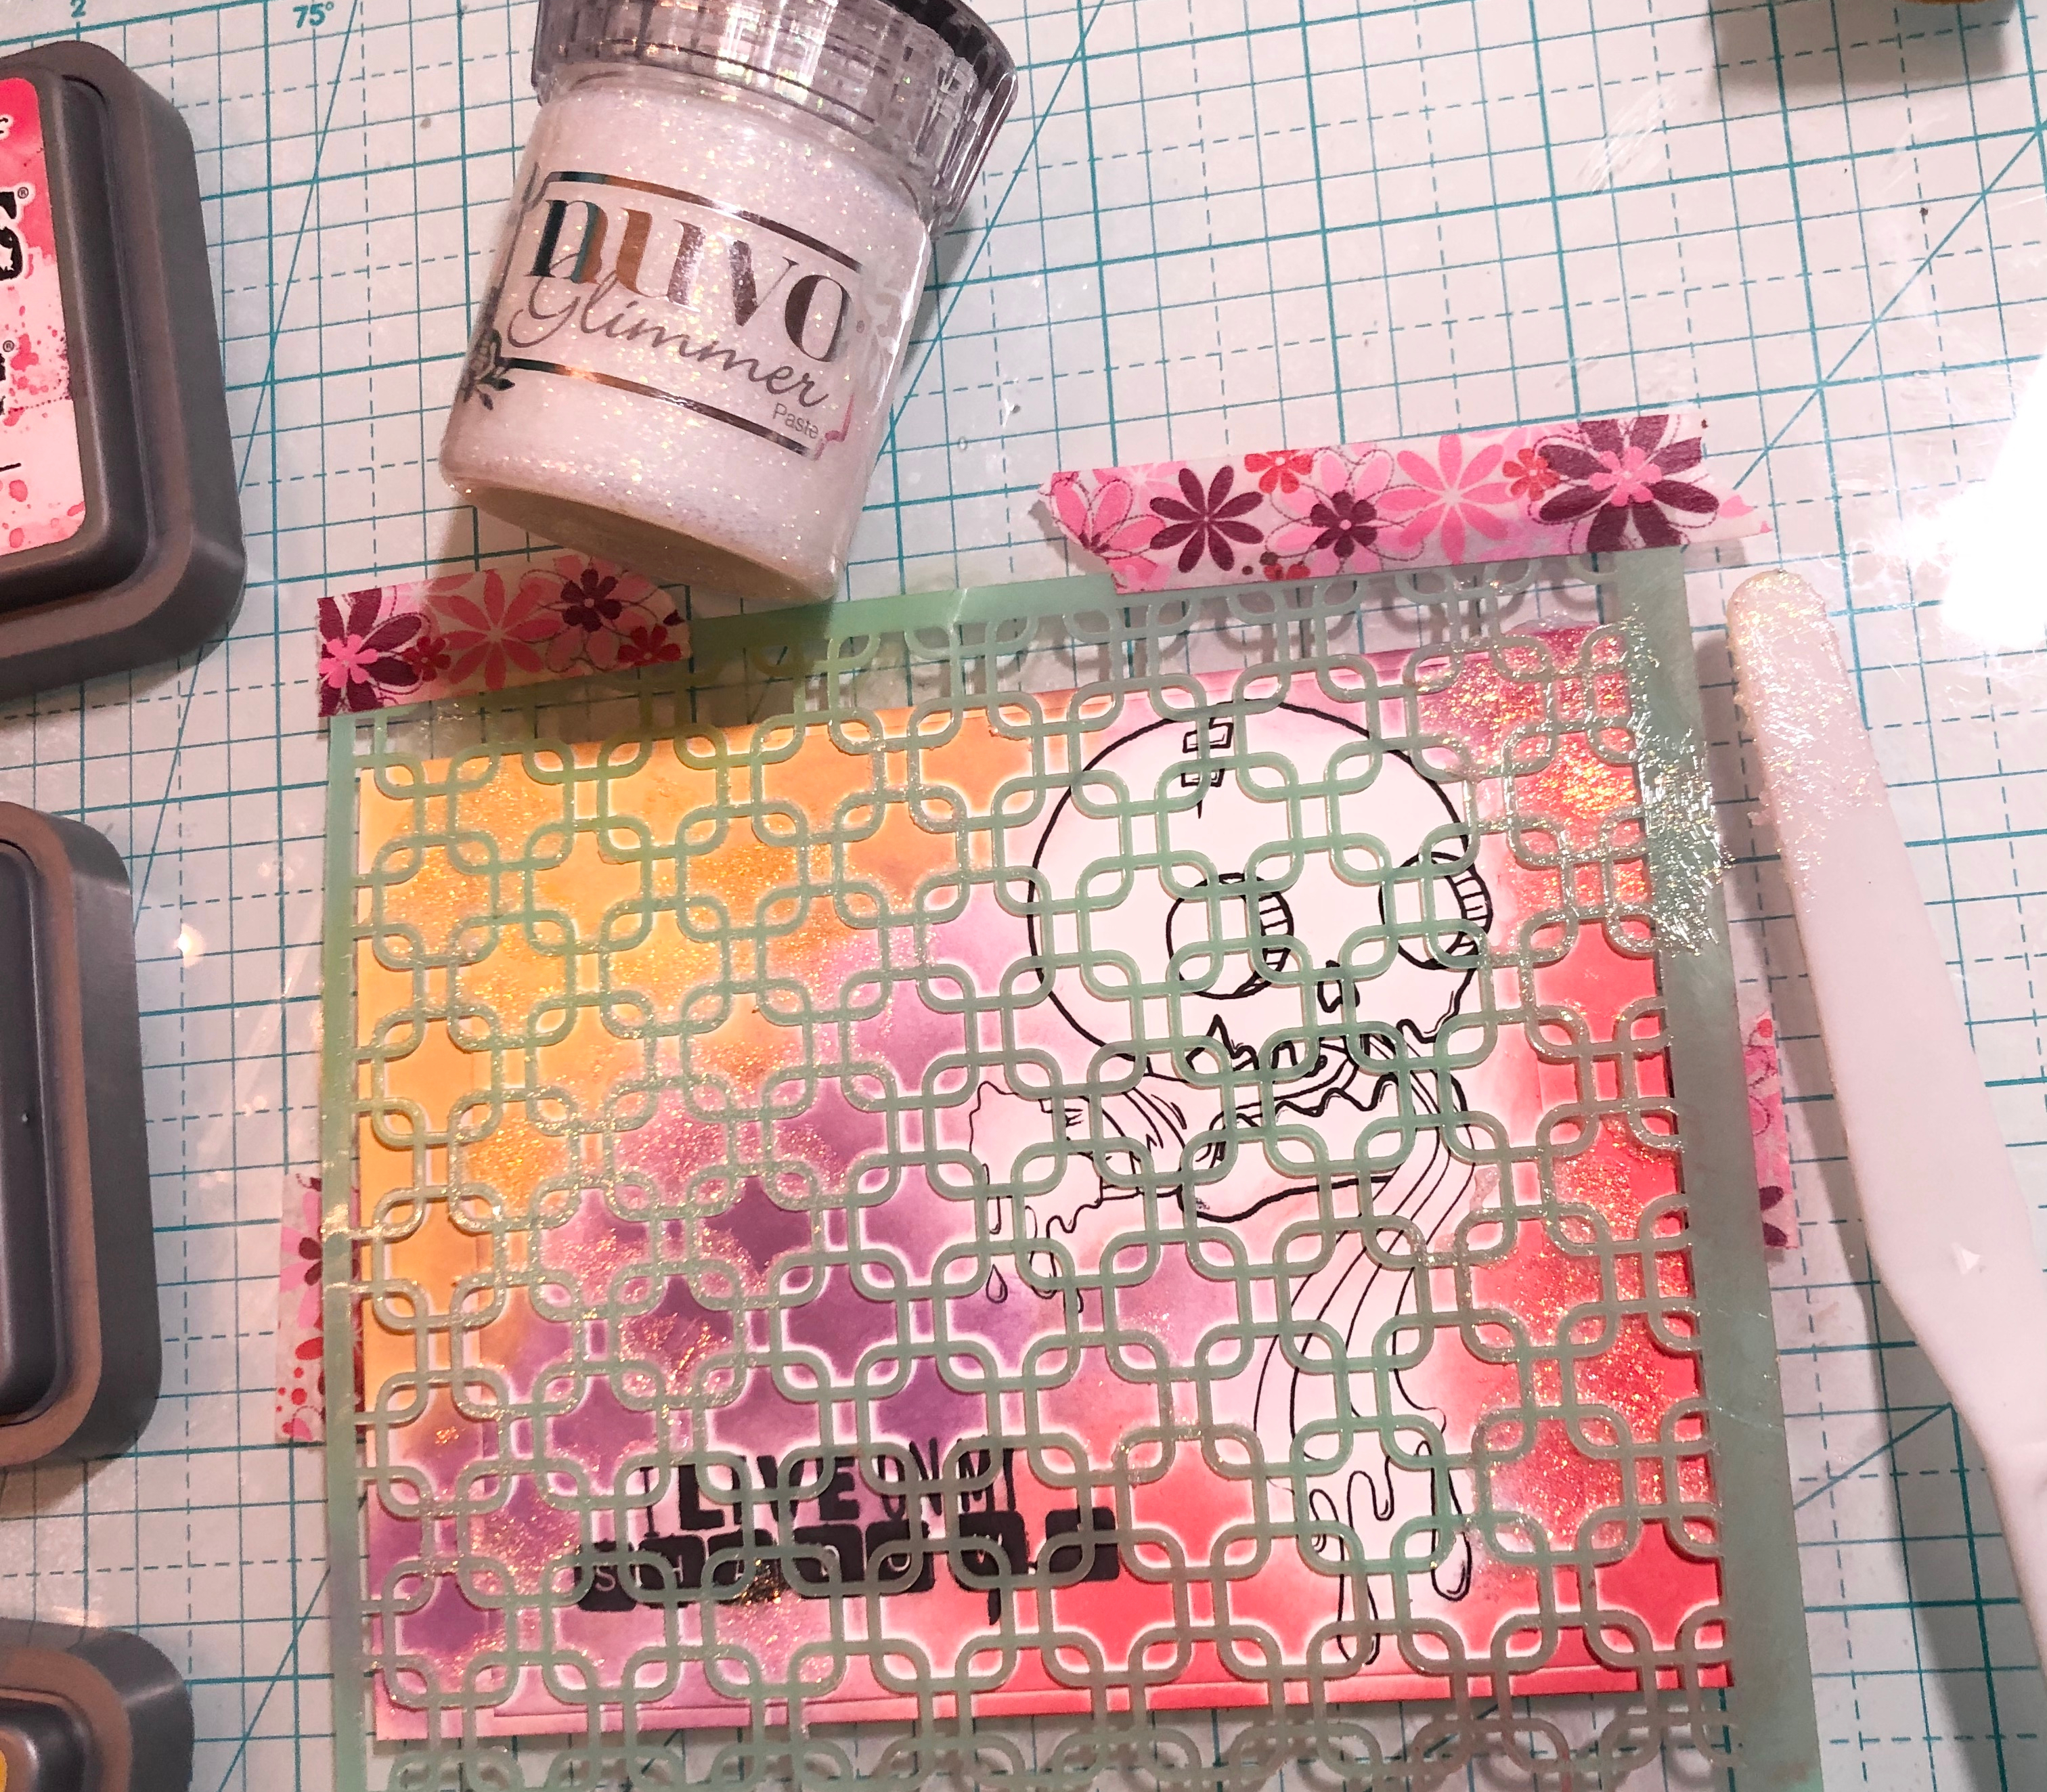
After I was happy with the ink blending I added Moonshine Nuvo Glimmer Paste to some areas of the panel, including the card base.I then removed it from the mat and set it aside to dry.
6341DEBC-18CF-4FB2-8602-618A21D65212
Once the paste was dry I colored the painter skull with Spectrum Noir markers.
32E0FCDF-CB67-4184-B5F2-85C782669F0F
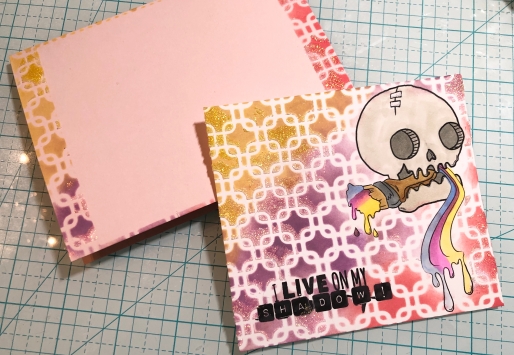
Finally, I mounted the image panel back on to the card base with foam tape to add a bit of dimension, making sure that I lined it up exactly where it was meant to be.
F9369333-6526-4154-B3DA-817E3091D6B3
Here is my completed card. It was fun to make it and super simple, but I think that the small little details add to it. Hope you get inspired to use your new free image from tonight's Newsletter. And remember that you have so many more benefits when you become a premium member. Be sure to visit the Oddball Stamps to sign up and to fins lots of other super cute images! While you’re there make sure you use my coupon code MON1 to get a free image when you buy two!
Thanks for stopping by today and I'll catch you next time! If you wish to stay in touch you can find me here.
💙Monica

Thursday, March 12, 2020

Cute Big Eye Girl Patty Cake

Hello! I have a new card for you today using Cute Big Eye Girl Patty Cake. 


It's all about the layers! I love to add texture to a card. You can use stencils, stamps, die cuts, embossing powder, embellishments and inks to add interest. Look what's in your stash! 

Wednesday, March 11, 2020

CCC# 60 Chill Pills Creepy Cute Chronicles By Sabrina


Hi OddBall friends! Today I keep you company with a nice card full of bunnies!
As soon as I saw this stamp of Lizzy I fell in love with it and I couldn't help but create a tag to insert in my agenda!


I colored  CCC# 60 Chill Pills Creepy Cute Chronicle with Derwent colored pencils.
I printed, colored and cut  CCC# 60 Chill Pills Creepy Cute Chronicle, with the dies I made the tag, the circle and the banner! Finally, I used the Dots of Nuvo, and my tag is ready to color and brighten my days on the agenda ... here in Italy, now we really need some fun!


xoxo Sabrina Chicca Lamarina 


Friday, March 6, 2020

Superheroes


Hi everyone!

Today I bring you step by step to make this card.


The protagonist is the SUPERHEROES freebie that you can get Friday with the Oddball Art Stamps newsletter
It is quite simple to do.


To start, I colored the digi stamps that I used to accompany my mini superhero, the img# 126 Big Eye Girl Aya Tags the Wall and the img# 127Big Eye Girl Has Something to Say.


Once colored, I cut them.


To make the background I made a template with a paper for recycling and painted the "floor" of my scene with Distress Ink Vintage Photo.


With that same ink, I marked an embossing folder and applied it as if it were a stamp on one of the sides, to make the wall effect.


The rest of the background I adorned with stars, dots and hearts drawn freehand, similar to those that accompanied the img# 126, but I found them too small to cut.


Finally, I set up the scene and hit my characters in their place.


And this is the result

I hope you like it, inspire you and encourage you to buy many Oddball stamps with the discount code DTIRENE10, to make your projects. You can share them on the networks with the hashtag #creepycutechronicles and so we can see them

See you!


Tuesday, March 3, 2020

Boo Baby Love


.


Hello there Oddballs!  Monica  here today to share some  inspiration with you.  I often get too excited with all the new images from the Creepy Cute Chronicles that I forget about all the other great images Lizzy has.
Today I am using this baby bride from  Image #469 Boo Baby Brides this is a set of 4 adorable creepy-cute baby brides and you can find them on the shop.


I changed the look of this cutie by coloring her with pastel and more spring-like colors and added a heart to her hand. I punched out the corners to add interest and ink blended the background with Distress Oxide inks. 


I mounted her in some pattern paper and on to a dark red card base. I then added some sequin hearts as embellishments to finish it off. Super simple card but I love how she turned out. You can visit my blog for more inspiration OwlMakeItCrafts.
💙Monica

Monday, March 2, 2020

Alexa Oola


Hi there!  Chris here with a project that is out of this world!  For this project I used #522 Alexa Oola
intergalactic superstar.  First thing I did was color Alexa and the rocket ship.  I used only prisma colored pencils.  Unfortunately, I don’t have a process picture of that and i didn’t keep track of the colors.  Ugh!
I wanted this card to have movement.  I mean come on a rocket needs to propel through the air
right?  This picture shows the slider die.
Once you have placed the cut for the slider it’s  time to build the slider mechanism.  Since the rocket is a big object I used two for balance.  First take 2 pennies and place a small pop dot in the middle of one and sandwich them together.
Then place a larger dot on top (to hold the rocket).  Repeat the process for the second mechanism.  Finally, place the rocket on of the pennies.
After I finished the slider I decided I needed a planet.  I used cold pressed watercolor paper to make this purple watercolor planet.  Finally, it was time to put it all together.  What do you think?  Is it other worldly?  (Below is a close up of Alexa Oola!)


Saturday, February 29, 2020

March's Premium Membership Image Embellished Box

Hey Creepy Crafters!

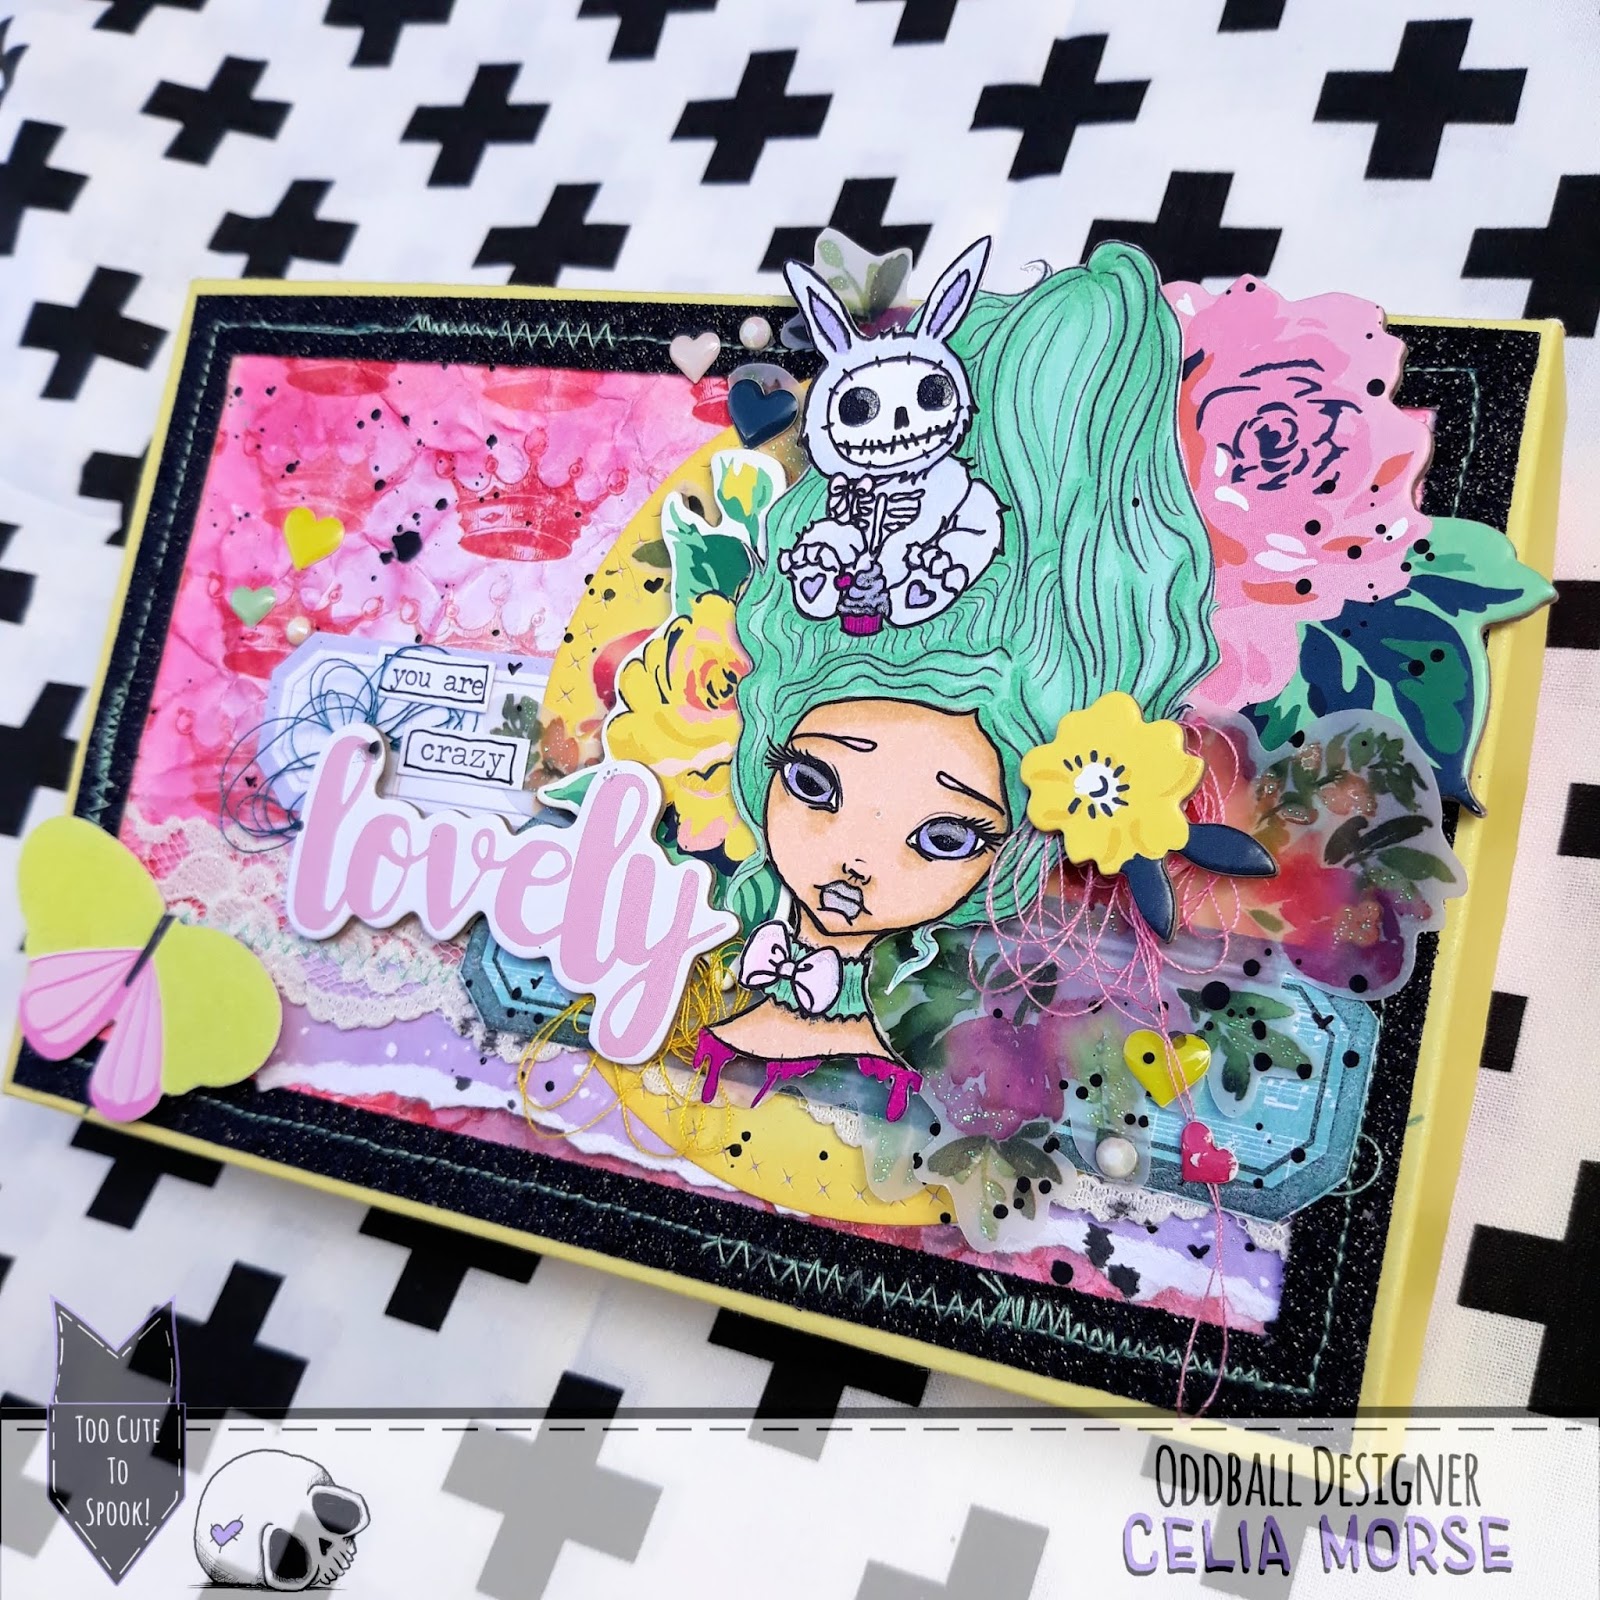
It's Celia, from Paper Beats Rock Designs here with a fun Project Share to show you March's Creepy Cute Chronicle Premium Monthly stamp: Let Them Eat Cake!
 First I printed out the Marie Antoinette stamp 110 lb cardstock, colored her up with alcohol markers, and created 2 box halves out of 8.5x11 colored cardstock. I then went through my stash and grabbed chipboard sheets from Maggie Holmes & Echo Park and vellum flowers I was gifted in a swap.
I cut the black frame from glitter cardstock using my scoreboard to keep perfect lines. I found a scrap piece of paper with crowns on it which I then crinkled up and Inked to give it some texture. I glued that panel to the frame and sewed them together as well as a strip of scrap paper and lace.
Then I grabbed a circle die cut from my stash and layered it underneath the stamp and started to cluster flowers around her. Once I found that she had a pretty even crown of flowers around her I added a few labels underneath to ground the cluster a little.
I cut up some Tim Holtz phrase stickers to make the sentiment that I wanted and tucked a few bundles of thread around the cluster. I grabbed some enamel hearts from my stash and sprinkled them around the box as well as some black paint. The butterfly was from a cupcake topper; I removed the pic and stuck it down to the corner of the box so your eye flows across it.
 I love the way this project came out and cant wait tp create more with this stamp!