Saturday, November 20, 2021

Happy Thanksgiving...


  This month our theme is Spooky/Give thanks


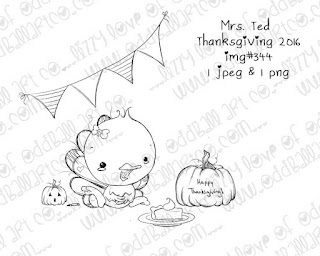
For this inspirational make I have used images and sentiment from


You will find a similar post on my blog and maybe some other posts you will like!

Oddball Art Stamps

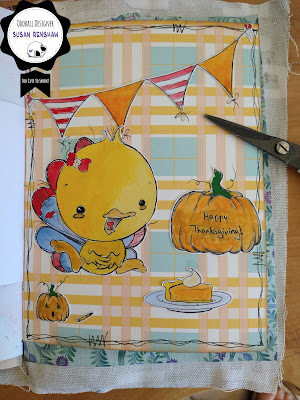
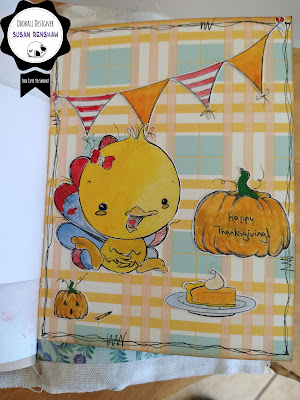
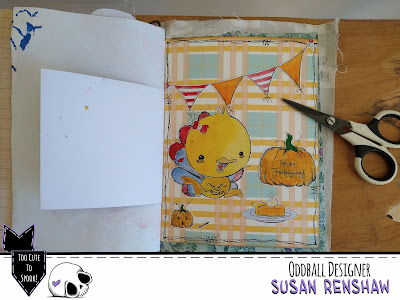
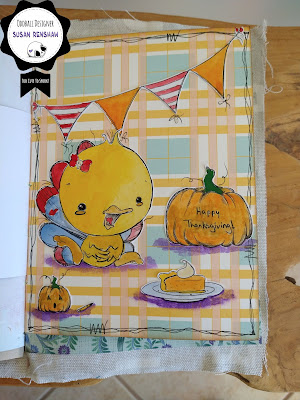
Today's make is a journal page:


I have just been taking part in a 10 day virtual retreat with Michelle Grant Designs
In this I have been making a junk journal - I am now adding different pages...


Recipe:

Step One. I decided to choose a page that was a piece of Patterned Paper that looks like a table cloth or picnic rug.


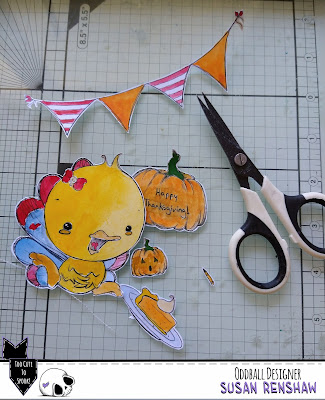
Step Two. I printed the images and cut them out.  I then painted them with watercolours I adhered them to my journal page.


Step Three.  I added vintage photo Distress Ink to the edges of the pages and a bit of doodling with a black pen.


Happy Crafting!


If you would like to buy any of Lizzy's Oddball images use my DT code: DTSUSAN10
This coupon code is for 10% OFF the entire Oddball Art Website


Card "You're my pumpkin" by Roberta Cercato


Good morning friends!
Here's another Oddball Stamps project, a cute unicorn card!
To make it I used the digital Sassy Unicorn Painting Pumpkins that I colored with Spectrum Noir Classique alcohol markers.
To create the background, I instead punched out some hexagonal shapes of different sizes and overlapped them.

Did you like my project?
See you soon,
Roberta


Monday, November 15, 2021

Tiffany the Terrible Cutiepie

 Hi crafty friends,

are you just like me still in Halloween mode and totally not ready for Christmas yet, well then is Oddballart stamps the right place for you :-).

Today I want to share a Halloweencard with you that I made with Stamp number 79 Tiffany the Terrible

https://www.oddballartco.com/product-page/digital-stamp-creepy-cute-big-eye-witch-tiffany-the-terrible-image-no-79

I colored her with Copic Markers, just because I wanted her to pop of the card so the colors needed to be vibrant and bright.

I created the background with acrylic paint, a handwriting stamp and black texture paste. I love this background! It is my favorite background so far. Creating this was so relaxing. And the colors really blended together so well.


To finish it of, I added some rhinestones and the Wicked sentiment. This is a stamp.

She is Wicked, don't you think? 

For more inspiration, stay tuned.

xoxo Kelly


Sunday, November 14, 2021

Card "Spooky wishes" by Roberta Cercato

Good Sunday friends!
Today I present my project for Oddball Stamps, a very simple but effective card!
To make it I used the Big eye sassy girl Bianca digital which I colored with Spectrum Noir Classique alcohol markers.

I hope you enjoyed my project.
See you soon,
Roberta


Saturday, November 13, 2021

CAS Thank you card with rainbow colours

Hi everyone!


It's been awhile since I last time played with Oddball images, but now I'm back on track 😊
 
On this card I used this beautiful Moondrop Unicorn Girl rubber stamp. I wanted to try the rainbow colouring and used alcohol markers. I think the colouring could be better but well.. I just need more practise with this style.

Otherwise I kept the card simple. I just added the text, some glossy accents on the horn and a few half pearls.


With this code DTMER1  
you can buy 2 digi stamps from
Oddball Stamps
and pay only one.
The more the merrier!


Happy crafting!


Monday, November 8, 2021

A Spooky Thank You


This month our theme is Spooky/Give thanks


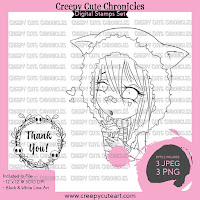
For this inspirational make I have used images and sentiment from

You will find a similar post on my blog and maybe some other posts you will like!

Oddball Art Stamps

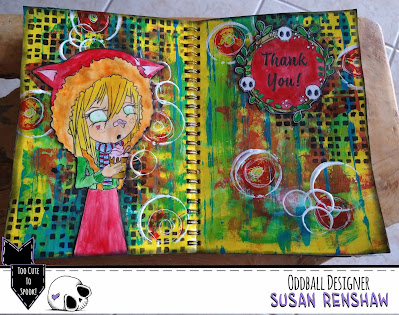
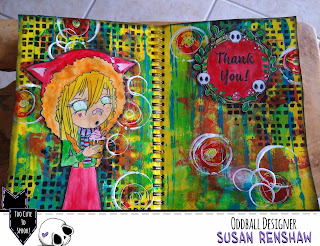
Today's make is a journal page:


Recipe:

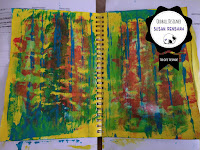
Step One. Two page spread covered in acrylics. I used some of the techniques I discovered in a workshop by Lorri Lennox.


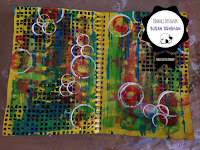
Step Two. I stencilled the page with black paint and a stencil of squares. I then stamped with more acrylics and junk items (cotton reel, bottle top etc)


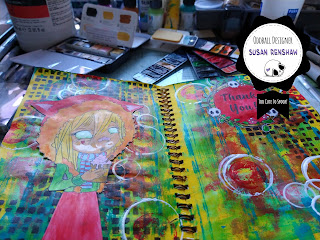
Step Three. I printed the images and cut them out. I adhered them to my journal page with matte gel. I then painted them with watercolours.


Step Four.  I added black soot Distress Ink to the edges of the pages and a bit of doodling with black and white pens.


Happy Crafting!


If you would like to buy any of Lizzy's Oddball images use my DT code: DTSUSAN10
This coupon code is for 10% OFF the entire Oddball Art Website


Sunday, November 7, 2021

Thank you

 Hi crafty friends

Today I want to share with you a Thank you ATC card since Thanksgiving is coming up.


Lately I am experimenting with some different mediums and techniques. Suddenly I stumbled upon a video from someone who did a Master board tutorial. I never heard about that and I was instantly sold. It is the creation of a background on a big piece of paper that you can cut into smaller cards or ATC cards or tags. Clever right? 

So I took all my acrylic paints, brayer, stencils, stamps and started the process. So relaxing.

The sheet turned out so pretty and I could cut 8 ATC cards out of it. Here is a selection of 6 of them. 


Then I printed Image nr 6 Moonbeam, and I colored her with regular coloring pencils. Mine are from Arteza (and I am not happy with them. I already gave my husband several hints that I want Faber Castell Polychromos for my birthday 😜)

https://www.oddballartco.com/product-page/digital-stamp-cute-big-eye-girl-moonbeam-image-no-6


I glued her onto one of the cards and added a bit more interest with washi tape and some harts with texture paste. And I also added 'Thank you' because this is going to be a Thank you card. 


I just love how this card turned out and creating a Master board has become one of my favorite things to do in my spare time. So relaxing. 

Hope you like it as much as I do. Stay tuned for more cute cards. 


Wednesday, October 27, 2021

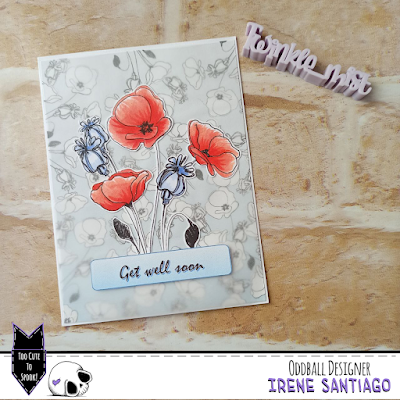
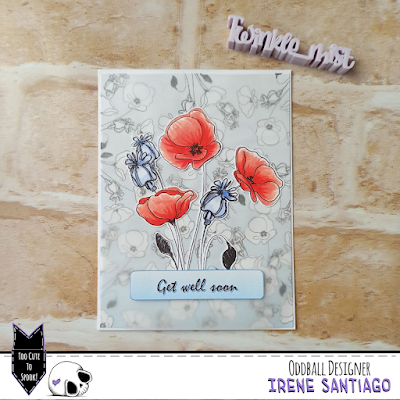
Get well soon!

Hello!

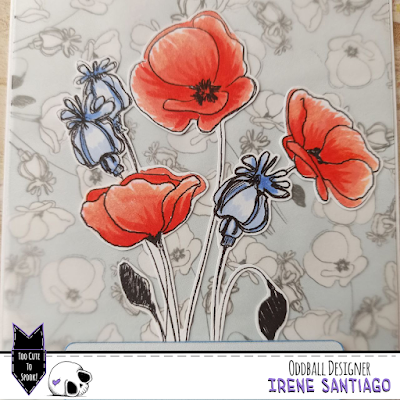
The card that I show you today, apparently complicated, is very simple and is made with a single Oddball Stamps imagen, #534 Bee Happy Spring Flowers, Bees and Sentiment


To do it, I first printed the image and colored it in a large size that would fill the front of the card.


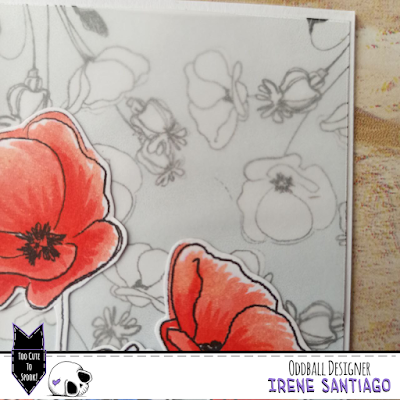
To make the background I used an image editor (I have the GIMP program installed), and in it I opened a document with a colored background with a smooth gradient and, on top of it, I placed the image in small, using the png format, rotated in different directions; exactly the same as when we make a background by repeatedly stamping a physical stamp.

I then printed the resulting image and cut a panel slightly smaller than the size of my card.


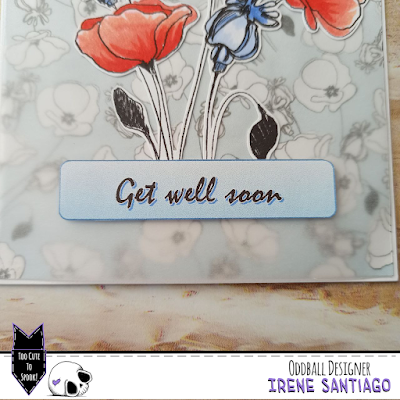
I cut a piece of vellum paper of the same size and glued them with small dots of the glue that is less visible; four dots in the corners and a slightly larger amount just below where the big picture and sentiment will go. And all together I glued it to the base of the card.

Finally I pasted the main image and the sentiment, which I printed in colors to match the background, with a little volume.


As you can see, very simple to do and relatively fast (depending on the skill you have when handling the image editor)


I hope you like it and inspire and encourage you to make your own creations.

I remind you that you have the discount code DTIRENE10 for your purchases in the Oddball Stamps store and the hashtag #creepycutechronicles to share your work on the networks.

See you!