Saturday, March 26, 2022

Say your pwayers, wabbit!


Hello

Today I bring you an inspiration card with stamps from Oddball Stamps.
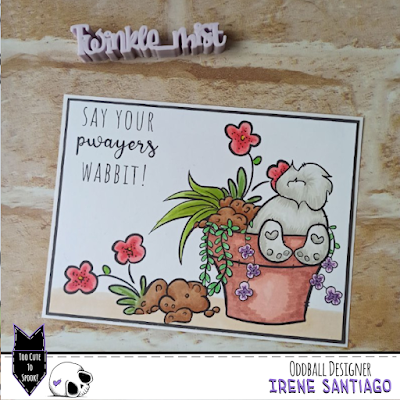

This is a card in one layer and to make it I have used the CCC #147 “Bunny But” stamp by simply coloring the image as it comes in the compressed file, with alcohol markers.
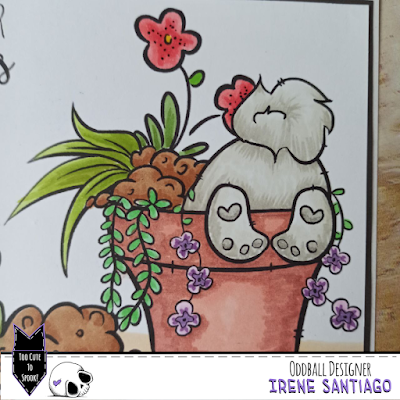

Once finished, I cut the panel down to a size that would allow me to create the double framing effect with a dark cardstock and card backing.
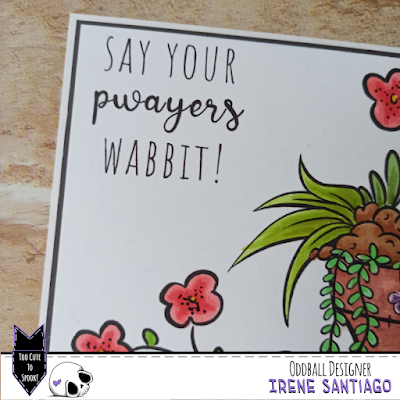

As you can see there is no difficulty. There are many stamps in the Oddball shop that come with pre-assembled scenes that you simply print and color to create a card quickly and easily.
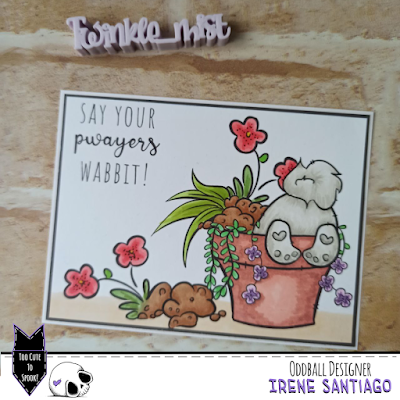

I hope you like and inspire. Don't forget to visit the Oddball Stamps page to see all their stamps and use the discount code DTIRENE10 on your purchases. When you share your work, remember to use the hashtag #creepycutechronicles so we can see it.

See you!
Monday, March 14, 2022

Newsprint Flower


This month  Oddball Art is sponsoring Outlawz Crash Your Stash!

10143327666?profile=RESIZE_400x

 10143328262?profile=RESIZE_400x

 The Outlawz challenge this month  starting on March 15th is to use Spray inks...

I printed the image half a dozen times and sprayed them with yellow and gold sprays.

The image is the Newsprint Flower

 When dry, I cut them out. I stamped the sentiment on the remainder of the page with foam letter stamps, drew lines around the words using a fineliner and then cut them out.

I sprayed a white burlap page in my Dina Wakley Dylusions journal with two different greens and a yellow spray.

I then added the sentiment and the flowers.

I cut several Tim Holtz butterflies - BIGZ Tattered Butterfly, cutting them from music paper (American Crafts). Once I had added these I used a black Posca to emphasise the edges.

Hope to see you in the challenge...Happy Crafting!


Wednesday, January 26, 2022

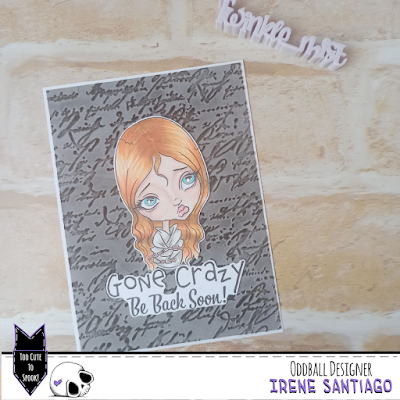
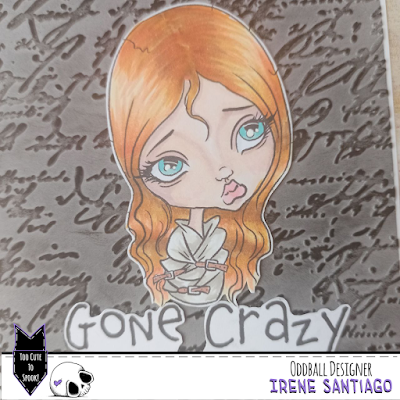
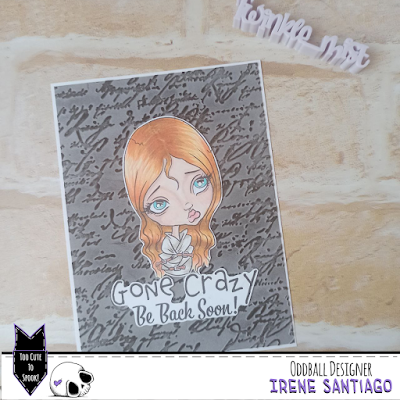
Gone Crazy. Be back soon!

Hello!

I have made the card that I bring you today with the CCC50 Girl Gone Crazy stamp from Oddball Stamps and it is very simple to make.


The first step is to color and cut out the stamp and sentiment you are going to use. In this case I used the same one that comes with the stamp, but you can change it for the one that is more compatible with the theme of your card.


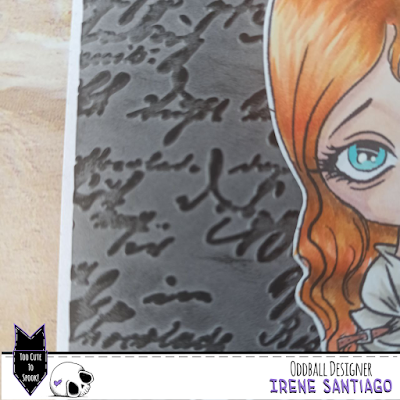
I made the background by passing a gray cardboard through a cold embossing folder. To highlight the embossing I passed over the black ink pad.


The next step is to glue everything: stamp and sentiment on the embossed panel and this on the base of the card.

Simple, fast and versatile. You can change the theme according to the drawing of the embossing folder or the sentiment you use.


I hope you like and inspire. Don't forget to visit the Oddball Stamps page to see all their stamps and use the discount code DTIRENE10 on your purchases. When you share your work, remember to use the hashtag #creepycutechronicles so we can see it.

See you!

Saturday, January 22, 2022

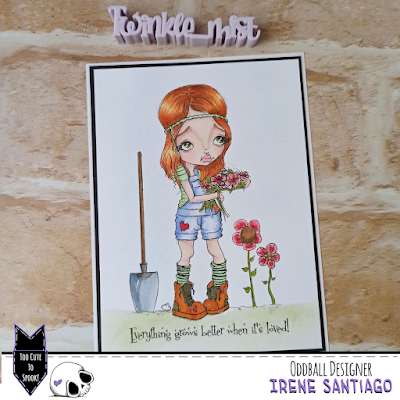
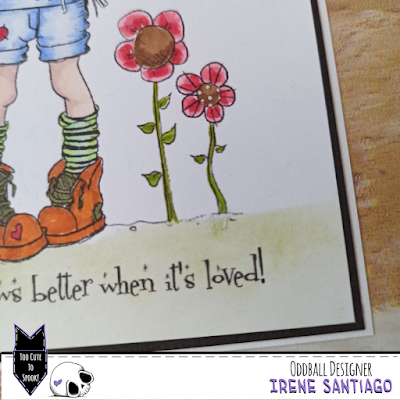
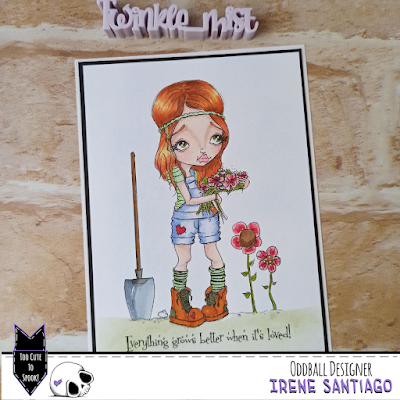
Everything grows better when it's loved!

Hello!

Today I bring you a little quick and easy inspiration with an Oddball Stamps imagen.


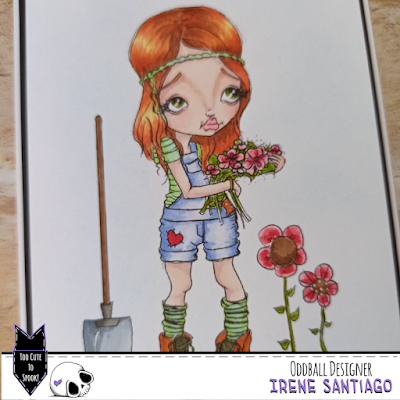
It is the img 386 Ginny the Gardener that I have colored in a one layer with alcohol markers.


To give it a bit more volume, I tinted the background slightly blue and the ground green.

The base where I did the coloring I glued it on a black cardboard and it is on the base of the card


Super simple and super fast


I hope you like and inspire. Don't forget to visit the Oddball Stamps page to see all their stamps and use the discount code DTIRENE10 on your purchases. When you share your work, remember to use the hashtag #creepycutechronicles so we can see it.

See you!

Wednesday, December 29, 2021

Tag "Christmas Meowy" by Roberta


Hello friends!
Today I present to you my project for Oddball Stamps, two small tags ...
To make them I used Cute Christmas Elf Cat Digital Stamp IMG # 542 which I colored with Spectrum Noir Classique alcohol markers.
To create the background, I used the gel press, some stencils, abstract stamps and a little white chalk instead.

Do you like it?

See you soon,
Roberta


Monday, December 27, 2021

CAS wishes

Hi!

Here's my new card with Oddball image CCC# 151 Mummys Day. I think I'm in a CAS mood at the moment..

I arranged the image and text with a text editor, printed it and then coloured the image with alcohol markers. I first thought that I would stamp something to the edges but then I decided to use a paper punch, because I use them way too rarely.

Then I added a blue/turquoise card board behind the image and some glitter around the flowers.


With this code DTMER1  
you can buy 2 digi stamps from
Oddball Stamps
and pay only one.
The more the merrier!


Happy crafting!


Wednesday, December 22, 2021

Define Naughty Please...

Hello

Today I show you the result of making a montage with the help of an image editor to create a card with Oddball Stamps 


To do it you can use any digital stamp from Oddball Stamps, and with the help of the GIMP program, an image editor, I created a simple scene to print and color directly.


To carry out this process, it is preferable to use the stamps you use on your card in png format since, as they have no background or are transparent, it is much easier to move them and place them in the desired positions without blocking each other.

After placing the stamps in the desired arrangement, save your creation in jpg or png format and print it to the desired size. You can create your card in real size from scratch and simply print it or another size and enlarge or reduce it at will when printing.

After printing, only coloring remains. As a medium I used my Finecolour alcohol markers, but you can use whatever medium you want.

Paste the resulting panel on a colored card (in my case black) and this on the card base. And ready!

You already have a finished “one layer” or “one layer” card.


I hope you like the result and put this technique into practice.

I remind you that you have the discount code DTIRENE10 for your purchases in the Oddball Stamps store and the hashtag #creepycutechronicles to share your work on the networks.

See you!

Tuesday, December 21, 2021

Have a Holly Jolly Christmas

 Hi crafty friends

It's the most Wonderfull time of the year! A Holiday that we are celebrating all over the world.

The perfect time to make some greeting cards for friends and family. 

I made this Christmas card using Big Eye Alex at Christmas Holiday. Love her Christmas outfit and festive bows.

https://www.oddballartco.com/product-page/digital-stamp-kawaii-big-eye-alex-at-christmas-holiday-alex-image-no-357

I colored her with Copic Markers.

The background is inspired by a patchwork blanket. Just squares of Christmas paper sewn together. And some glittery stars to add some sparkle. And this cutie definitely deserved some gift.

I love how she turned out! So festive and cute. And of course she tried to be Nice 😃.

I hope I could inspire you with this card and I want to wish you all a Holly Jolly Christmas.


Monday, December 20, 2021

Card "Christmas Wishes" by Roberta Cercato


Happy Monday friends!
It's the last week ... and then it's Christmas!

Today I present to you my project for Oddball Stamps, a cute zebra fallen into the orange paint pot !!
To make it I used the digital Kawaii Christmas Zebra Zeddy As Santa Image No. 153 which I colored with Spectrum Noir Classique alcohol markers.

How about? Isn't this Christmas zebra cute?
Soon,
Roberta


Sunday, December 19, 2021

Easy last minute Christmas card

 Hi everyone!

Christmas is already around the corner and you might realize that you don't have enough Christmas cards 😮

Here's a simple and easy last minute Christmas card idea. The easiest way includes only using a text editor, printing and cutting.

I wanted to make something not so traditional Christmas so I chose to use paper from Bats and bones Halloween paper set and just simple HoHoHo text from CCC#134 Jones in the box digi stamp set.

So, I added the digi paper to the text editor and the uncoloured version of HoHoHo text (there's also coloured version if you want to do something really easy). You should use the png file so there is no white background around the image. 


When I was happy with the sizes and layout I printed it. I coloured the image with alcohol markers (Copic R59, ProMarker Berry Red, Copics R29, R27 & R22) and white gel pen.

Then I just cut the card and taped it on the black card board.
 
And here's the result. Simple, but I like it 😊


With this code DTMER1  
you can buy 2 digi stamps from
Oddball Stamps
and pay only one.
The more the merrier!


Happy crafting and Merry Christmas!


Sunday, November 28, 2021

Tag "Thank you" by Roberta Cercato


Good Sunday friends!
Today I present to you my design for Oddball Stamps, a "botched" tag!

To make it I used the digital Big eye girl lexi image no. 5 which I colored with Spectrum Noir Classique alcohol markers.

To create the background, I used the gel press, some stencils, abstract stamps and a little white chalk instead.

Did you like my project?

See you soon,
Roberta


Saturday, November 27, 2021

Let me sleep

Happy Saturday everyone!

I used this fun CCC#87 Haunted Cuckoo Clock image and wanted to create a 'Do not disturb' kind of sign on my craft room door.. Well, as you can see the result isn't quite what it was meant to be 😛

I wanted to create a little more texture on this card/sign/whatever this is going to be. I coloured the walls and cutie birdie with alcohol markers. The roofs I coated with texture paste and I also added Glossy Accents on the clock part. 

I'm not a morning person so this is still quite me 😊


With this code DTMER1  
you can buy 2 digi stamps from
Oddball Stamps
and pay only one.
The more the merrier!


Happy crafting!


Friday, November 26, 2021

Sending you... Best witches!

Hello

For today I have an “Iris” card for you, interactive and very simple to make as inspiration for the DT of Oddball Stamps.


There are dies to make it, but also cutting files for the plotter that make your work much easier. But if you don't have the dies or a plotter, you can still use the cutting files, printing and cutting by hand.


To star in the card, I used the digital stamp "Whimsical Witch on Broomstick, Wendy Friends" from Oddball Stamps.


Once colored with my Finecolour alcohol rotus and cut out, I made the mechanism for the interactive part. You can find cut files for this card in the Silhouette store, but you can also find some for free on the web. In my case I used ShanShan Mato's file that you can find on his YouTube channel.


Finally I did the background panel by inking in shades of blue, purple and a touch of black, I drew stars with a white gel pen and added the first part of the feeling.

On a card base I glued the second part of the sentiment (the one that is hidden by the mechanism) and finally I assembled and glued all the elements in place.


It may seem complicated, but it hardly takes time to do it and it is very attractive

I hope you like and inspire.


I remind you that you have the discount code DTIRENE10 for your purchases in the Oddball Stamps store and the hashtag #creepycutechronicles to share your work on the networks.

See you!

Monday, November 22, 2021

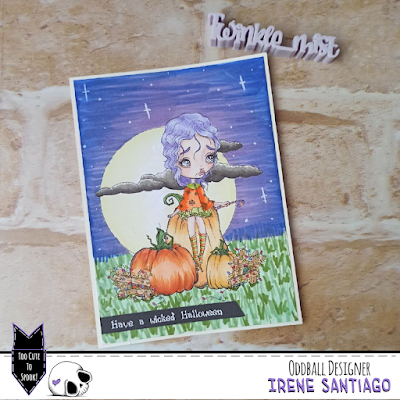
Have a Wicked Halloween!
Hello!

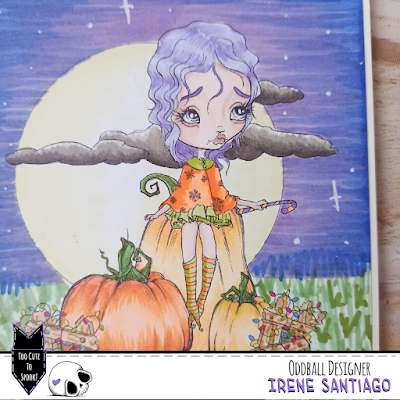
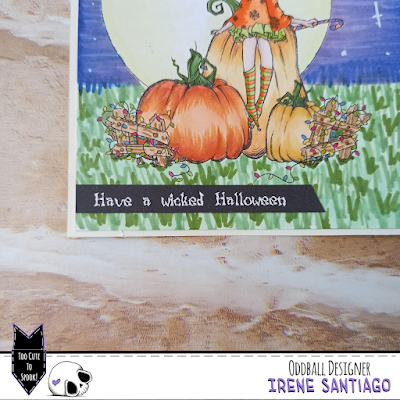
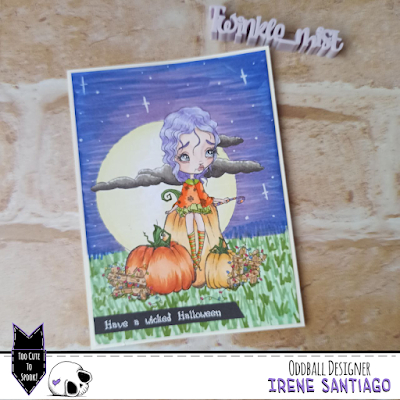
For today I bring you a very simple but beautiful single layer card with Oddball Stamps


The main image is img# 356 Pumpkin Patch A Christmas Dream, as it is given in the download zip.

I just resized the image to my card size and printed.


Once this was done I colored the scene with my Finecolours, masking some areas if needed.

To finish, I glued a sentiment printed in white with a black background. (I am aware that it says Halloween and it is over... but you can change it for Christmas or any other holiday!)


As you can see, very simple and fast to do.


I hope you like it and it inspires, and above all that it encourages you to make your own creations.

I remind you that you have the discount code DTIRENE10 for your purchases in the Oddball Stamps store and the hashtag #creepycutechronicles to share your work on the networks.

See you!