
Hello Oddball´s
It´s me... Tina:
This time I've created a tutorial for a little flip album.
In it I want to collect some of my favorite pictures of Oddball.
Not only many photos; also 3 videos where you can see
how I colorize and see the finished album.
Have fun reworking and watching.


1.) 2 pieces 12x12cm and 1 piece 12 x 5cm!


Tutorial
1.) 2 pieces 12x12cm and 1 piece 12 x 5cm!
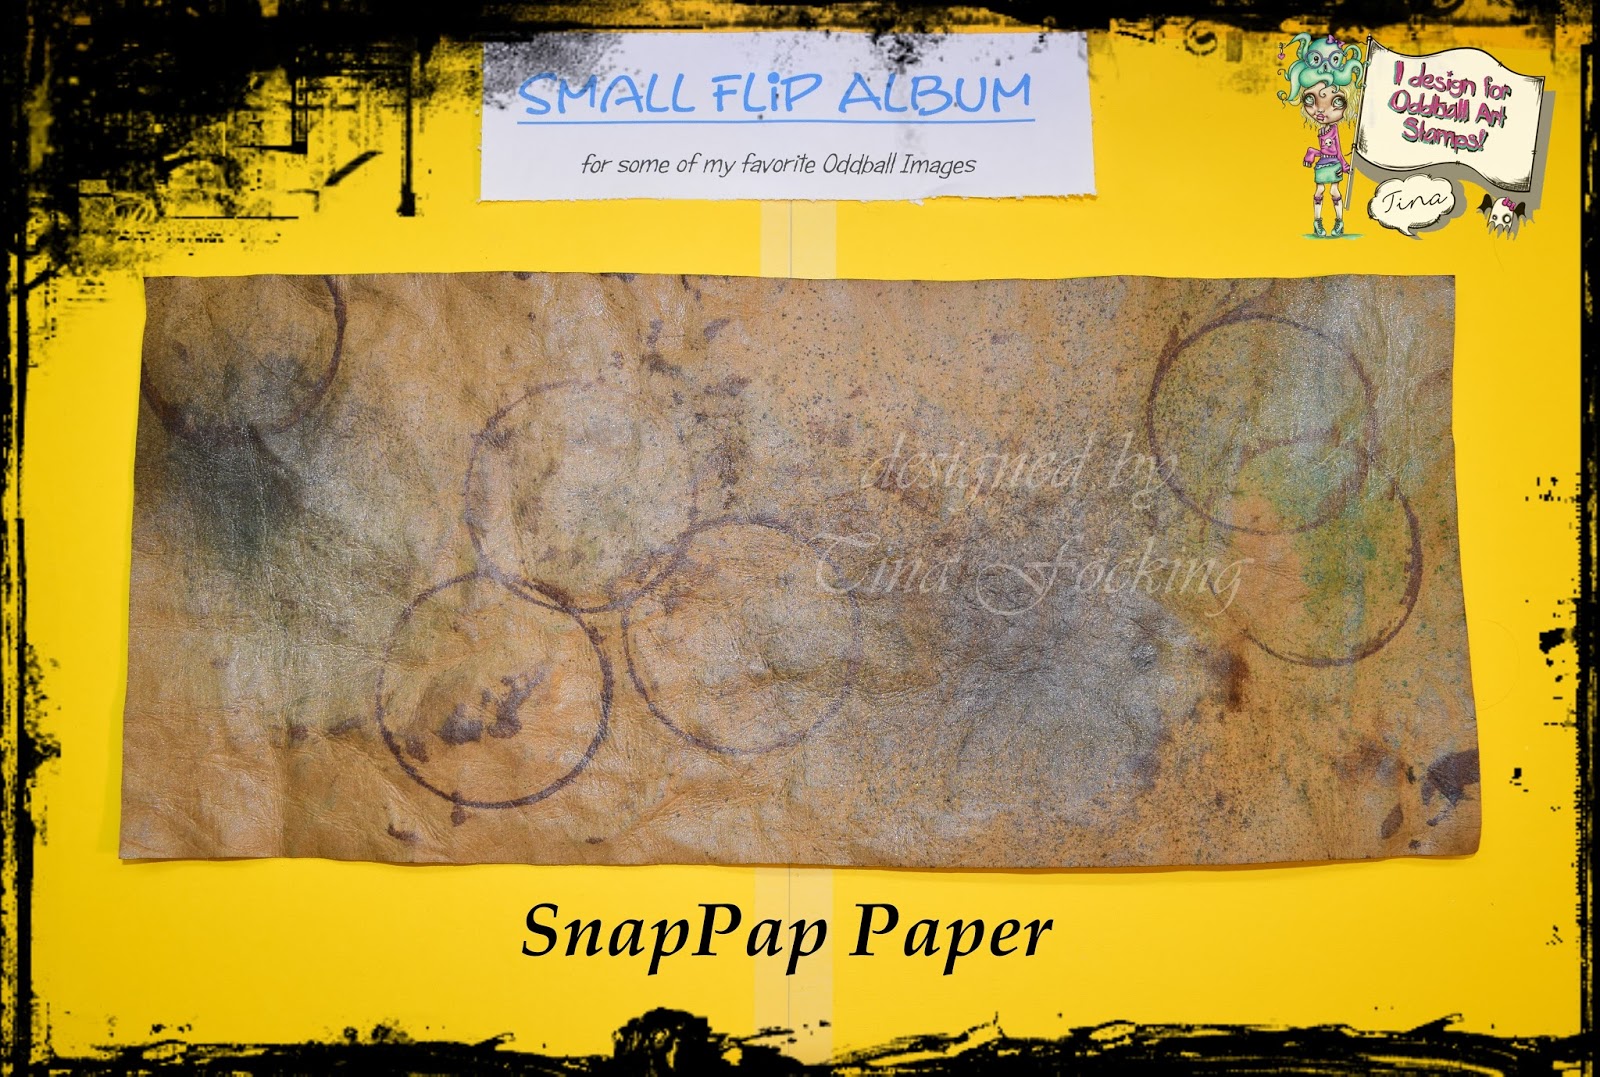
Here is my SnapPap in kraft colors. I cut it first,
then I wet it a little and press it very tight so that it crumples.
Once dried, you can continue working on it. I inked it with ink sprays and stamped
inks and stamped some circles on it and wiped it with Distress Micro Glaze.
So it is protected and gets a nice light shine.
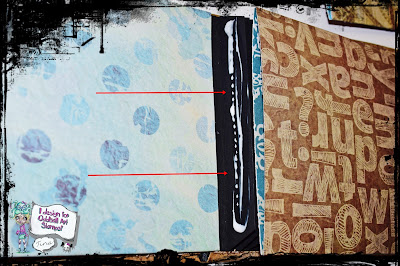
Now connect the 3 parts for the album like that.

Here I have the SnapPap glued to the outside and fixed with clothespins until it is dried.

That's how it looks finished. I have also a leather strap for to close attached.


Cutting edge 4 retaining tabs in these sizes:
7 x 11,5cm - fold at 1,5cm and 5,5cm
6 x 11,5cm - fold at 1,5 and 4,5cm
5 x 11,5cm - fold at 1,5 and 3,5cm
4 x 11,5cm - fold at 1,5 and 2,5cm
Then cut off all corners diagonally

Now glue all parts evenly distributed on each other

Now we cut 8 x piece of cardstock or design paper in size:
24cm x 11,5cm. This you have to fold at 11,5 and 23 cm.


Now stick the pockets in the album. To do this, put the bag on the holder and
glue it on one side only.


I have the bags still embossed and attached a decoration.
This makes them easier to pull out and open later.


Videos
The finished Album
Thank you for watching my videos ...
See ypu soon...
Tina
If you enjoy my posts here at Oddball Stamps please join me over on
http://paperplotterlottas-craftchaos.blogspot.de
to see more of my creative work
No comments:
Post a Comment