Showing posts with label #oddballartstamps #creepycutechronicles #finecolour #finecolours #oddballart #oddballstamps #digistamps #oddballdesigner #oddballdesigners #oddballdesigns #lizzylovestamps #tocutetoospook #bigeyegirl. Show all posts

Saturday, March 26, 2022

Say your pwayers, wabbit!


Hello

Today I bring you an inspiration card with stamps from Oddball Stamps.


This is a card in one layer and to make it I have used the CCC #147 “Bunny But” stamp by simply coloring the image as it comes in the compressed file, with alcohol markers.


Once finished, I cut the panel down to a size that would allow me to create the double framing effect with a dark cardstock and card backing.


As you can see there is no difficulty. There are many stamps in the Oddball shop that come with pre-assembled scenes that you simply print and color to create a card quickly and easily.


I hope you like and inspire. Don't forget to visit the Oddball Stamps page to see all their stamps and use the discount code DTIRENE10 on your purchases. When you share your work, remember to use the hashtag #creepycutechronicles so we can see it.

See you!

Wednesday, January 26, 2022

Gone Crazy. Be back soon!

Hello!

I have made the card that I bring you today with the CCC50 Girl Gone Crazy stamp from Oddball Stamps and it is very simple to make.


The first step is to color and cut out the stamp and sentiment you are going to use. In this case I used the same one that comes with the stamp, but you can change it for the one that is more compatible with the theme of your card.


I made the background by passing a gray cardboard through a cold embossing folder. To highlight the embossing I passed over the black ink pad.


The next step is to glue everything: stamp and sentiment on the embossed panel and this on the base of the card.

Simple, fast and versatile. You can change the theme according to the drawing of the embossing folder or the sentiment you use.


I hope you like and inspire. Don't forget to visit the Oddball Stamps page to see all their stamps and use the discount code DTIRENE10 on your purchases. When you share your work, remember to use the hashtag #creepycutechronicles so we can see it.

See you!

Saturday, January 22, 2022

Everything grows better when it's loved!

Hello!

Today I bring you a little quick and easy inspiration with an Oddball Stamps imagen.


It is the img 386 Ginny the Gardener that I have colored in a one layer with alcohol markers.


To give it a bit more volume, I tinted the background slightly blue and the ground green.

The base where I did the coloring I glued it on a black cardboard and it is on the base of the card


Super simple and super fast


I hope you like and inspire. Don't forget to visit the Oddball Stamps page to see all their stamps and use the discount code DTIRENE10 on your purchases. When you share your work, remember to use the hashtag #creepycutechronicles so we can see it.

See you!

Wednesday, December 22, 2021

Define Naughty Please...

Hello

Today I show you the result of making a montage with the help of an image editor to create a card with Oddball Stamps 


To do it you can use any digital stamp from Oddball Stamps, and with the help of the GIMP program, an image editor, I created a simple scene to print and color directly.


To carry out this process, it is preferable to use the stamps you use on your card in png format since, as they have no background or are transparent, it is much easier to move them and place them in the desired positions without blocking each other.

After placing the stamps in the desired arrangement, save your creation in jpg or png format and print it to the desired size. You can create your card in real size from scratch and simply print it or another size and enlarge or reduce it at will when printing.

After printing, only coloring remains. As a medium I used my Finecolour alcohol markers, but you can use whatever medium you want.

Paste the resulting panel on a colored card (in my case black) and this on the card base. And ready!

You already have a finished “one layer” or “one layer” card.


I hope you like the result and put this technique into practice.

I remind you that you have the discount code DTIRENE10 for your purchases in the Oddball Stamps store and the hashtag #creepycutechronicles to share your work on the networks.

See you!

Friday, November 26, 2021

Sending you... Best witches!

Hello

For today I have an “Iris” card for you, interactive and very simple to make as inspiration for the DT of Oddball Stamps.


There are dies to make it, but also cutting files for the plotter that make your work much easier. But if you don't have the dies or a plotter, you can still use the cutting files, printing and cutting by hand.


To star in the card, I used the digital stamp "Whimsical Witch on Broomstick, Wendy Friends" from Oddball Stamps.


Once colored with my Finecolour alcohol rotus and cut out, I made the mechanism for the interactive part. You can find cut files for this card in the Silhouette store, but you can also find some for free on the web. In my case I used ShanShan Mato's file that you can find on his YouTube channel.


Finally I did the background panel by inking in shades of blue, purple and a touch of black, I drew stars with a white gel pen and added the first part of the feeling.

On a card base I glued the second part of the sentiment (the one that is hidden by the mechanism) and finally I assembled and glued all the elements in place.


It may seem complicated, but it hardly takes time to do it and it is very attractive

I hope you like and inspire.


I remind you that you have the discount code DTIRENE10 for your purchases in the Oddball Stamps store and the hashtag #creepycutechronicles to share your work on the networks.

See you!

Monday, November 22, 2021

Have a Wicked Halloween!

Hello!

For today I bring you a very simple but beautiful single layer card with Oddball Stamps


The main image is img# 356 Pumpkin Patch A Christmas Dream, as it is given in the download zip.

I just resized the image to my card size and printed.


Once this was done I colored the scene with my Finecolours, masking some areas if needed.

To finish, I glued a sentiment printed in white with a black background. (I am aware that it says Halloween and it is over... but you can change it for Christmas or any other holiday!)


As you can see, very simple and fast to do.


I hope you like it and it inspires, and above all that it encourages you to make your own creations.

I remind you that you have the discount code DTIRENE10 for your purchases in the Oddball Stamps store and the hashtag #creepycutechronicles to share your work on the networks.

See you!

Wednesday, October 27, 2021

Get well soon!

Hello!

The card that I show you today, apparently complicated, is very simple and is made with a single Oddball Stamps imagen, #534 Bee Happy Spring Flowers, Bees and Sentiment


To do it, I first printed the image and colored it in a large size that would fill the front of the card.


To make the background I used an image editor (I have the GIMP program installed), and in it I opened a document with a colored background with a smooth gradient and, on top of it, I placed the image in small, using the png format, rotated in different directions; exactly the same as when we make a background by repeatedly stamping a physical stamp.

I then printed the resulting image and cut a panel slightly smaller than the size of my card.


I cut a piece of vellum paper of the same size and glued them with small dots of the glue that is less visible; four dots in the corners and a slightly larger amount just below where the big picture and sentiment will go. And all together I glued it to the base of the card.

Finally I pasted the main image and the sentiment, which I printed in colors to match the background, with a little volume.


As you can see, very simple to do and relatively fast (depending on the skill you have when handling the image editor)


I hope you like it and inspire and encourage you to make your own creations.

I remind you that you have the discount code DTIRENE10 for your purchases in the Oddball Stamps store and the hashtag #creepycutechronicles to share your work on the networks.

See you!

Friday, August 27, 2021

Sending you... sealy wishes!

Hello there

Like last week, today Friday I bring you a simple and quick tutorial on how to make your backgrounds with Oddball Stamps to make a super easy One Layer Card.


The result is this summery and so nice card.


The method to complete it is the same as that of last week's card. First of all, you must carry out a preliminary work on your computer, mounting the images in the position you want in an image and/or photography editing program. In my case, I used GIMP, a very complete and easy-to-use free software program. Remember to use the images in png format.


Then you just have to print your card and color it with the medium of your choice

Quick, easy and with perfect results.


I hope you like it and inspire and encourage you to make your own creations.


I remind you that you have the discount code DTIRENE10 for your purchases in the Oddball Stamps store and the hashtag #creepycutechronicles to share your work on the networks.

See you!

Friday, August 20, 2021

Mermaids have more fun!

Hi there!

Today's tutorial is on how to make a “one layer” card with your Oddball Stamps digital images.


Lately I have shown you several card designs with backgrounds drawn and colored by me, freehand. But if you do not feel safe and do not dare to try it on your own, you can make use of some digital stamps that would form a very simple background, but it turned out.


In the case of this card I have used the images #320 Mermaid Nixie Spirit of the Sea, #505 Creepy Cute Coconut and #507 Palm Trees, Flag & Sentiment Pirate Coves to create an island where to put the mermaid having a coconut soda while rests lying on the sand.

Doing it does not require much knowledge, just have a photo editing program installed and use the .png files that come in the .rar folders that you get when you buy the stamps.


I always use GIMP, a very easy-to-use free software with many utilities (very similar to Photoshop).

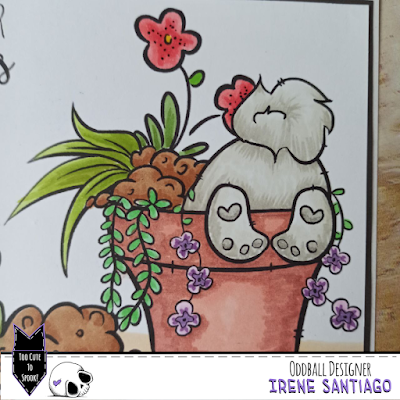
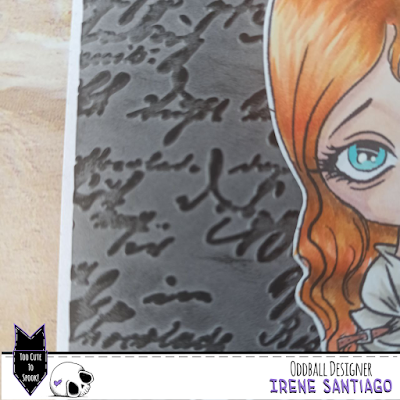
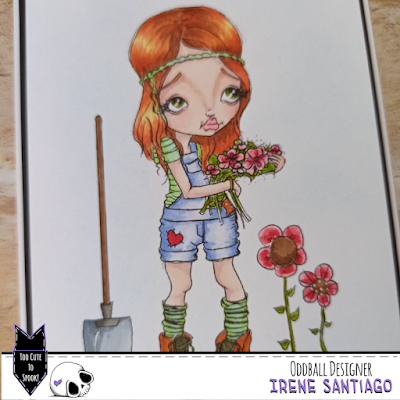
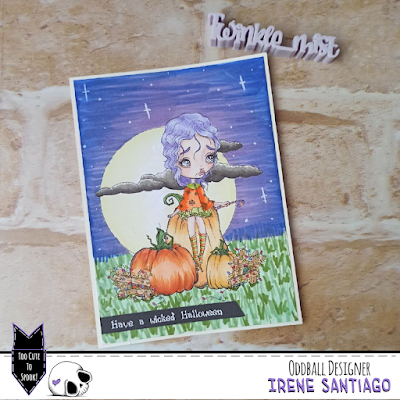
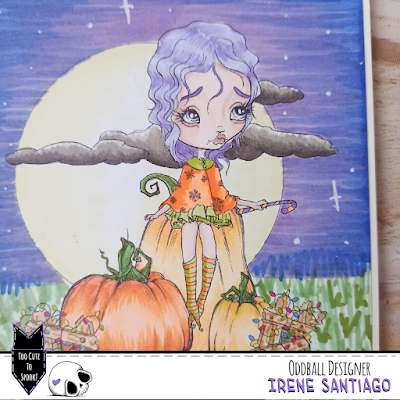
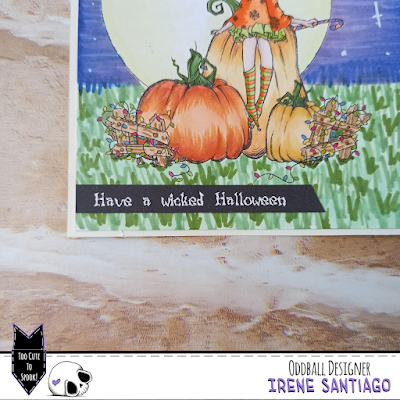
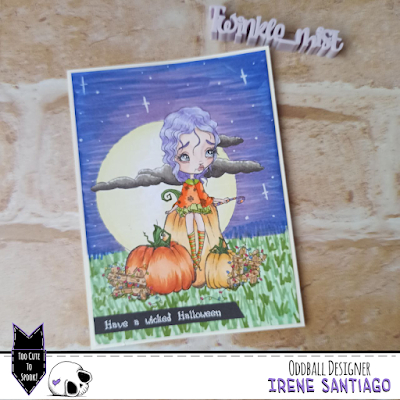
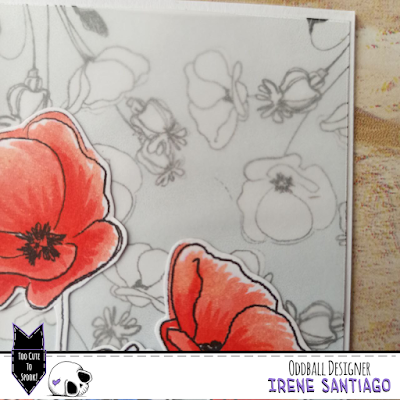
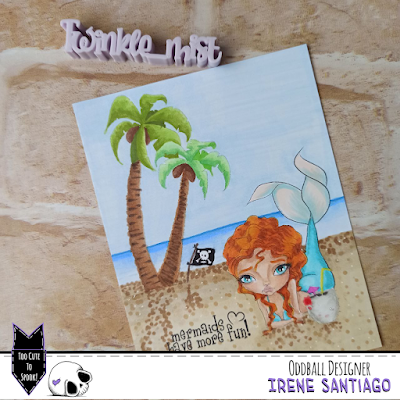
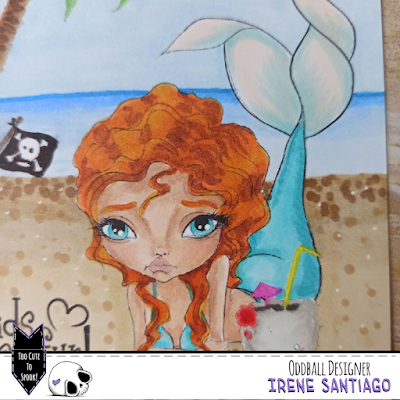
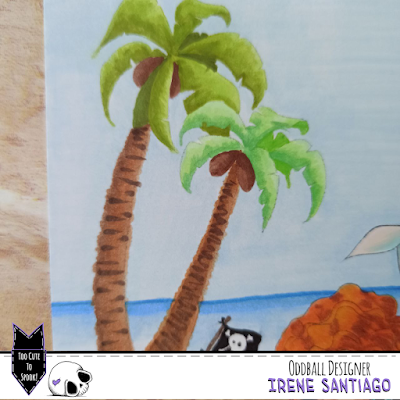
When you open your program, you can load the images or create a new document with the dimensions you want. I chose the size of a card. Then you simply upload your stamps, resize them and place them to the size and position in which you want them in your scene. To superimpose one on top of the other (as in the case of the coconut that is above the mermaid) or when loading the images, you do it in order from the furthest to the closest, or you reorder the layers of your file. When you have the basic scene (no horizon lines or any other details, just the stamps in the correct position and size), save your file in .png format


Then it is to follow the steps we normally take to print our digital stamps. Open a .doc, you don't need to resize since you saved it to the size of your card, and you print.

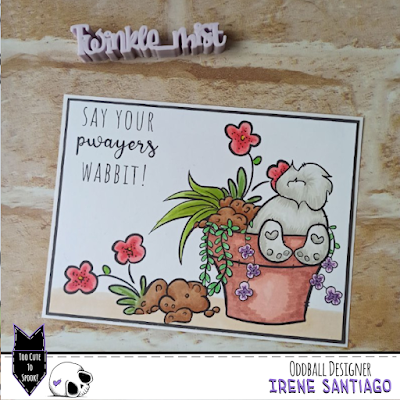
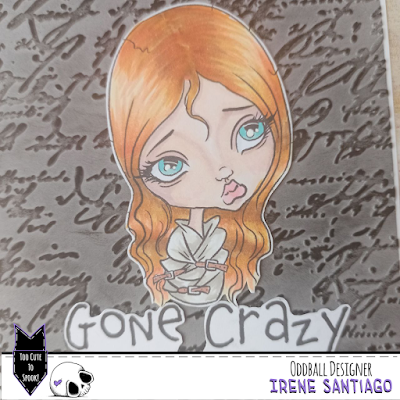
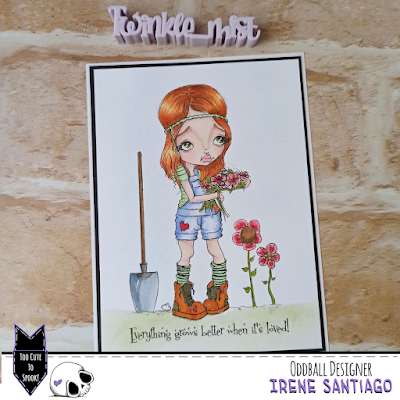
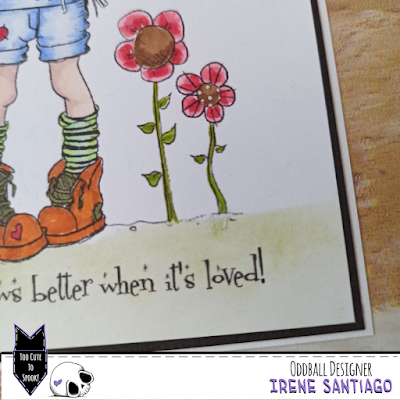
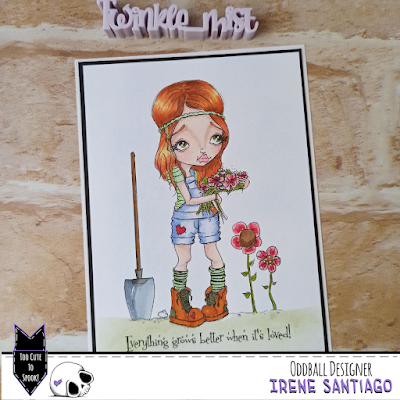
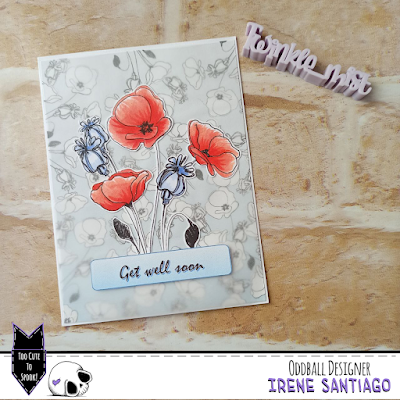
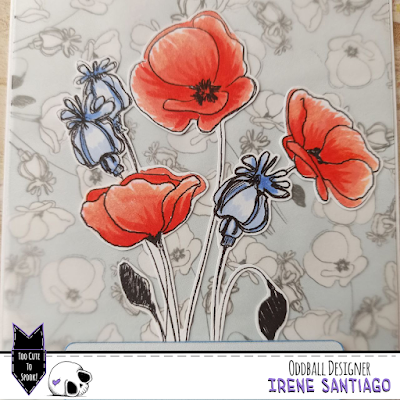
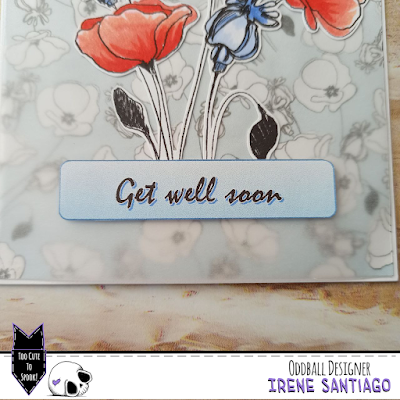
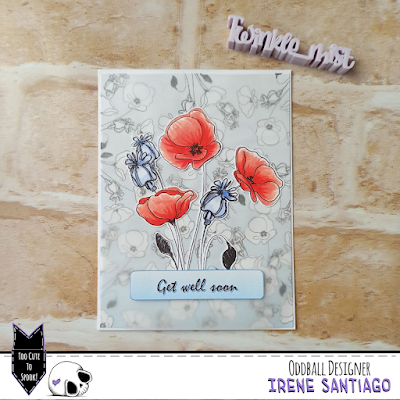
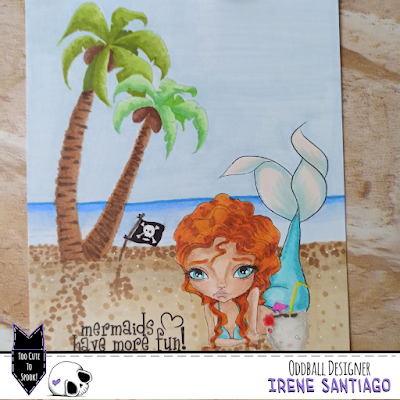
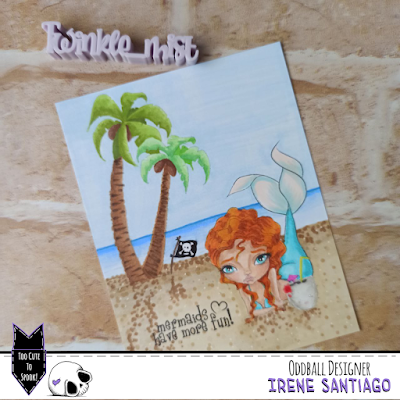
Once in paper format, you just have to color it with your favorite medium and you will get a finished panel ready to stick on your card base.

Super simple and quick to do.


I hope you like it and inspire and encourage you to make your own creations.

I remind you that you have the discount code DTIRENE10 for your purchases in the Oddball Stamps store and the hashtag #creepycutechronicles to share your work on the networks.

See you!

Friday, July 30, 2021

BFF: Best Freaks Forever!

Hello

In today's tutorial I am going to show you how to make a card with the freebie version of the CCC154 Spooky Sweet Life that you can still get in the Oddball Stamps store.


It is very simple and fast to do.

To begin, as always, we will color and cut out the stamp.


On a white cardboard panel we will draw a comic vignette like the ones used when there is a blow or some noise. We will contour with a black marker and another color of our choice.

We will draw a shadow with the same black marker.

For the background, with a grayish tone we will draw some rays that come out of our vignette


And finally we will color the background

For all this, I used some markers from the Tiger store, which are cheap and with very strong colors, ideal to give the card a comic look.

Already, finally, I printed the sentiment and pasted it next to the stamp on the panel


I hope you like it and inspire and encourage you to make your own creations.


I remind you that you have the discount code DTIRENE10 for your purchases in the Oddball Stamps store and the hashtag #creepycutechronicles to share your work on the networks. 

See you!